

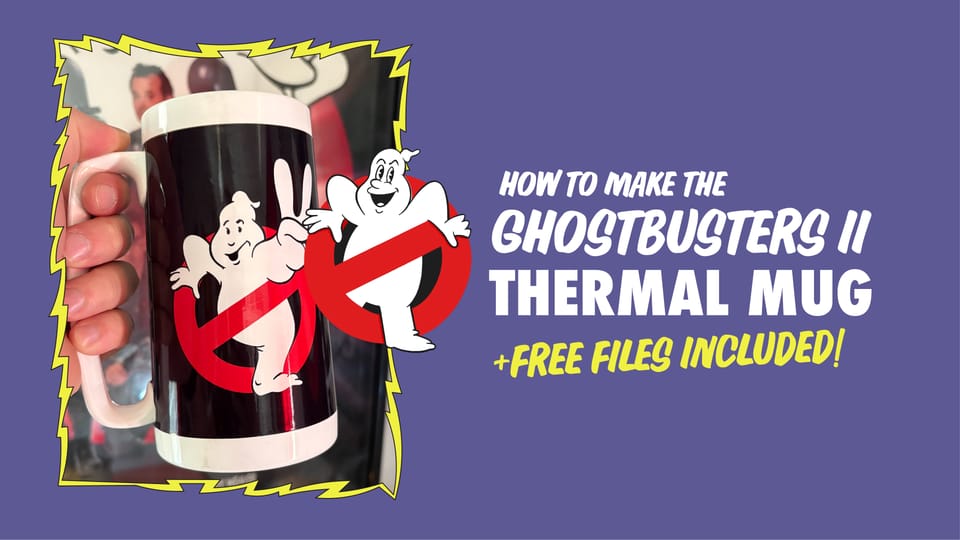
Making a GB2 Thermal Mug
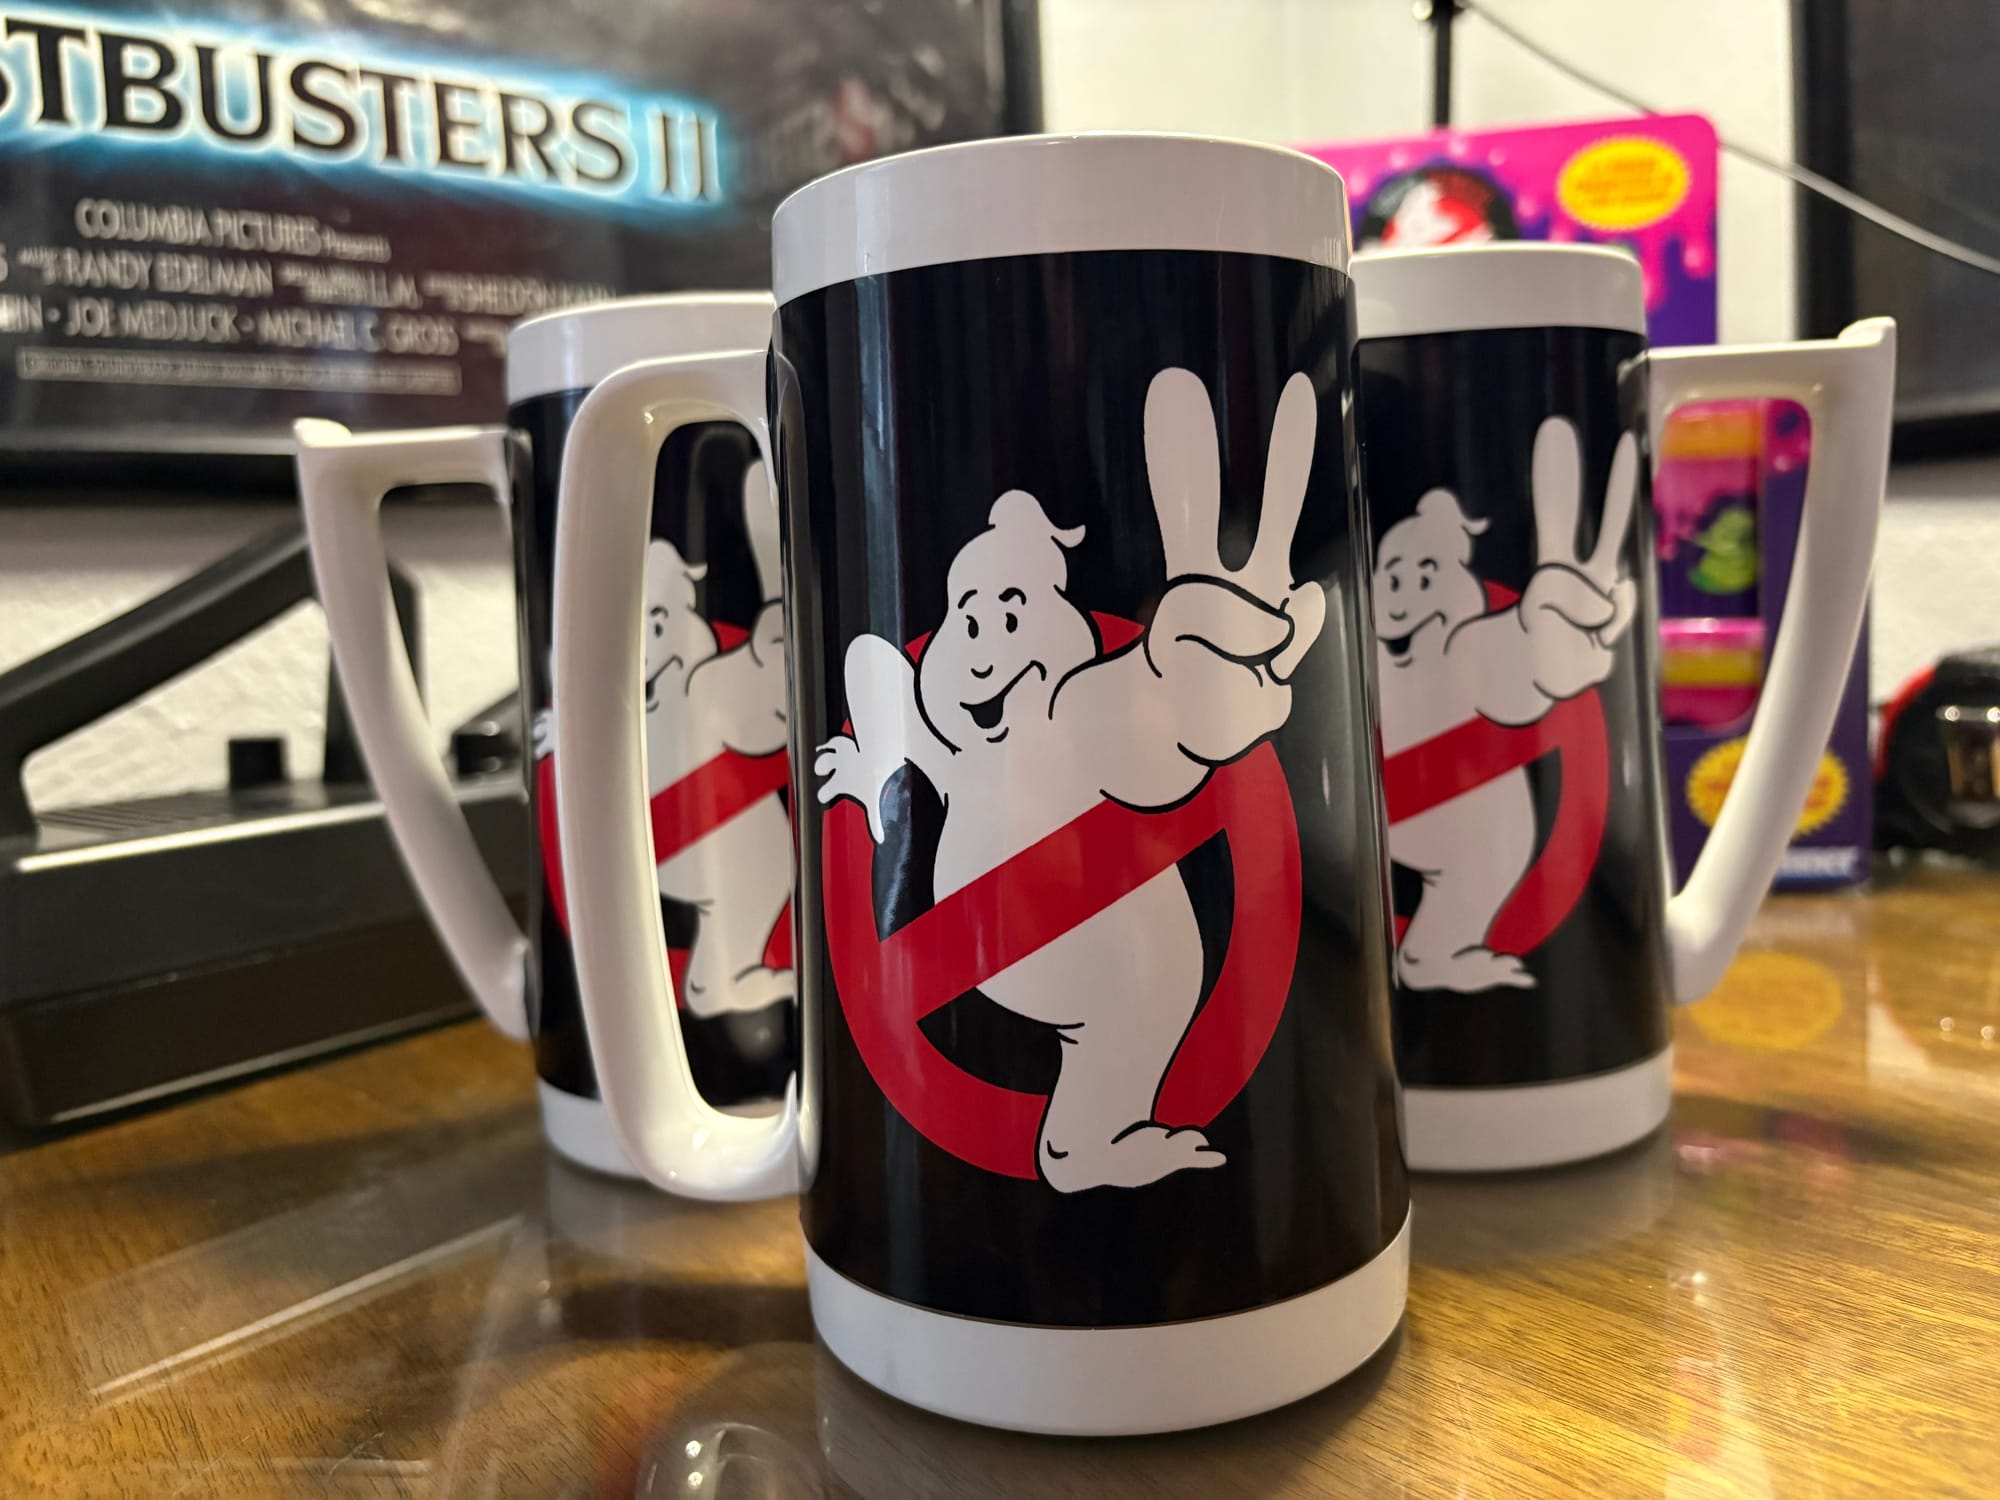
One of the most memorable scenes in Ghostbusters II is the team's new commercial during the montage. At the end, Egon steps forward and talks about their current promotion: a "Ghostbusters hot beverage thermal mug and free balloons for the kids." We all wanted one from that moment.
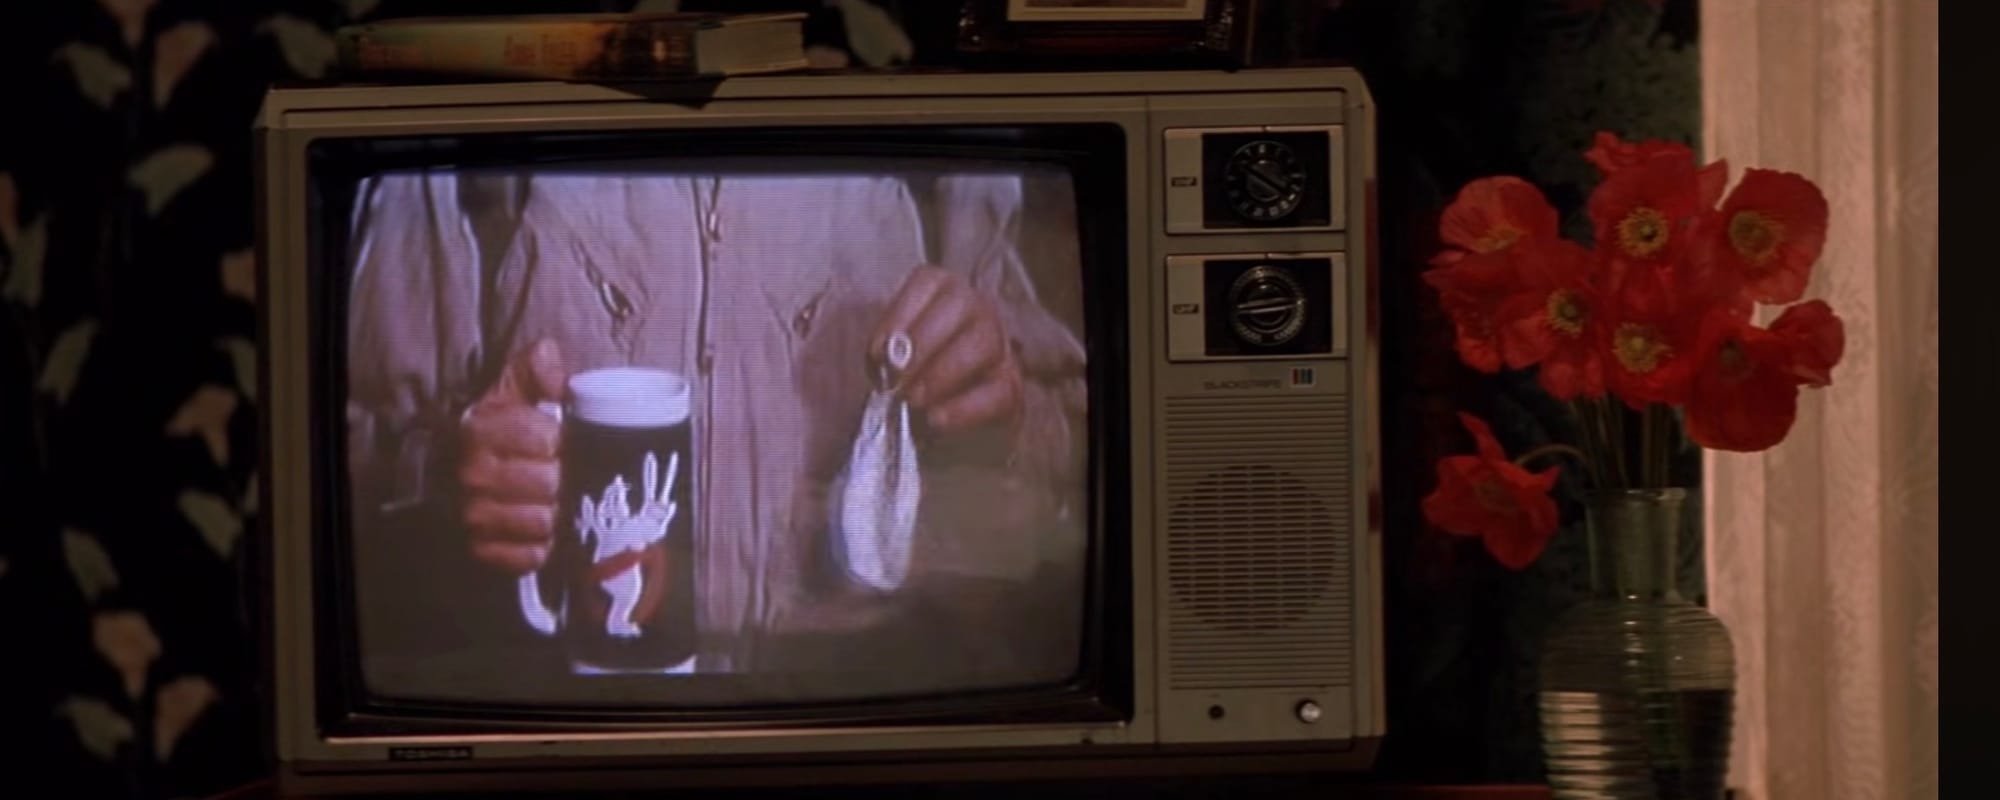
This mug was made with a Thermo-Serv mug, a classic of the promotion business during the mid-century and through the 90s. The one in the movie has a white border and appears to be a wrap around the entirety of the outside; the real-life versions have the graphic printed on paper encased behind acrylic, and the whole thing is glued shut with the handle attached outside. They eventually made GB2 Thermo-Serv mugs, but they were solid black rather than the two-tone like the movie version. A bit of a bummer if you want your collectibles to feel ripped directly from the movie, but if you want a thermal mug with the GB2 logo that you can actually use, you're covered.
But if you want the prop on your shelf, you'll need to make it yourself. Some people have sold them pre-made in the past, but they are always limited runs. To make stock to sell, you need to source vintage, screen-accurate mugs, then make and apply the wraps. So I decided to make one myself! It isn't perfect, but I have one I can place on my shelf, and I can drink out of it too since I can always re-wrap the mug if I ruin the sticker wrap.
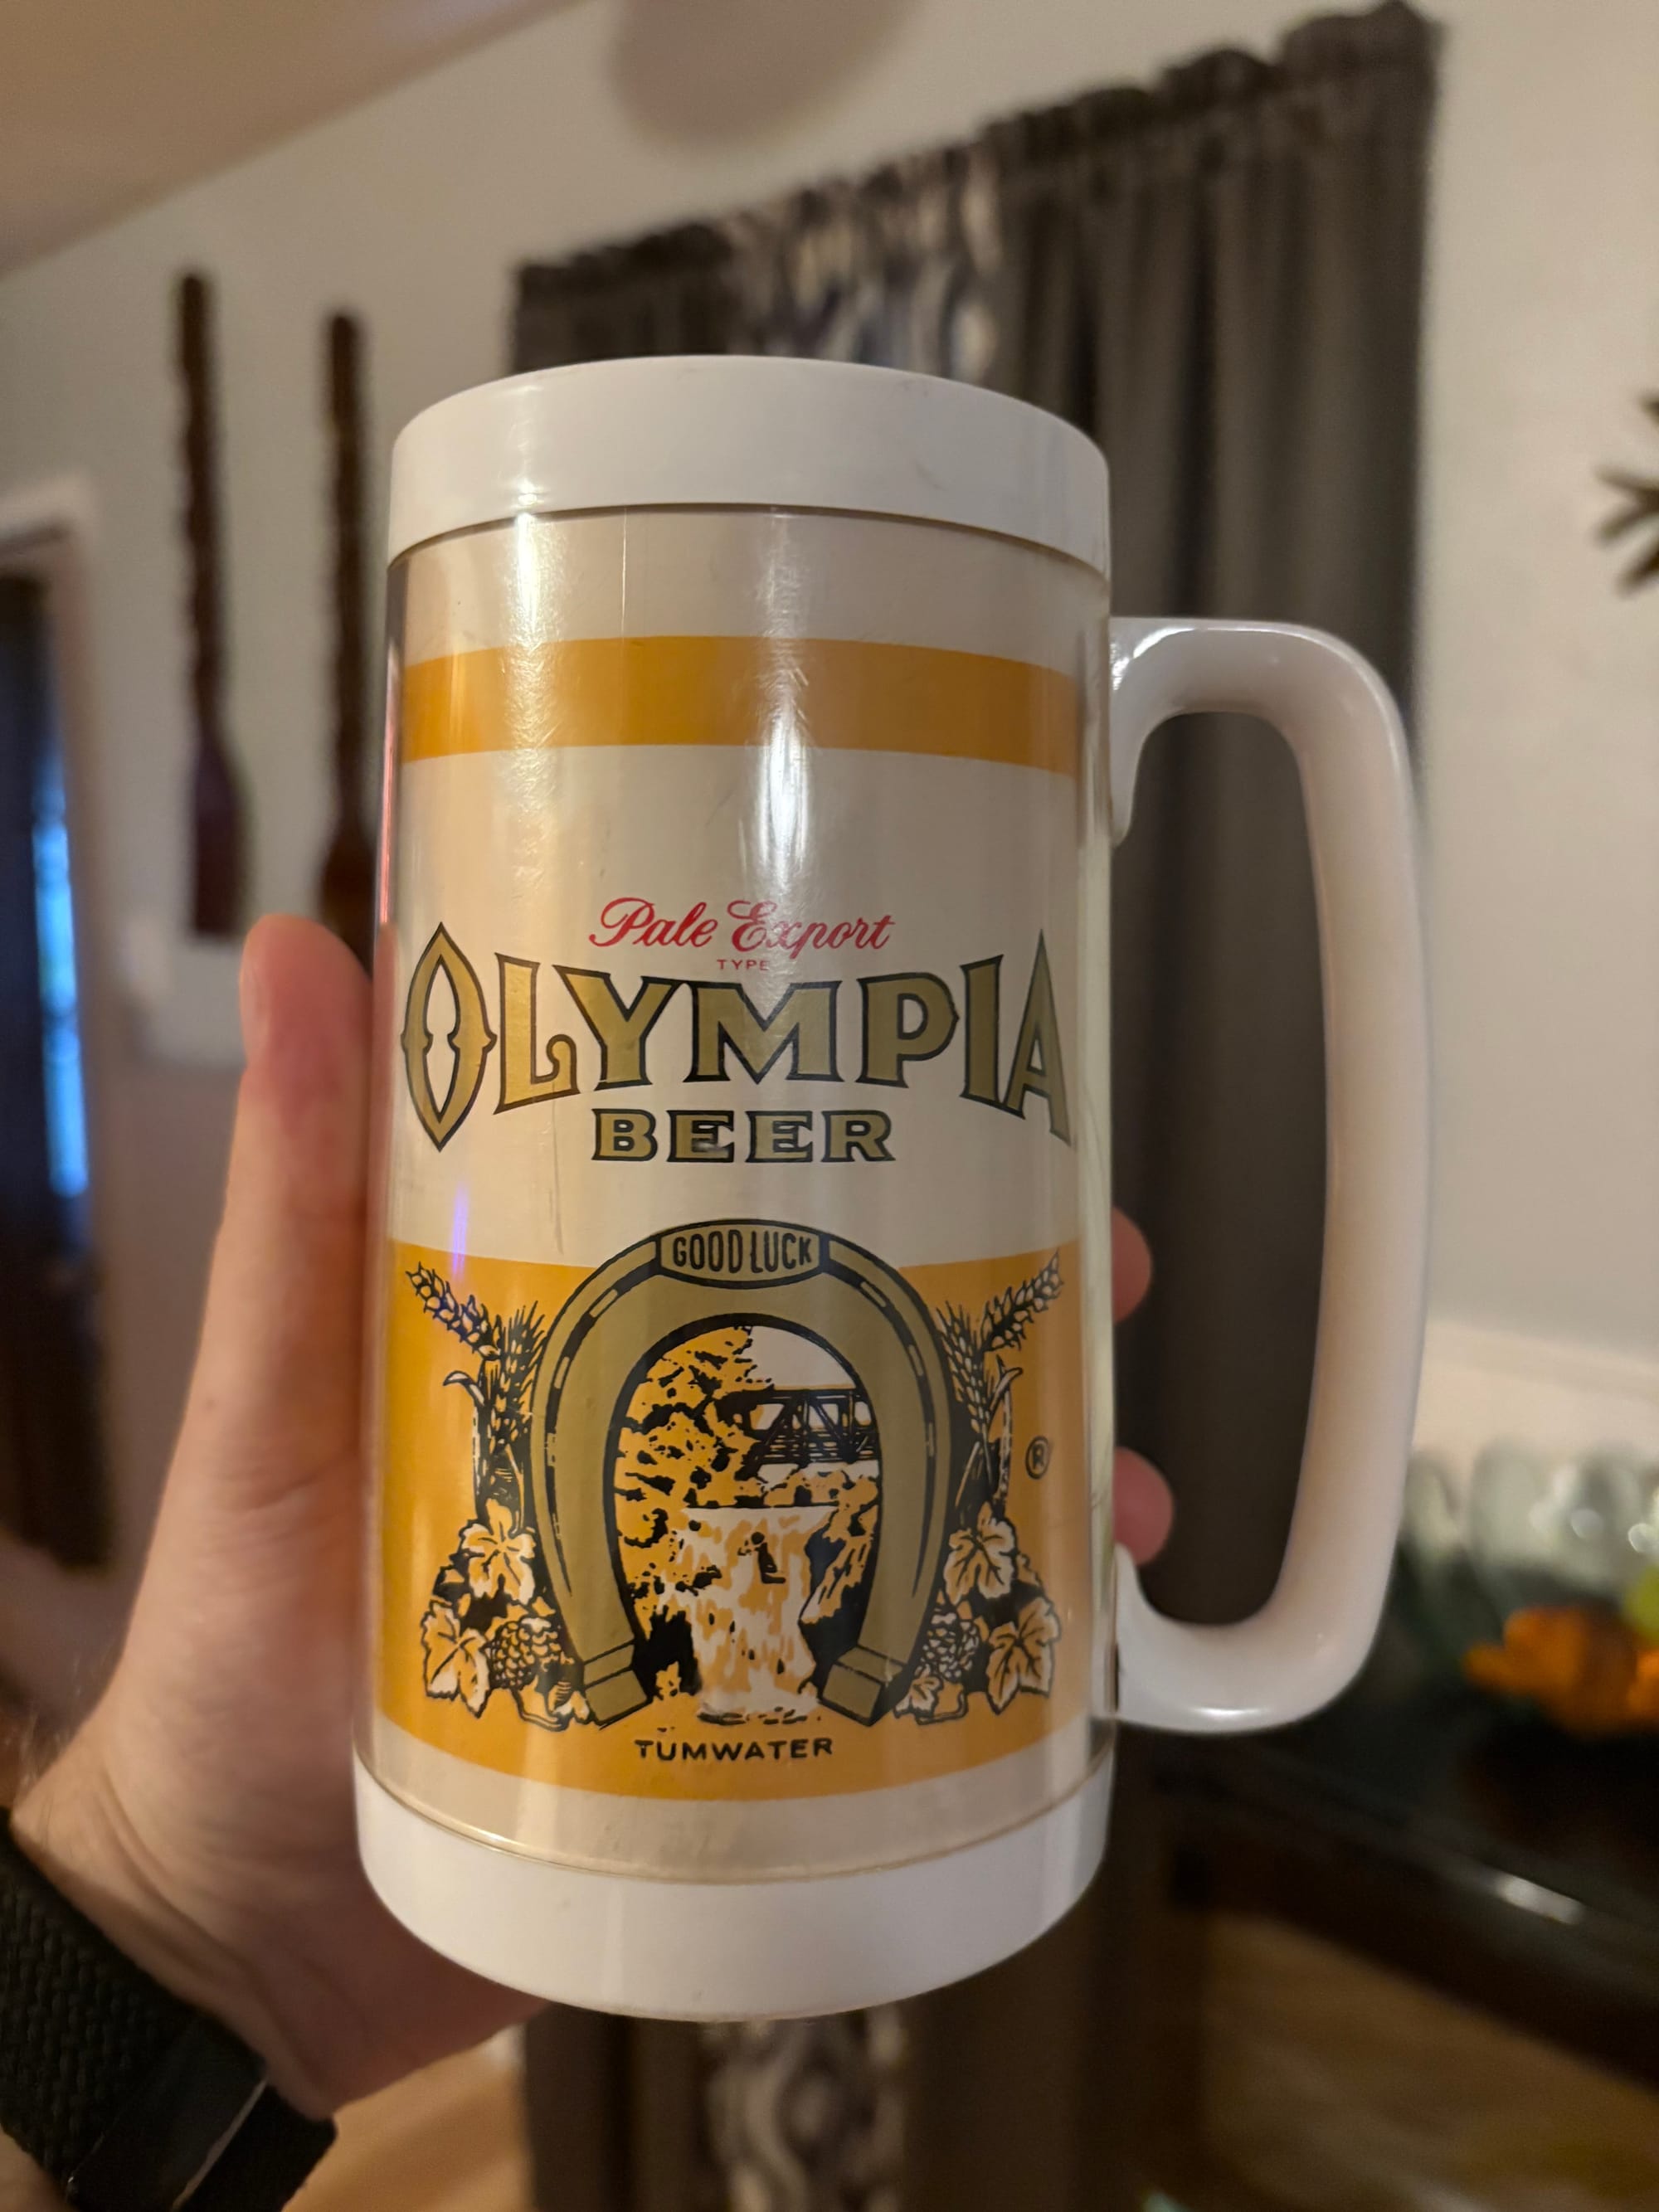
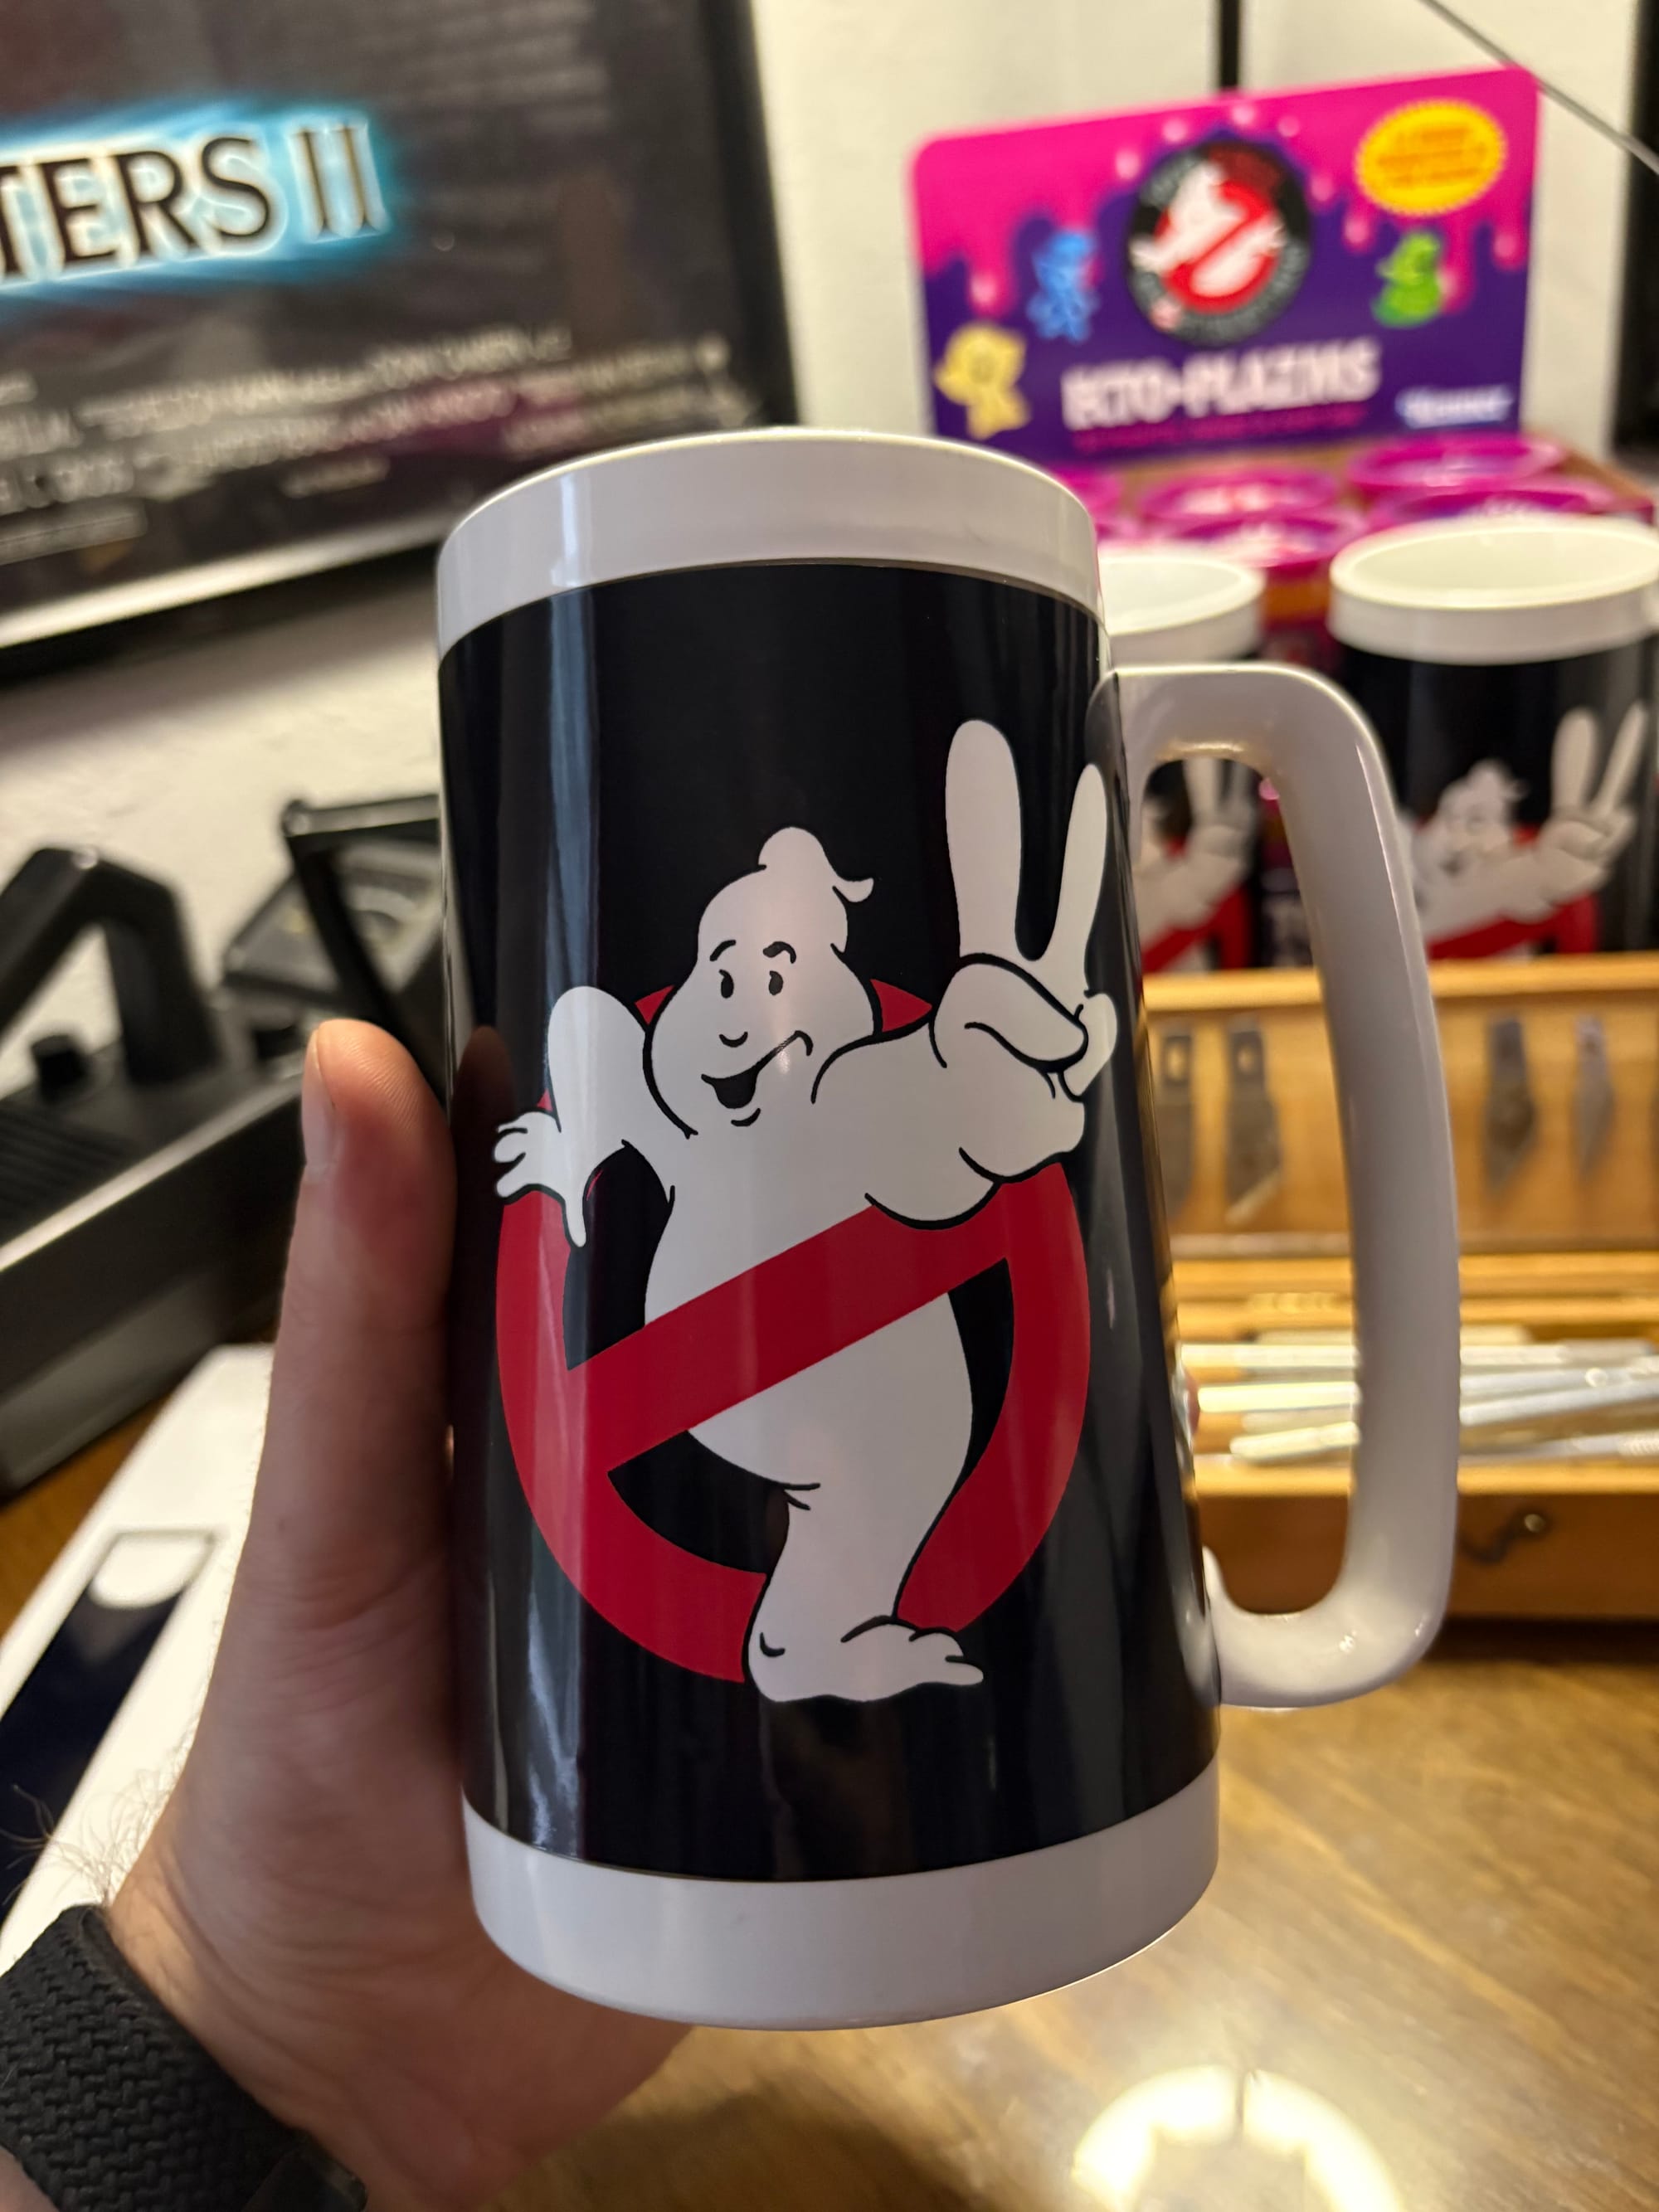
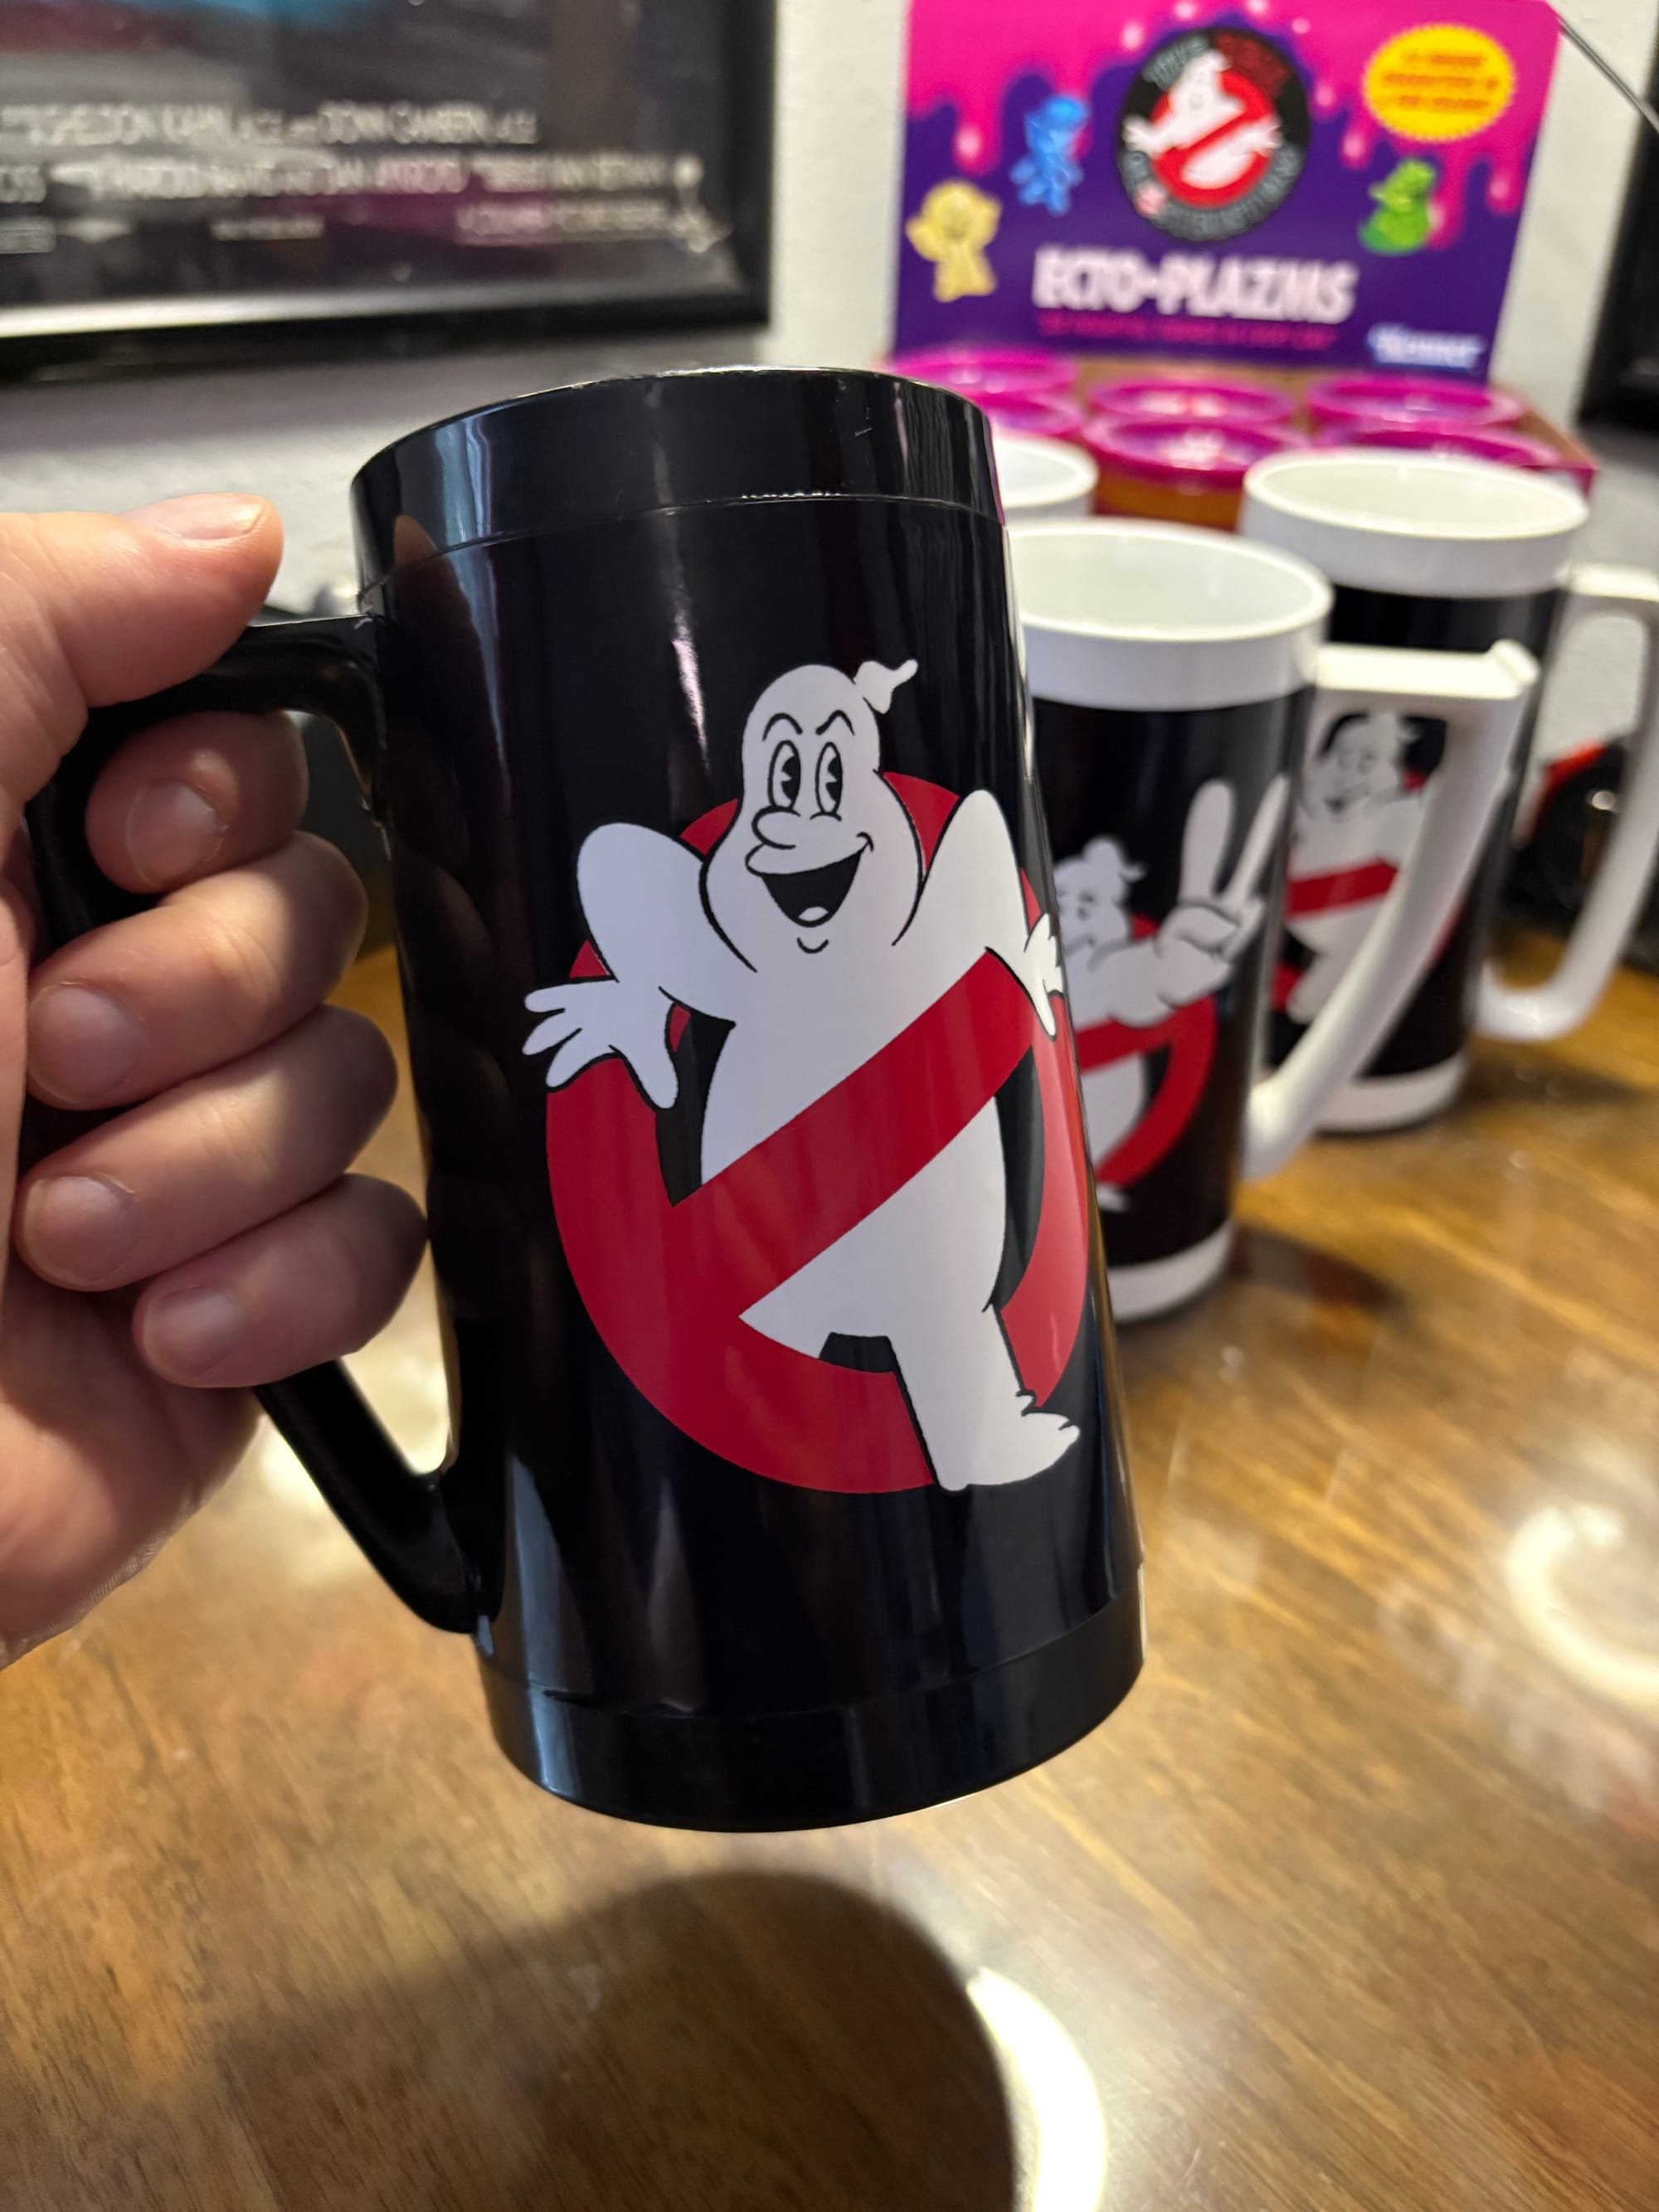
Finished mug on the right and original ThermoServ mug on the left
I made this so anyone can print it on a decent printer using sticker paper they can easily source, and you don't need anything more than scissors and maybe an X-Acto knife. It is probably medium difficulty;; it can be hard to line everything up and cut cleanly, but the bonus is that if you mess up, you can reprint it and start again. Below are the templates and some basic instructions. It comes in two parts: a piece that tucks under and over the handle, and a full wrap that covers part of that. Unfortunately, this means there are some seams, but the handle hides them decently.
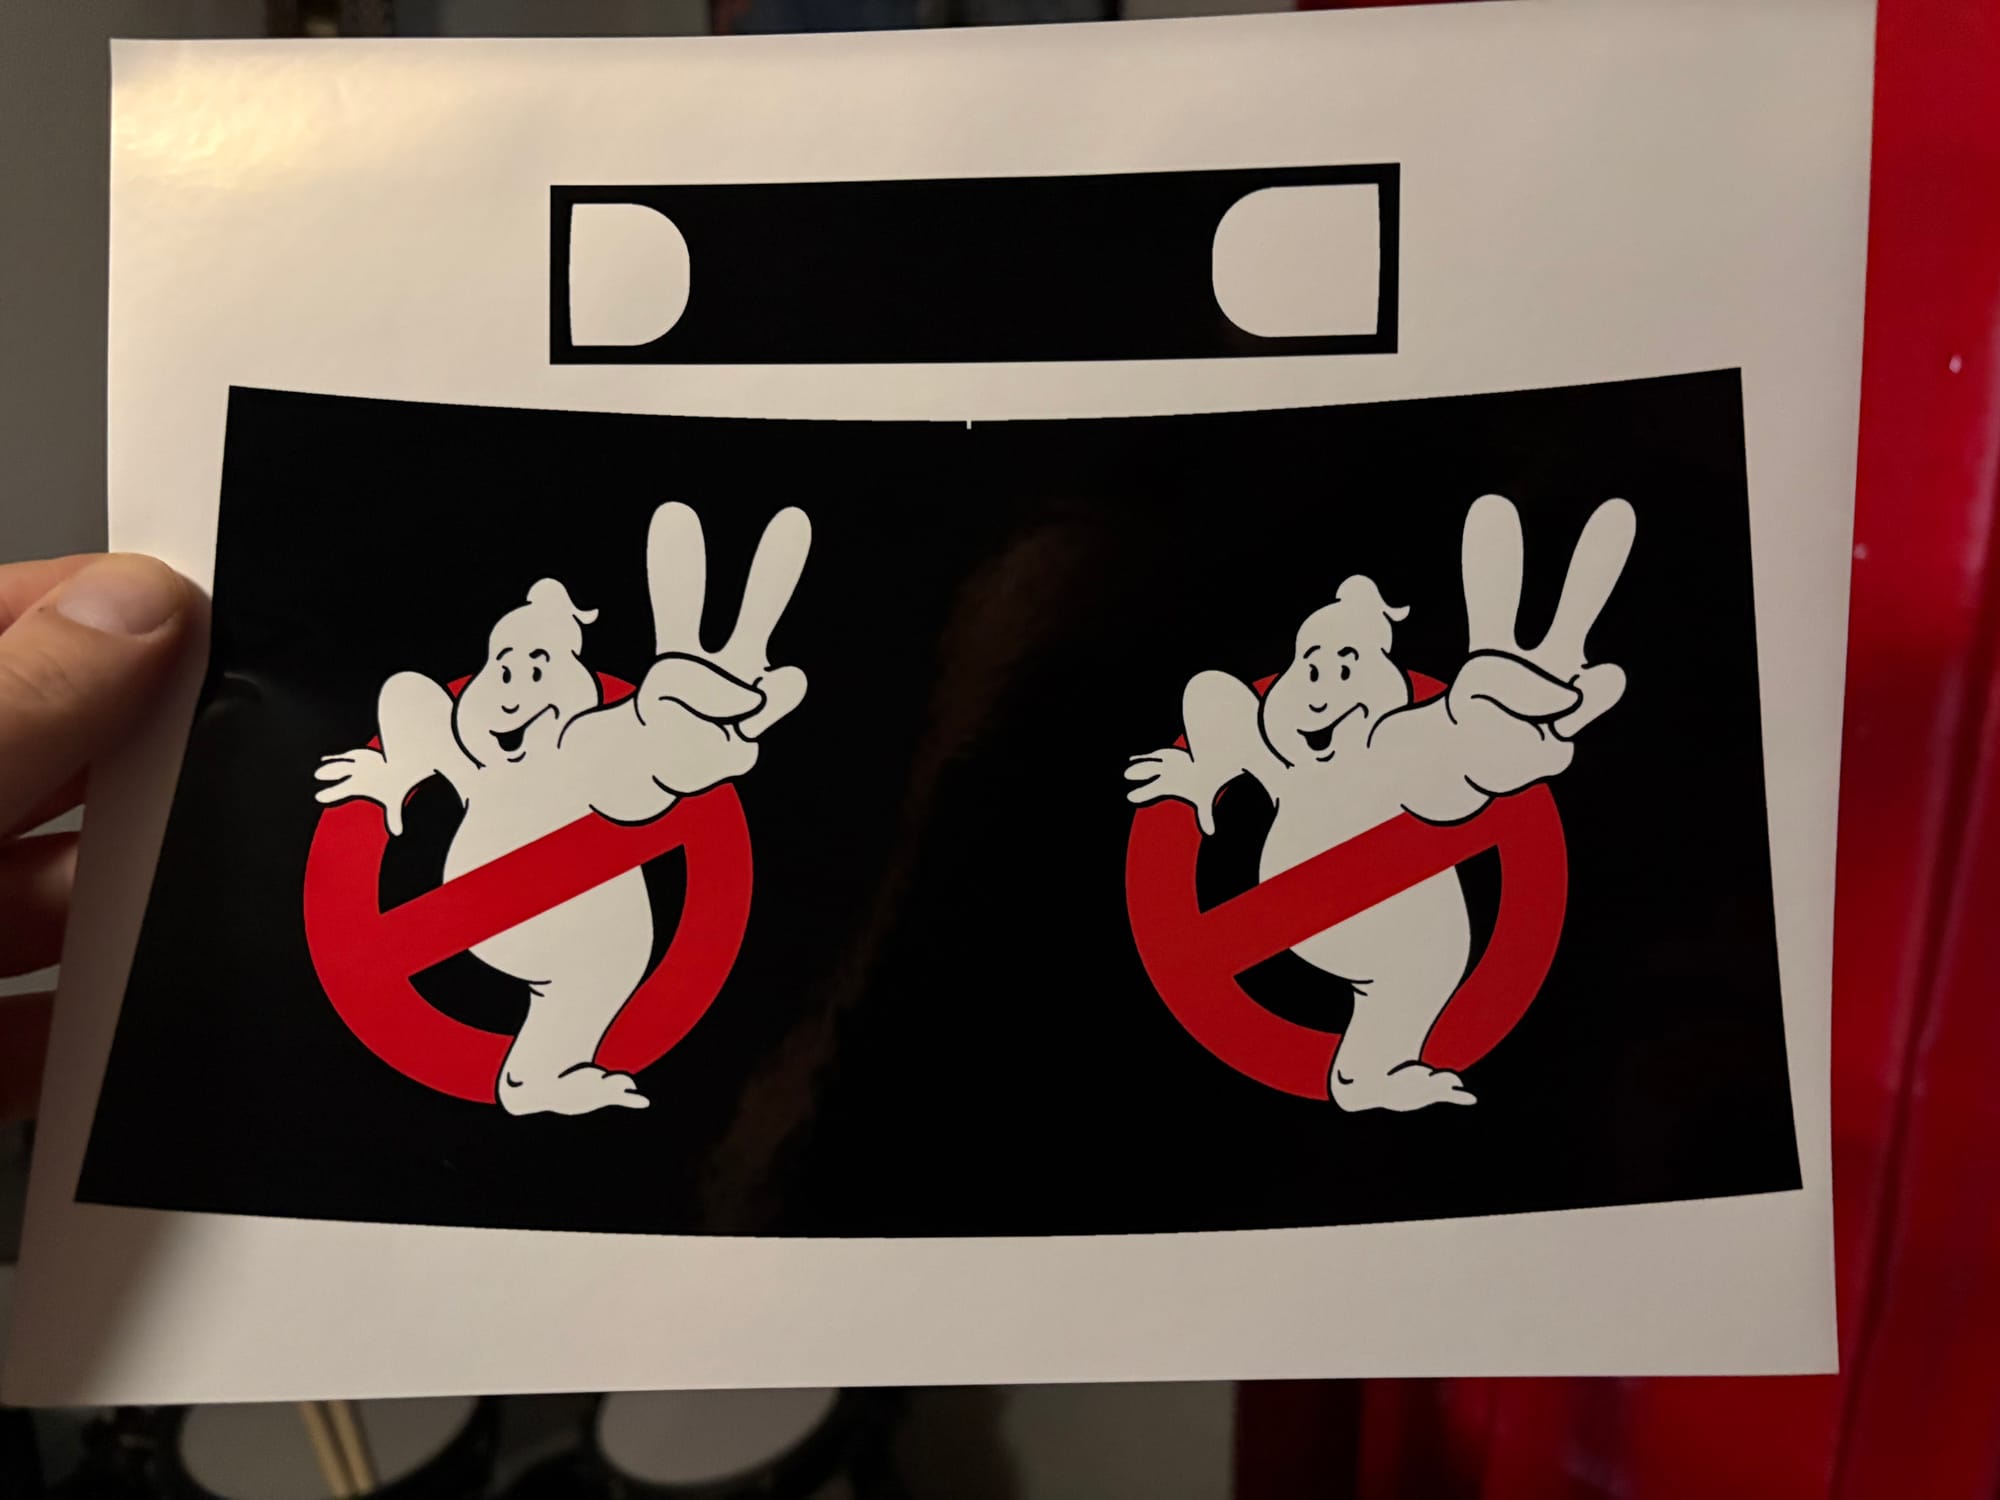
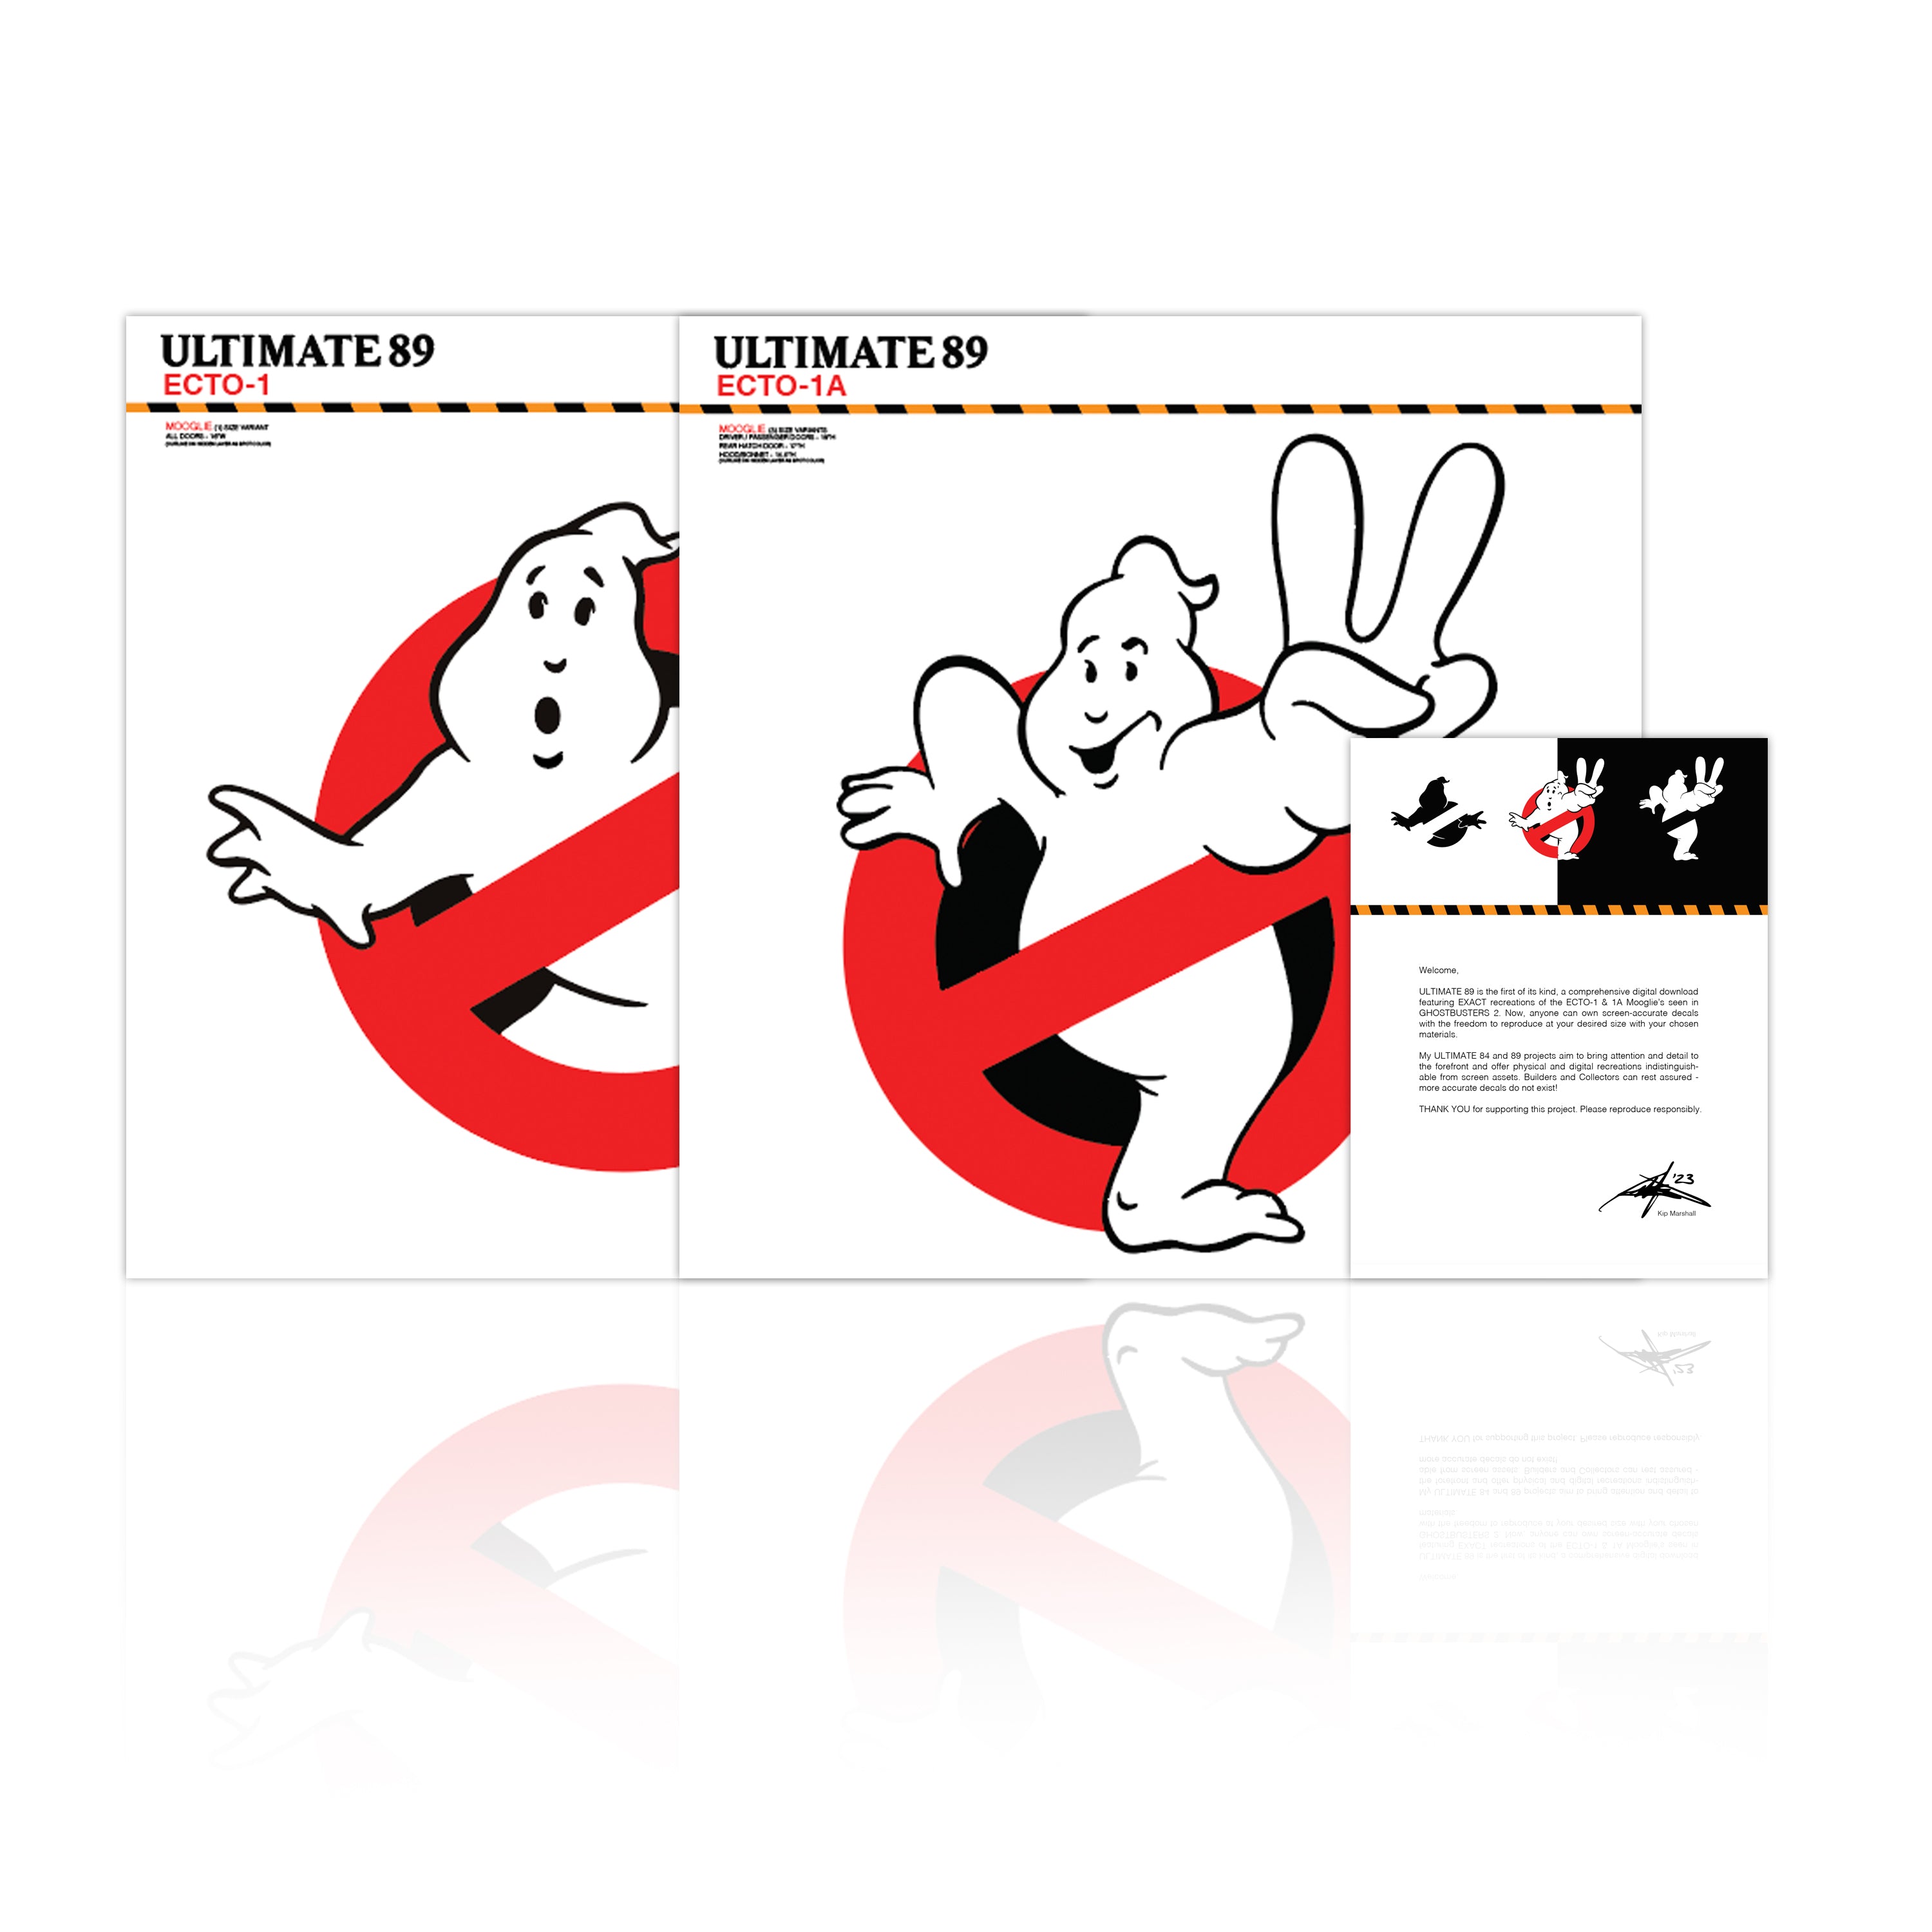
The template includes the logo, but I pulled it from the internet and quickly traced it. If you want the best-looking, highly accurate logo, buy the vector files from Ultimate84. These are intended for the Ecto-1A but are just wonderfully done recreations. You can also replace them with your franchise logo if you open the PDF in a program like Adobe Illustrator or Affinity and know how to place your vector or high-resolution raster logo.
 ULTIMATE 84 POP-UP SHOP
I'm also giving this away for free, so it is a fun project anyone can tackle. But I don't want this sold or distributed. This is for non-commercial work, so if you want to make and sell some, you'll need to source your own mug, take your own measurements, and handle your own testing and production. But feel free to reach out to me about adjustments or using it for your own project.
GB2 Mug Wrap © 2026 by Kevin Willingham is licensed under CC BY-NC-ND 4.0. To view a copy of this license, visit https://creativecommons.org/licenses/by-nc-nd/4.0/
Steps
- Print out the template
- Using small craft scissors or x-acto knife, cut out the handle and body wrap.
- Cut out the inside white space of the handle and cut apart the top tabs to allow it to slip over handle.
- Line up the handle wrap and put it in place.
- Use the white notch in the middle of the body wrap to line it up in the center of the mug, opposite side of the handle. Carefully wrap the one side and then the other, trying to keep air bubbles out.
- Once in place use an x-acto and trim any overlap around the handle for a cleaner wrap.
- Trim any black overlapping the white lip and bottom.
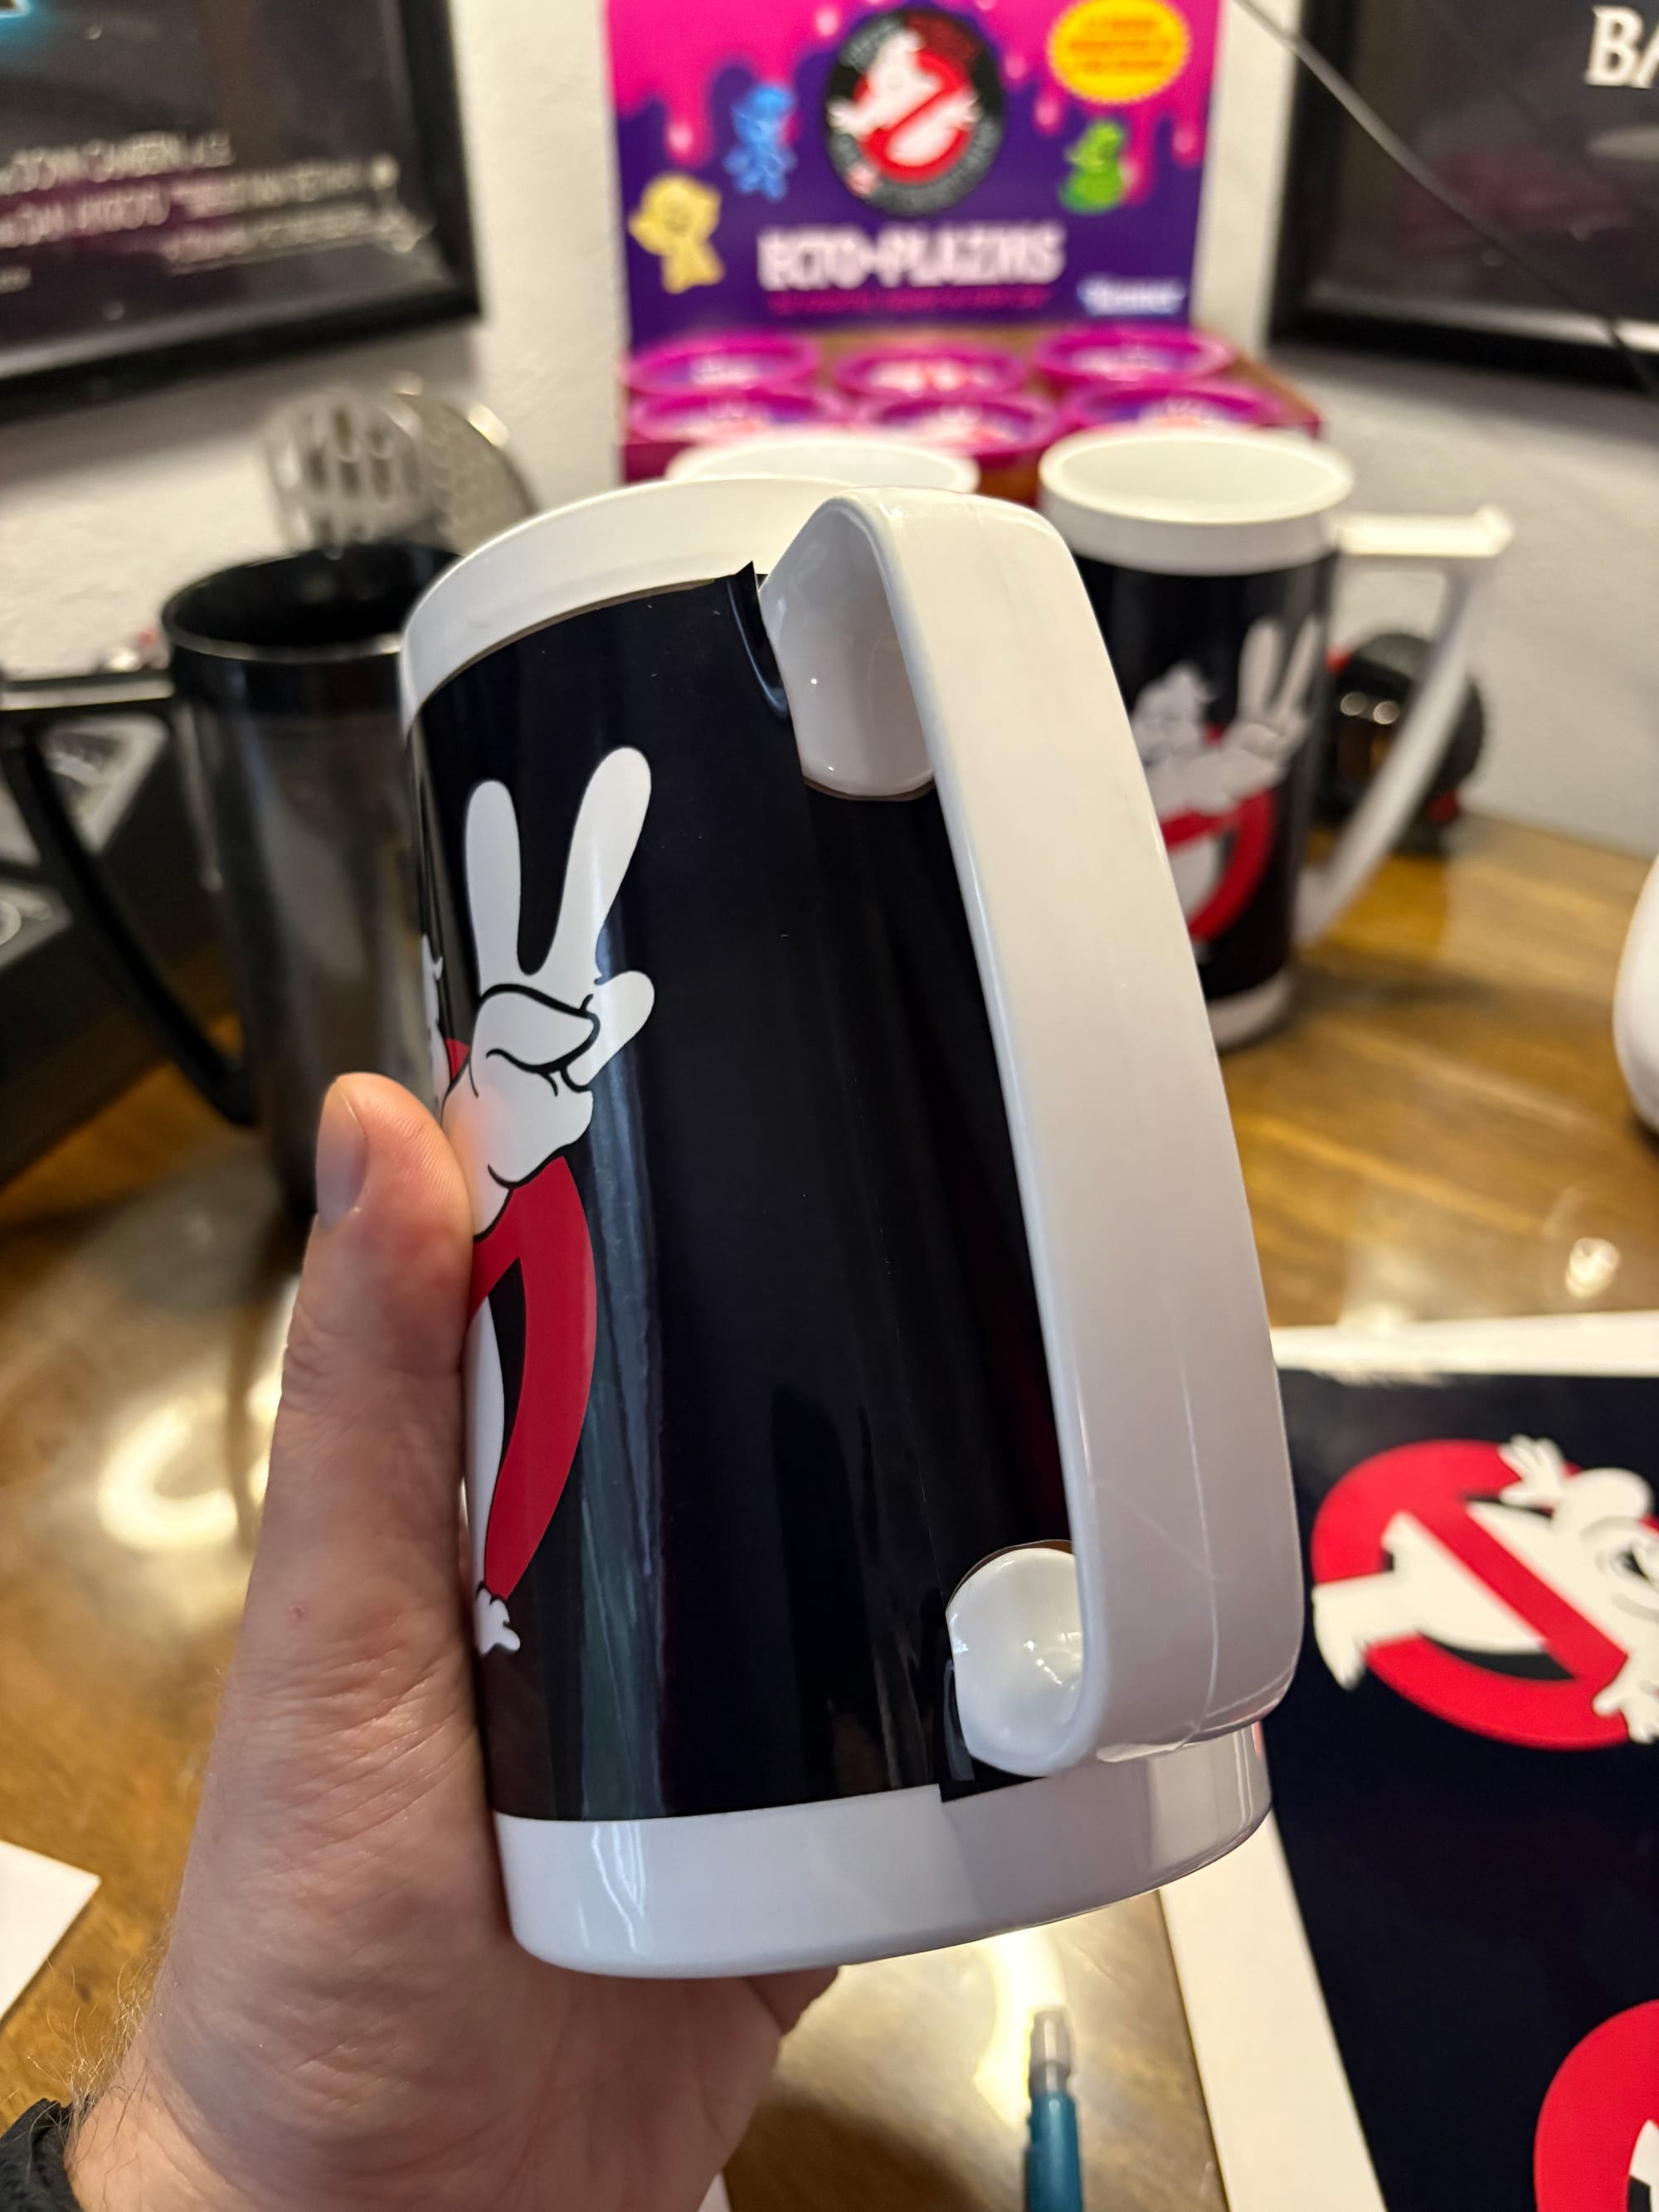
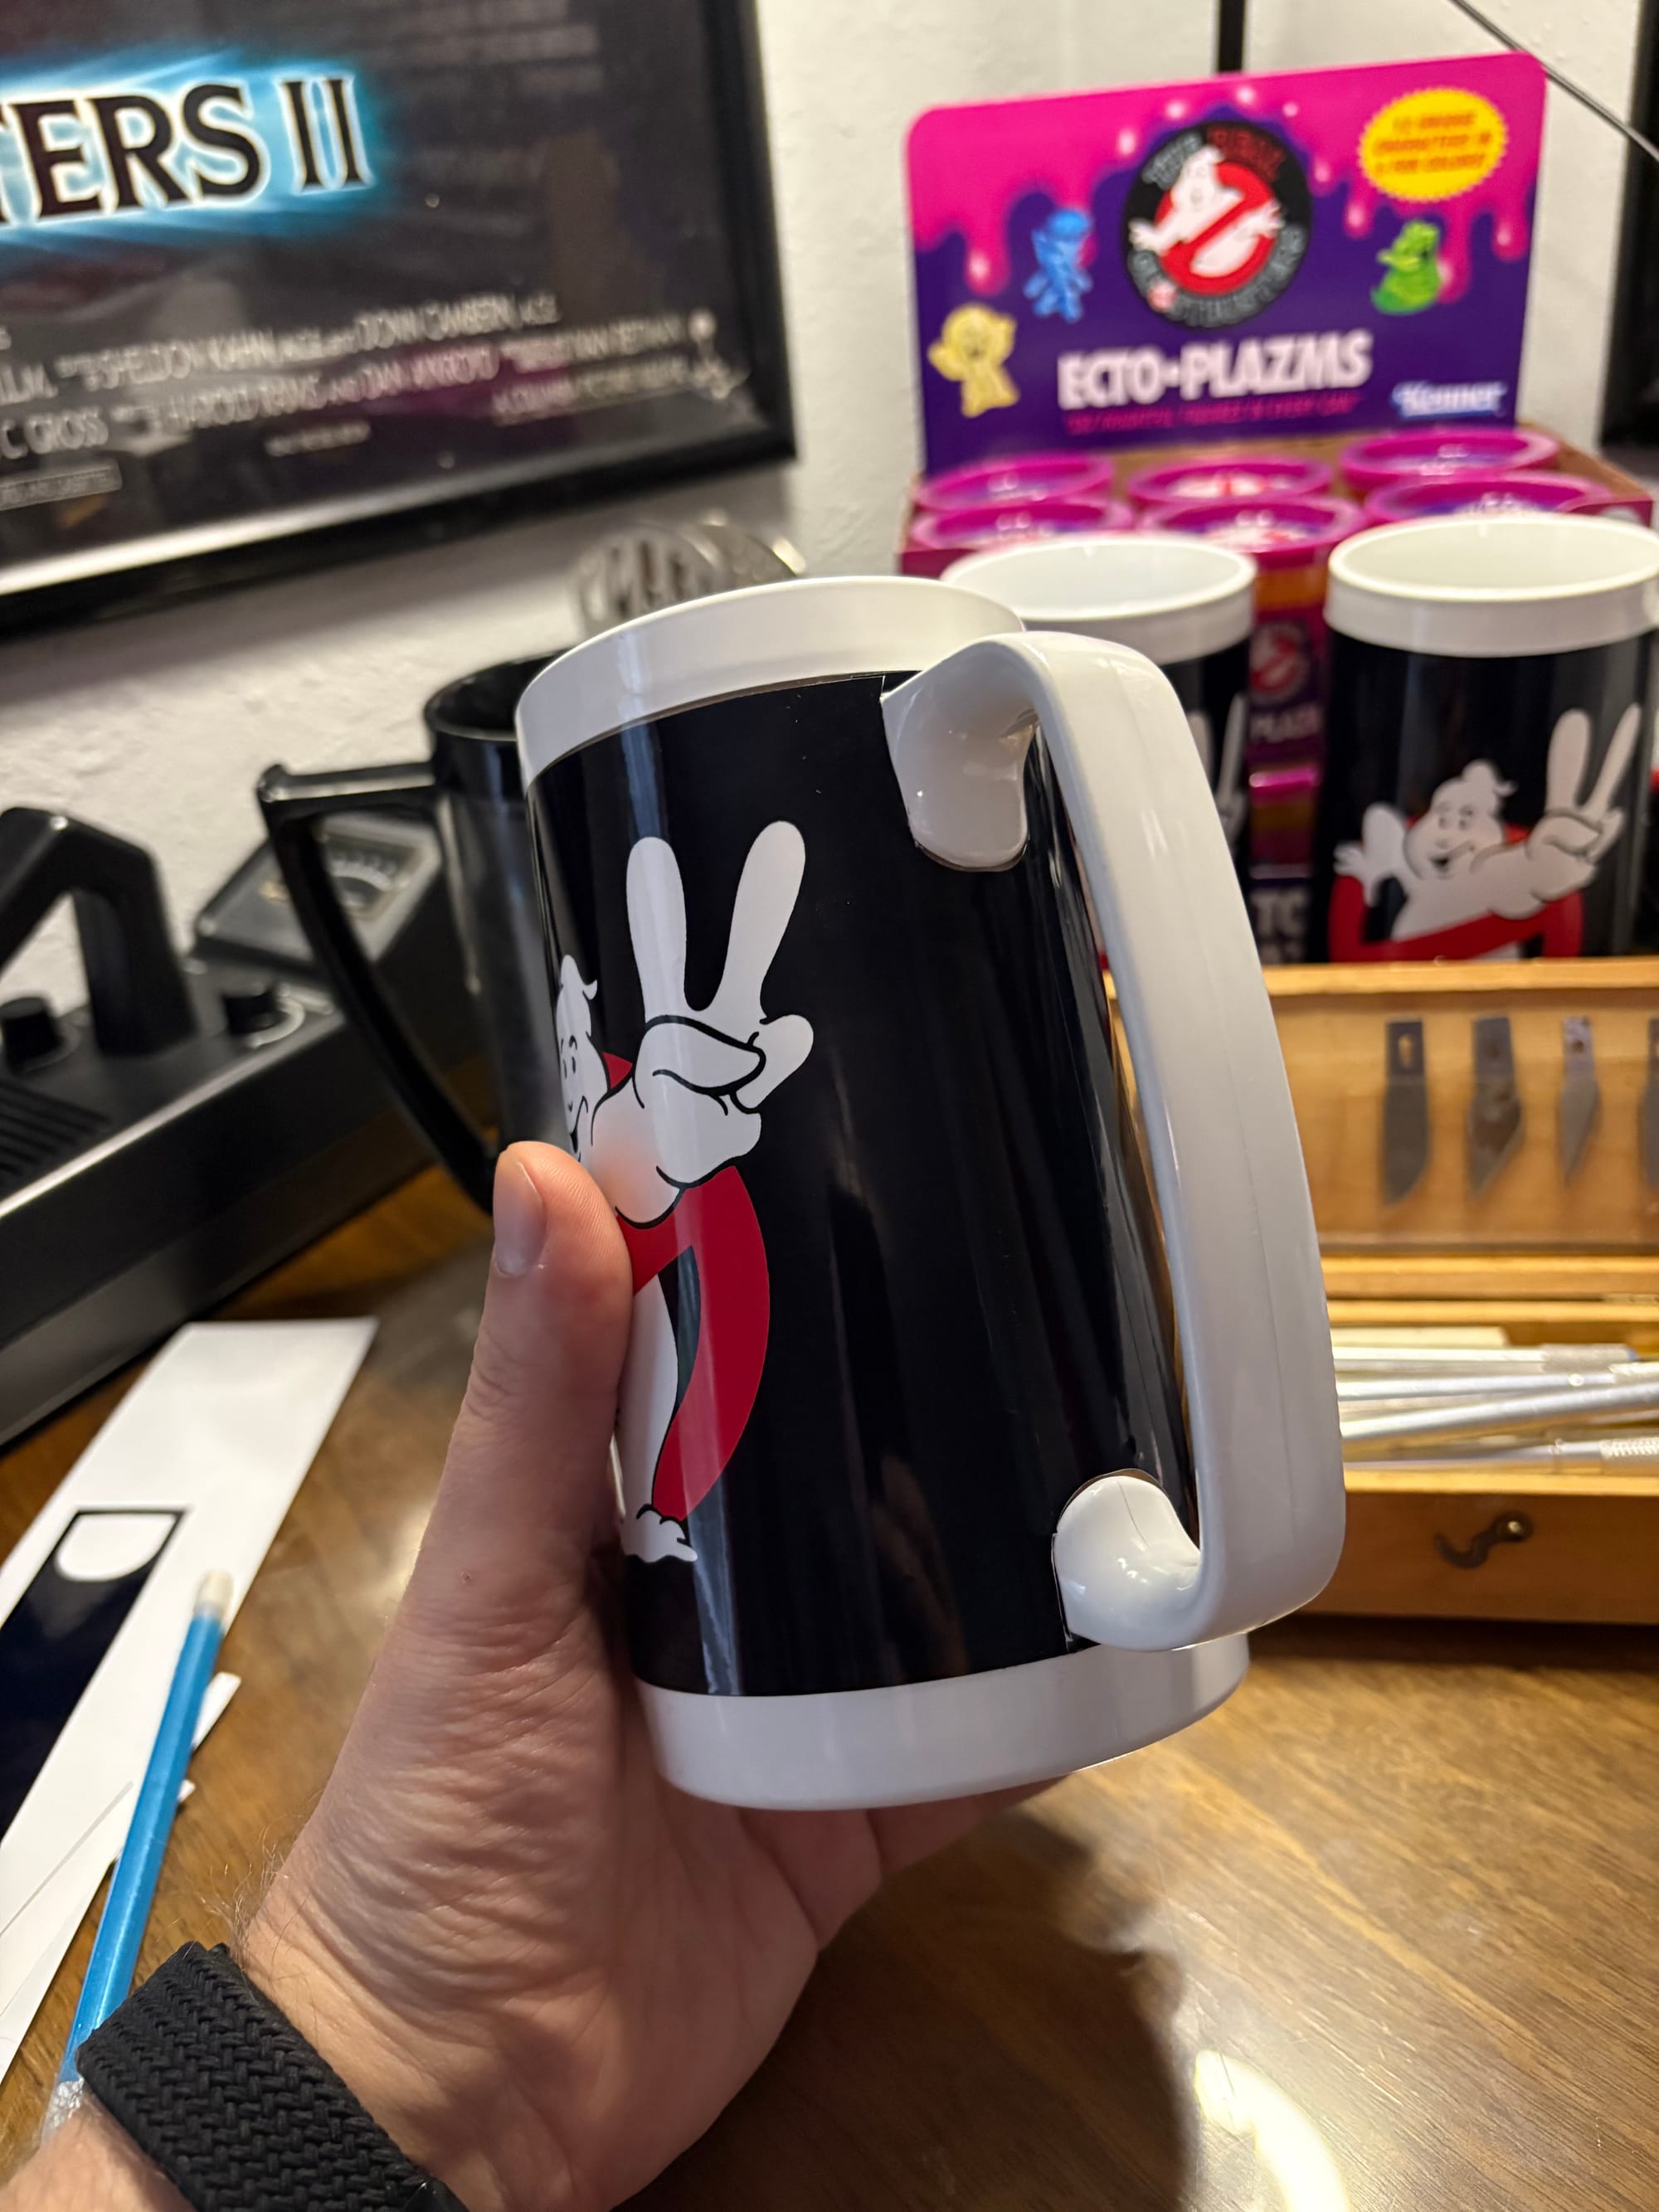
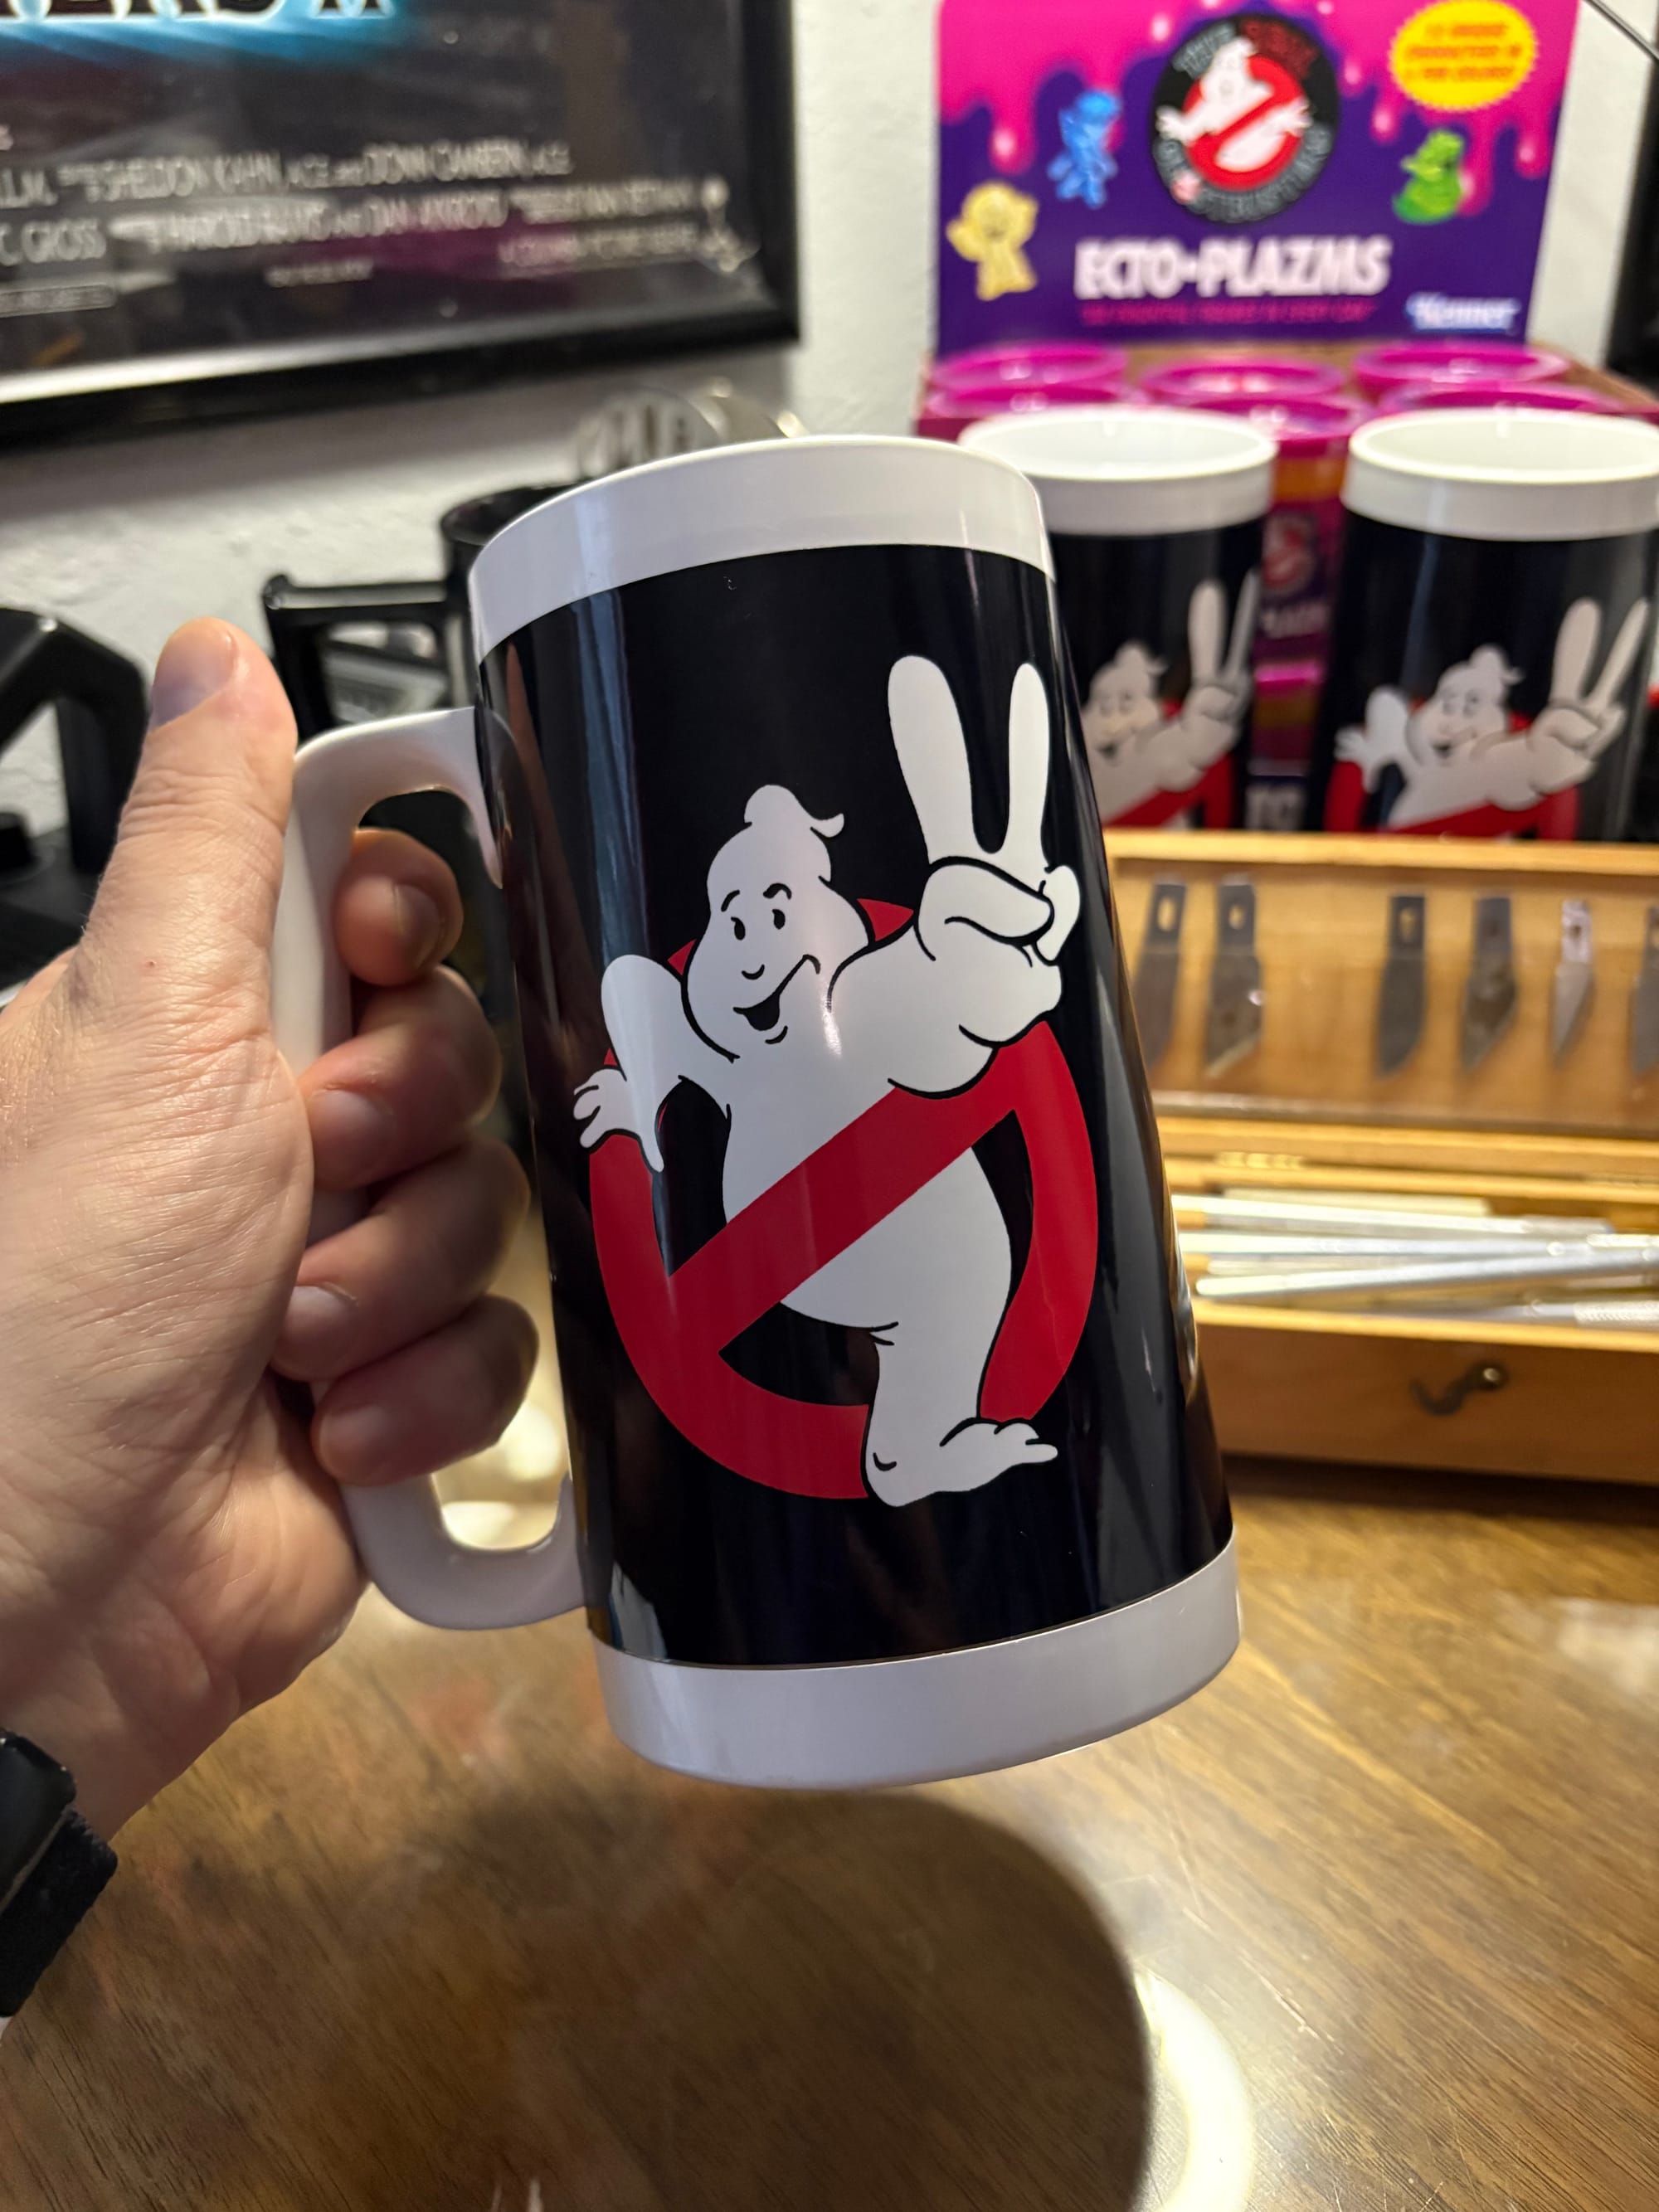
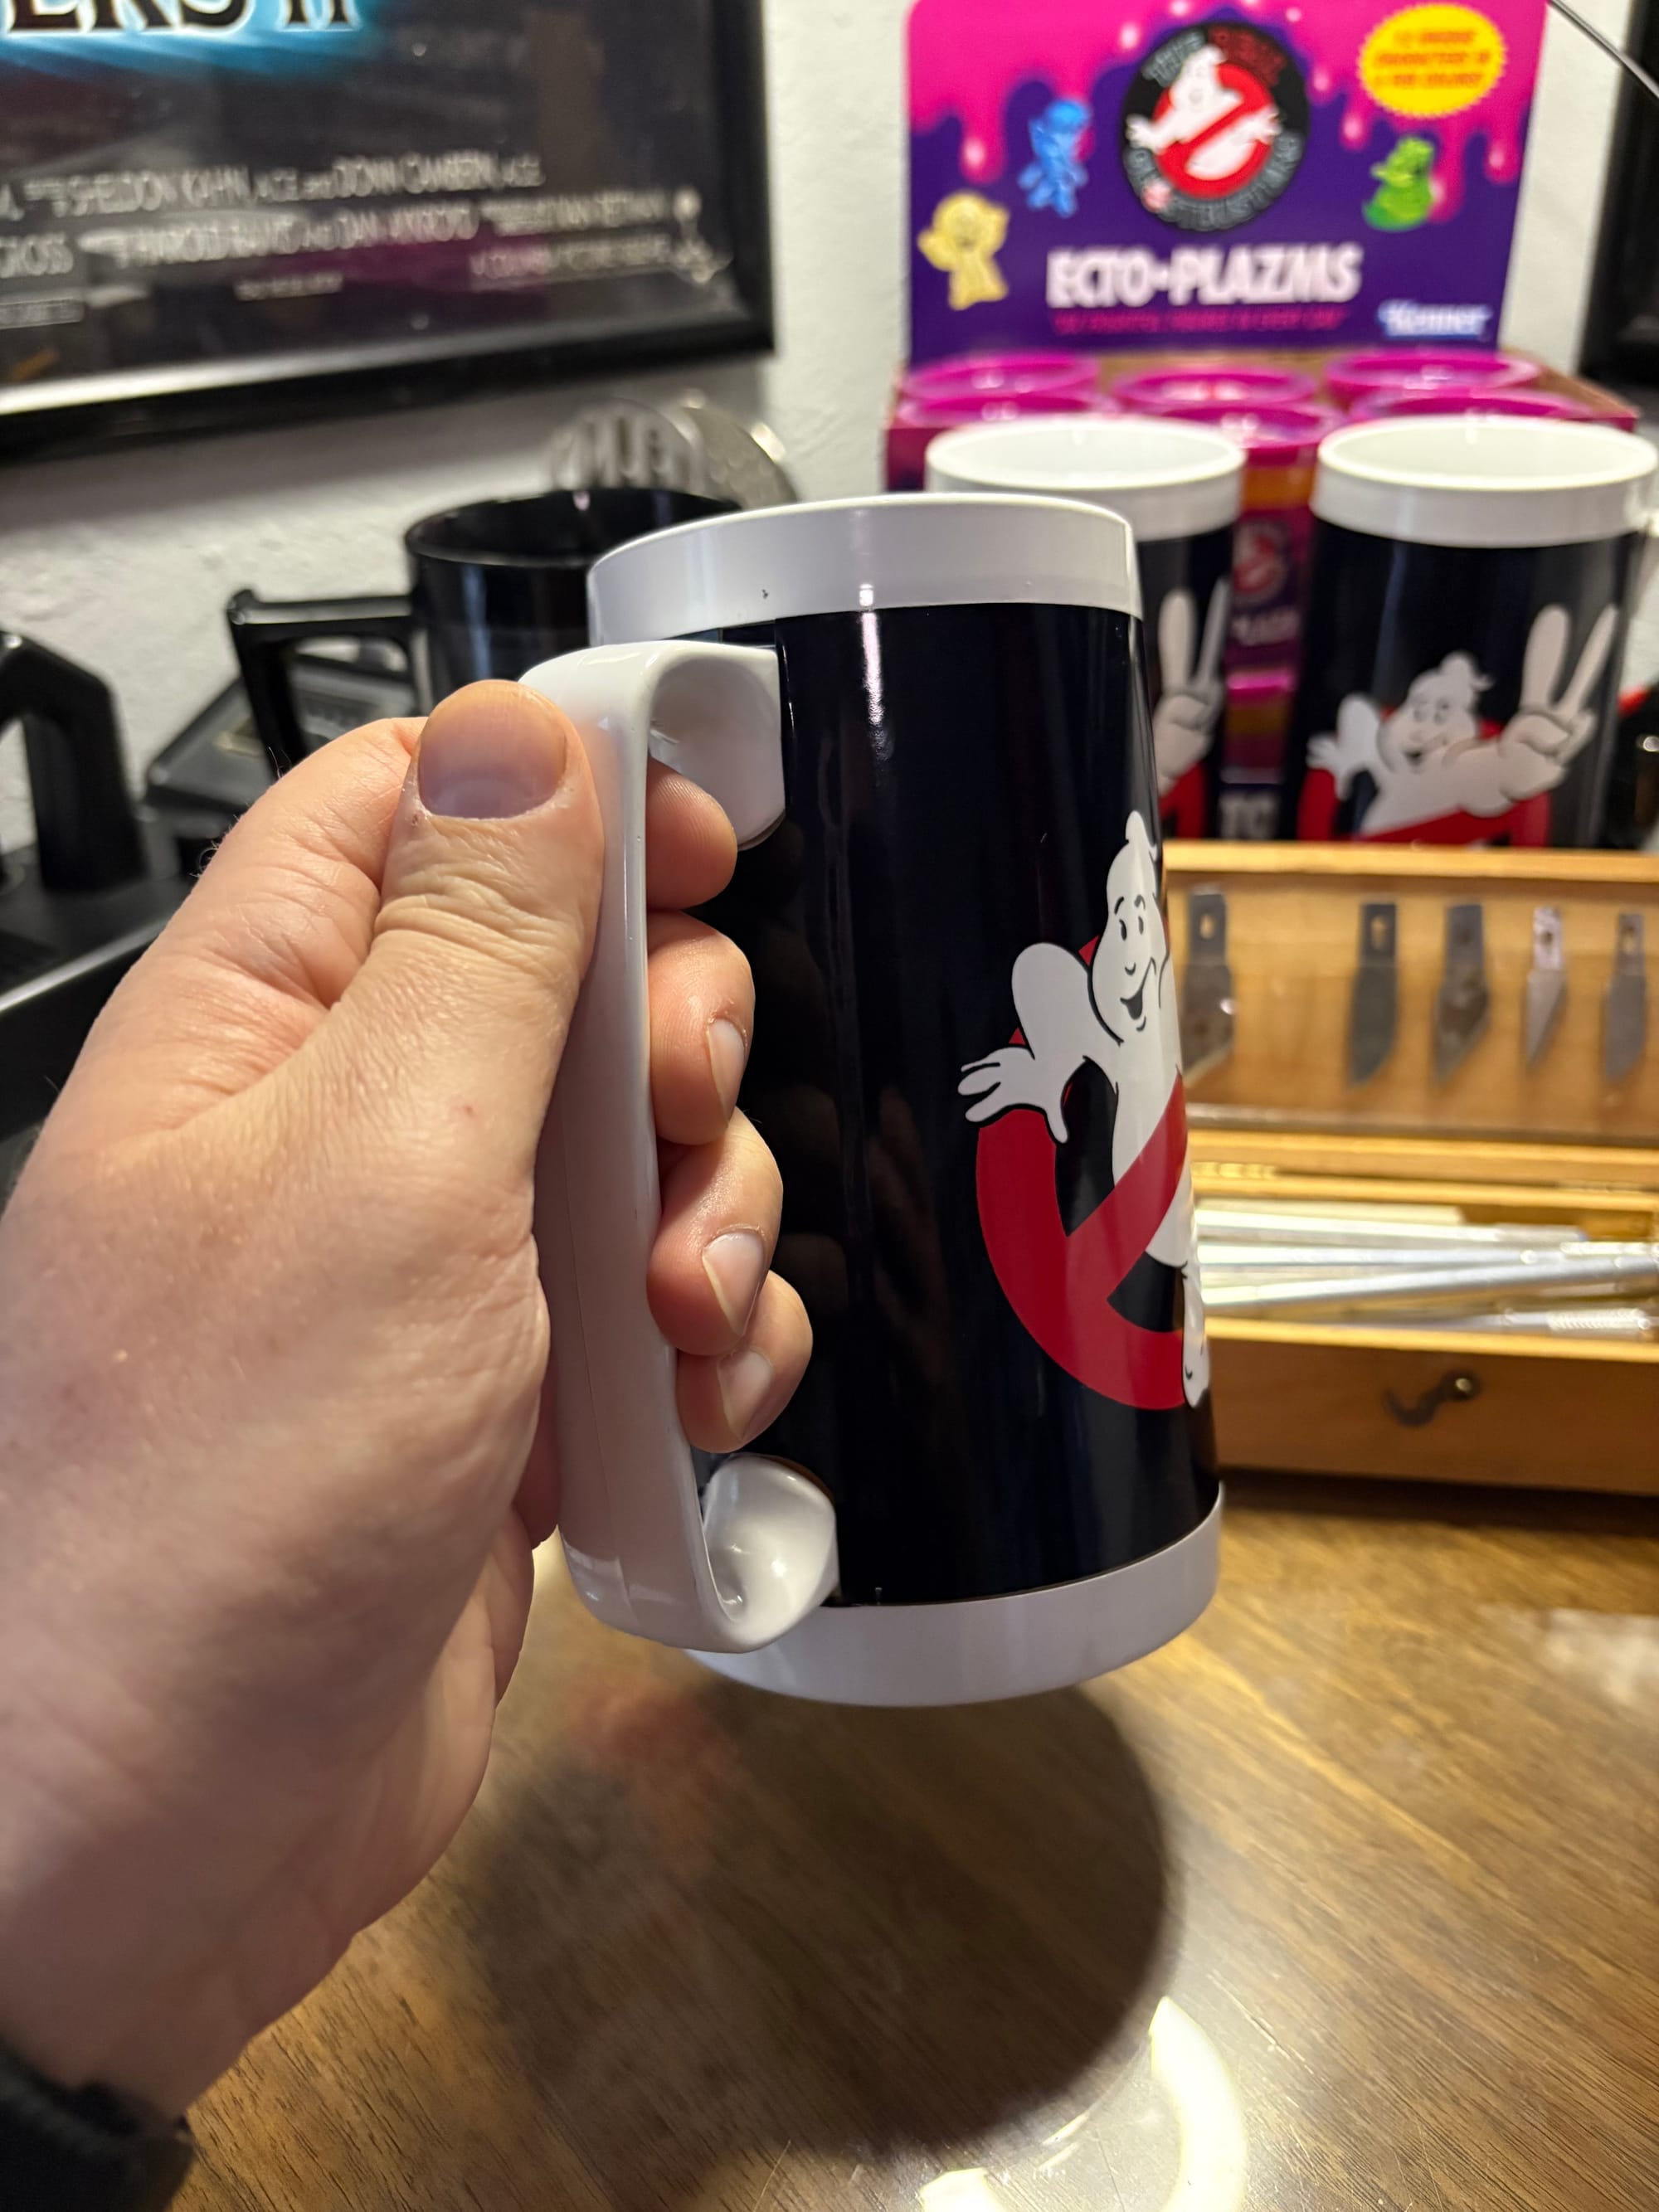
Top left, wrapped but untrimmed. Top center, trimmed. Rest are trimmed and finished mug.
Suggestions
This template is made with some extra tolerances. This is to make it easier to wrap by hand and because it doesn't seem like these mugs were all made exactly the same. The screen-accurate round handle I have barely doesn't touch the bottom lip of the mug, leaving not a lot of room for the wrap. By contrast the more common squared off handles have a lot more room on top and bottom, and have a bit of a different shape at the connection spots. To top it off, I have three of the square handle mugs and not one of them was exactly the same as the other in their placement, I would assume the round handles might have a similar issue. But the distance between the top and bottom of the handle seemed to stay consistent.
So the handle sticker hangs over on top and bottom, you should line it up at one end or the other and keep it as straight as possible as you push it down to the next spot. Then at the end of the entire thing, you can trim off any excess.
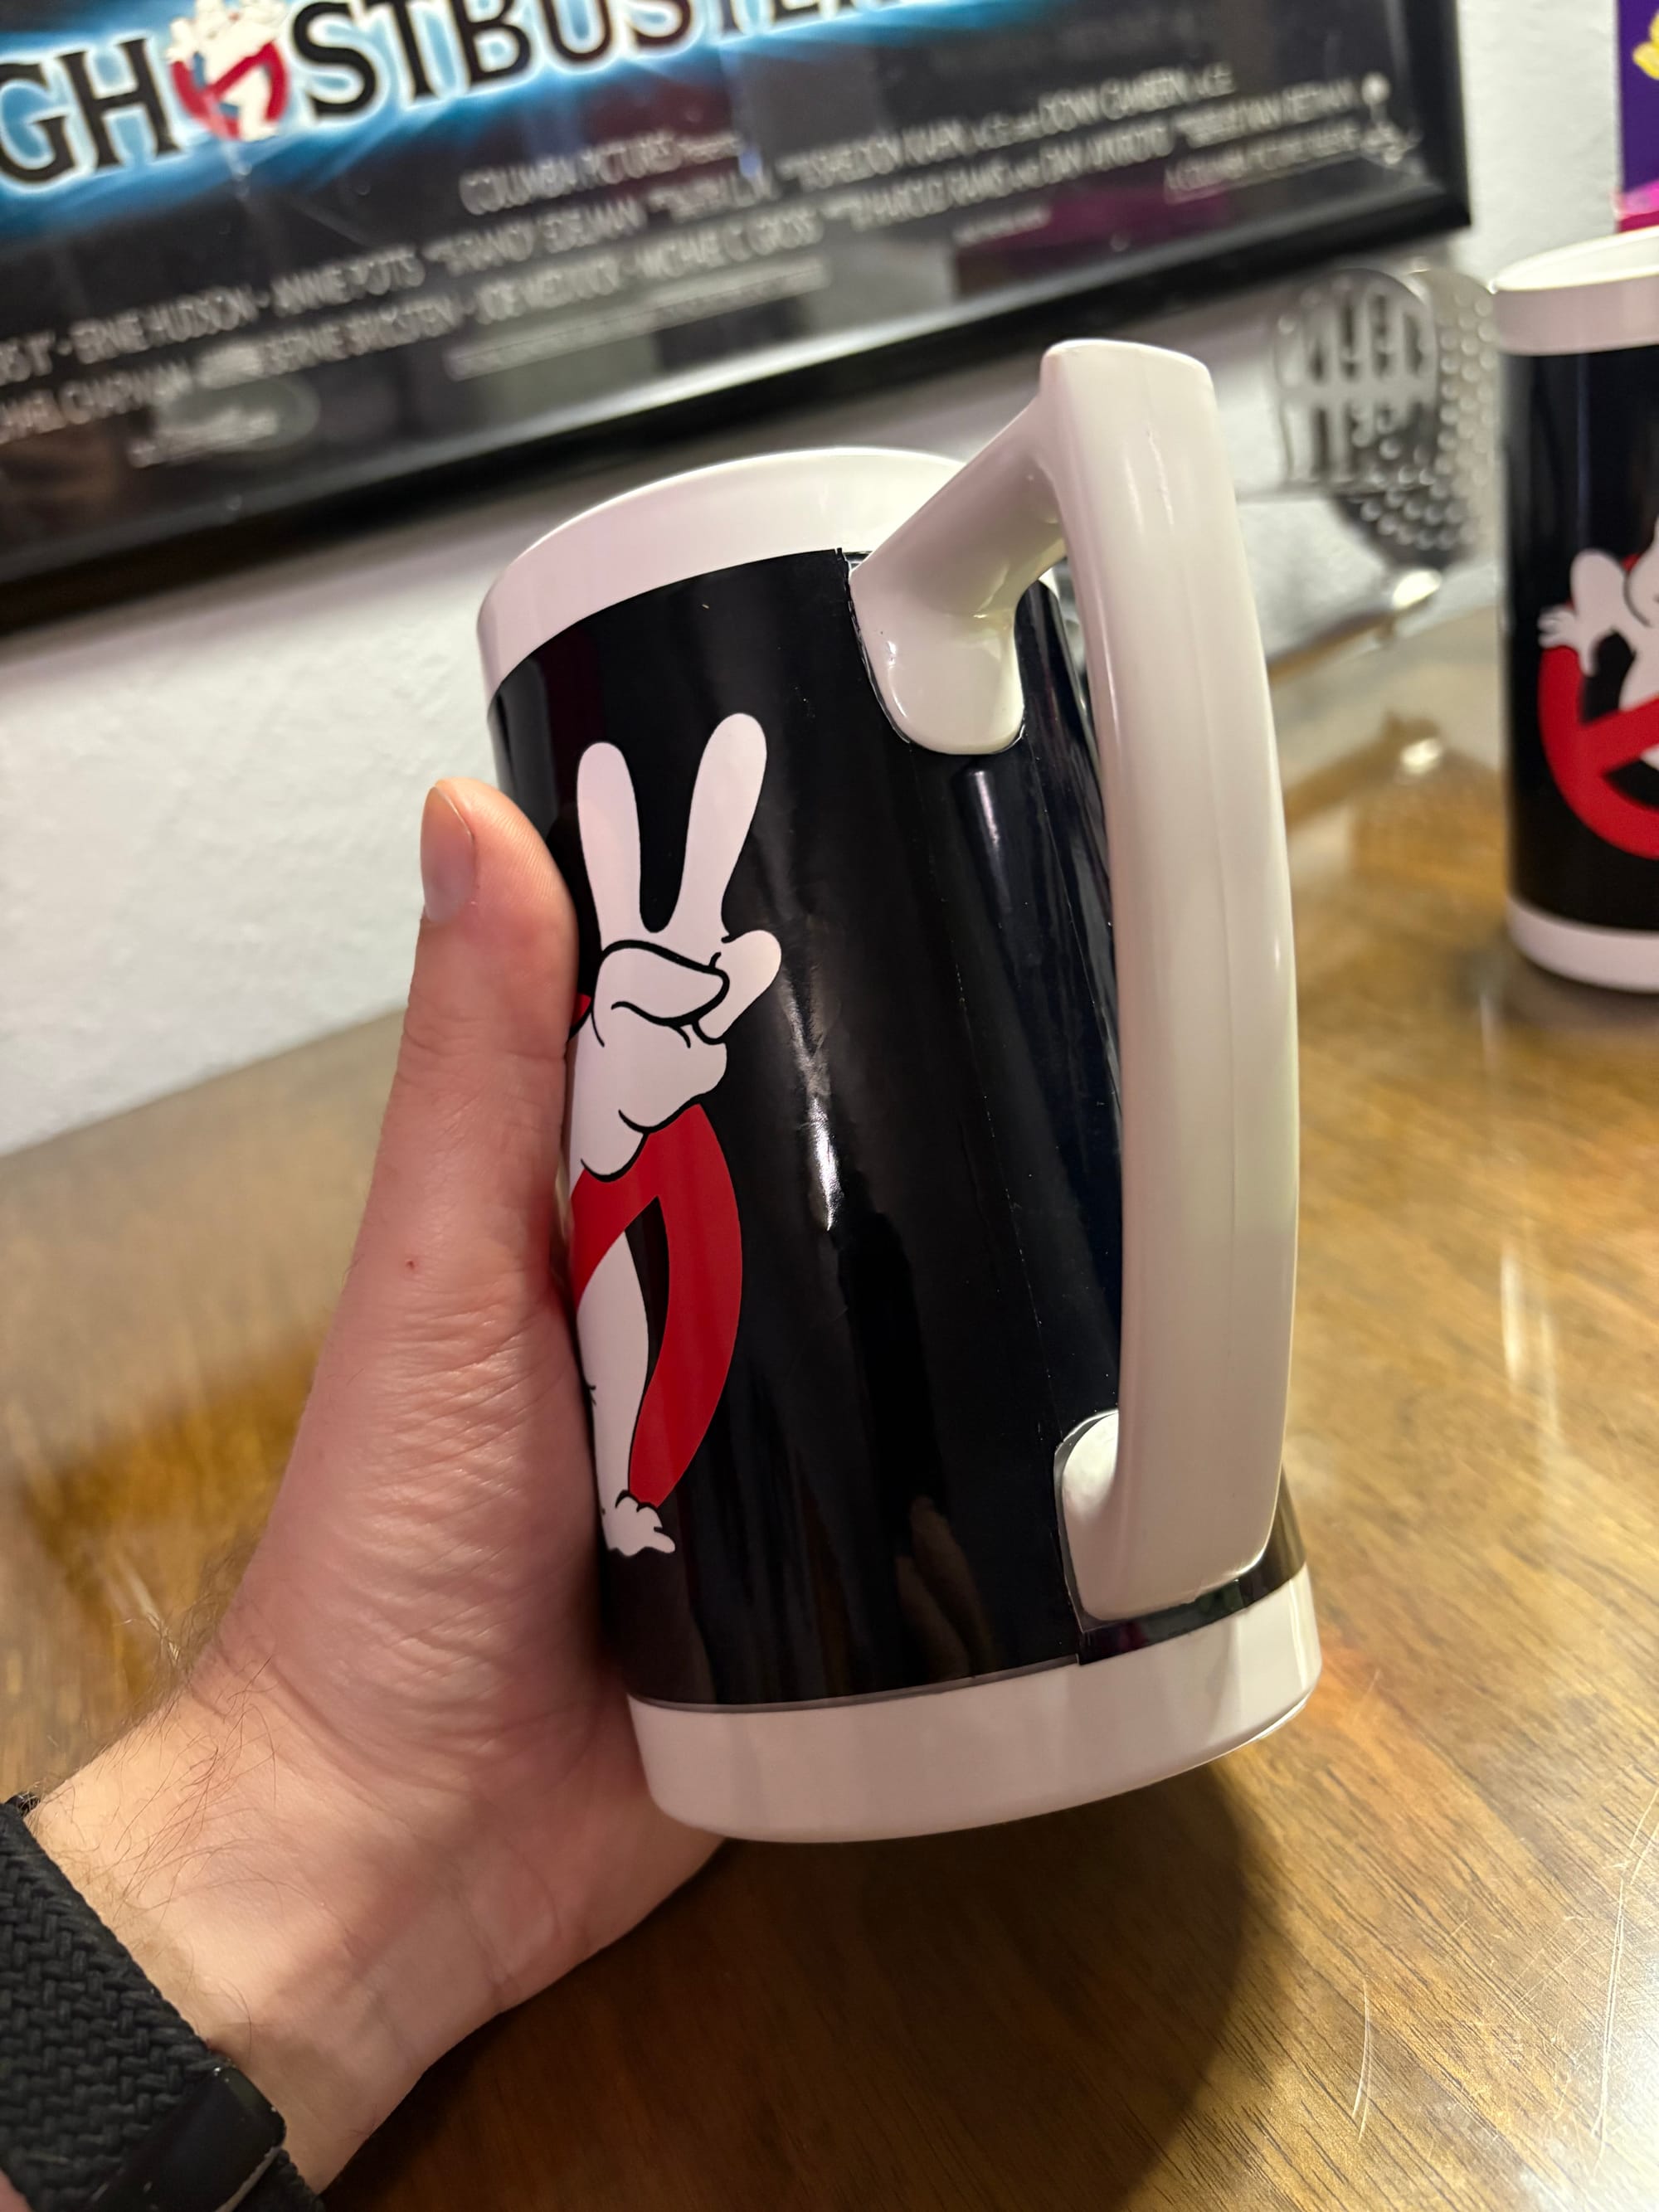
The wrap is curved for easier placement and has a small white notch to help you line up the center. It might be difficult to get it exactly straight so it might show an edge on top or bottom if it's not straight vertically, or you might overlap too much on the handle. Depending on your vinyl/label/sticker paper choice you should be able to pull it back up and realign a bit. Once you get it down the way you like it, the edge overlaps the handle sticker and the handle edges. This is to help cover any gaps from placement issues under the handle, bad cuts, or uncentered placement. Use an x-acto from there to trim around the handle edges and then press down to make the wraps flush.
If you have a Cricut or similar cutting machine I suggest placing a bunch of the handle pieces on a page and having the machine cut them out. The handle is the hardest part and one sheet can fit about 7 on there. This will give you more ammo for errors and you can make multiple with one sheet and less cutting.
If you buy glossy sticker paper or "printable vinyl" it should be water resistant, but don't expect the label to last forever if you intend to use it and the colors may run if left wet for too long, especially the black onto the white. But if you're careful with it and don't get the label too wet or too messy, you should be able to use it for light drinking especially with plain water. But if it does get ruined, peel it off, clean it with goo-gone, wash the whole thing, dry real good, and then re-do the wrap. You can also try laminate sheets over the labels, or a spray sealer before applying.
Again this won't look seamless, and may be messy depending on your luck and skill. So have fun with it and don't stress! You can always re-do it. Wrap your mug, carry it around at the next convention, and then shelve it until next time and then re-wrap it after a few times.
Happy Bustin!

Comments ()