

Hasbro Build Log: Entry 2
I assume from here on out, most of these will be a bit shorter than my first one. The first batch of modifications was based not only on parts I already had, but also on stuff to take that visual impact up a notch immediately. Those new tubes and connectors make a huge difference; changing the screws or adding a weld probably won’t matter to most people. But it's all part of the fun!
HasBrackets
So the Haslab Afterlife pack and the ‘84 come with straps and a kidney pad, but they attach directly to the “motherboard.” It works, and they didn’t cheap out, but it definitely leans into it being a fancy toy rather than a piece of equipment. Plus, the straps provided are a brighter, shinier green material rather than the olive drab you’re looking for to match the on-screen props.
I bought a Fox Outdoor LC-1 ALICE frame as it was readily available, and I had heard for years that Rothco brand frames tend to break. I was corrected that Rothco has since fixed the structural problems and has a more correct bend at the top compared to the Fox. Rothco frames were used in the production of Afterlife and Frozen Empire, so maybe I should have just gone with that, but I don’t have any real complaints about the Fox brand frame either.
To mount the frame, I chose HasBrackets from Dirt Farmer Industries. Unlike other mounting systems, including the ones that came with the original Haslab, HasBrackets uses a system that grips the center bar rather than relying on pressure alone by sandwiching the frame between a spacer and a U-bracket. I liked the idea of this and felt like I was getting a little more engineering for my dollar.
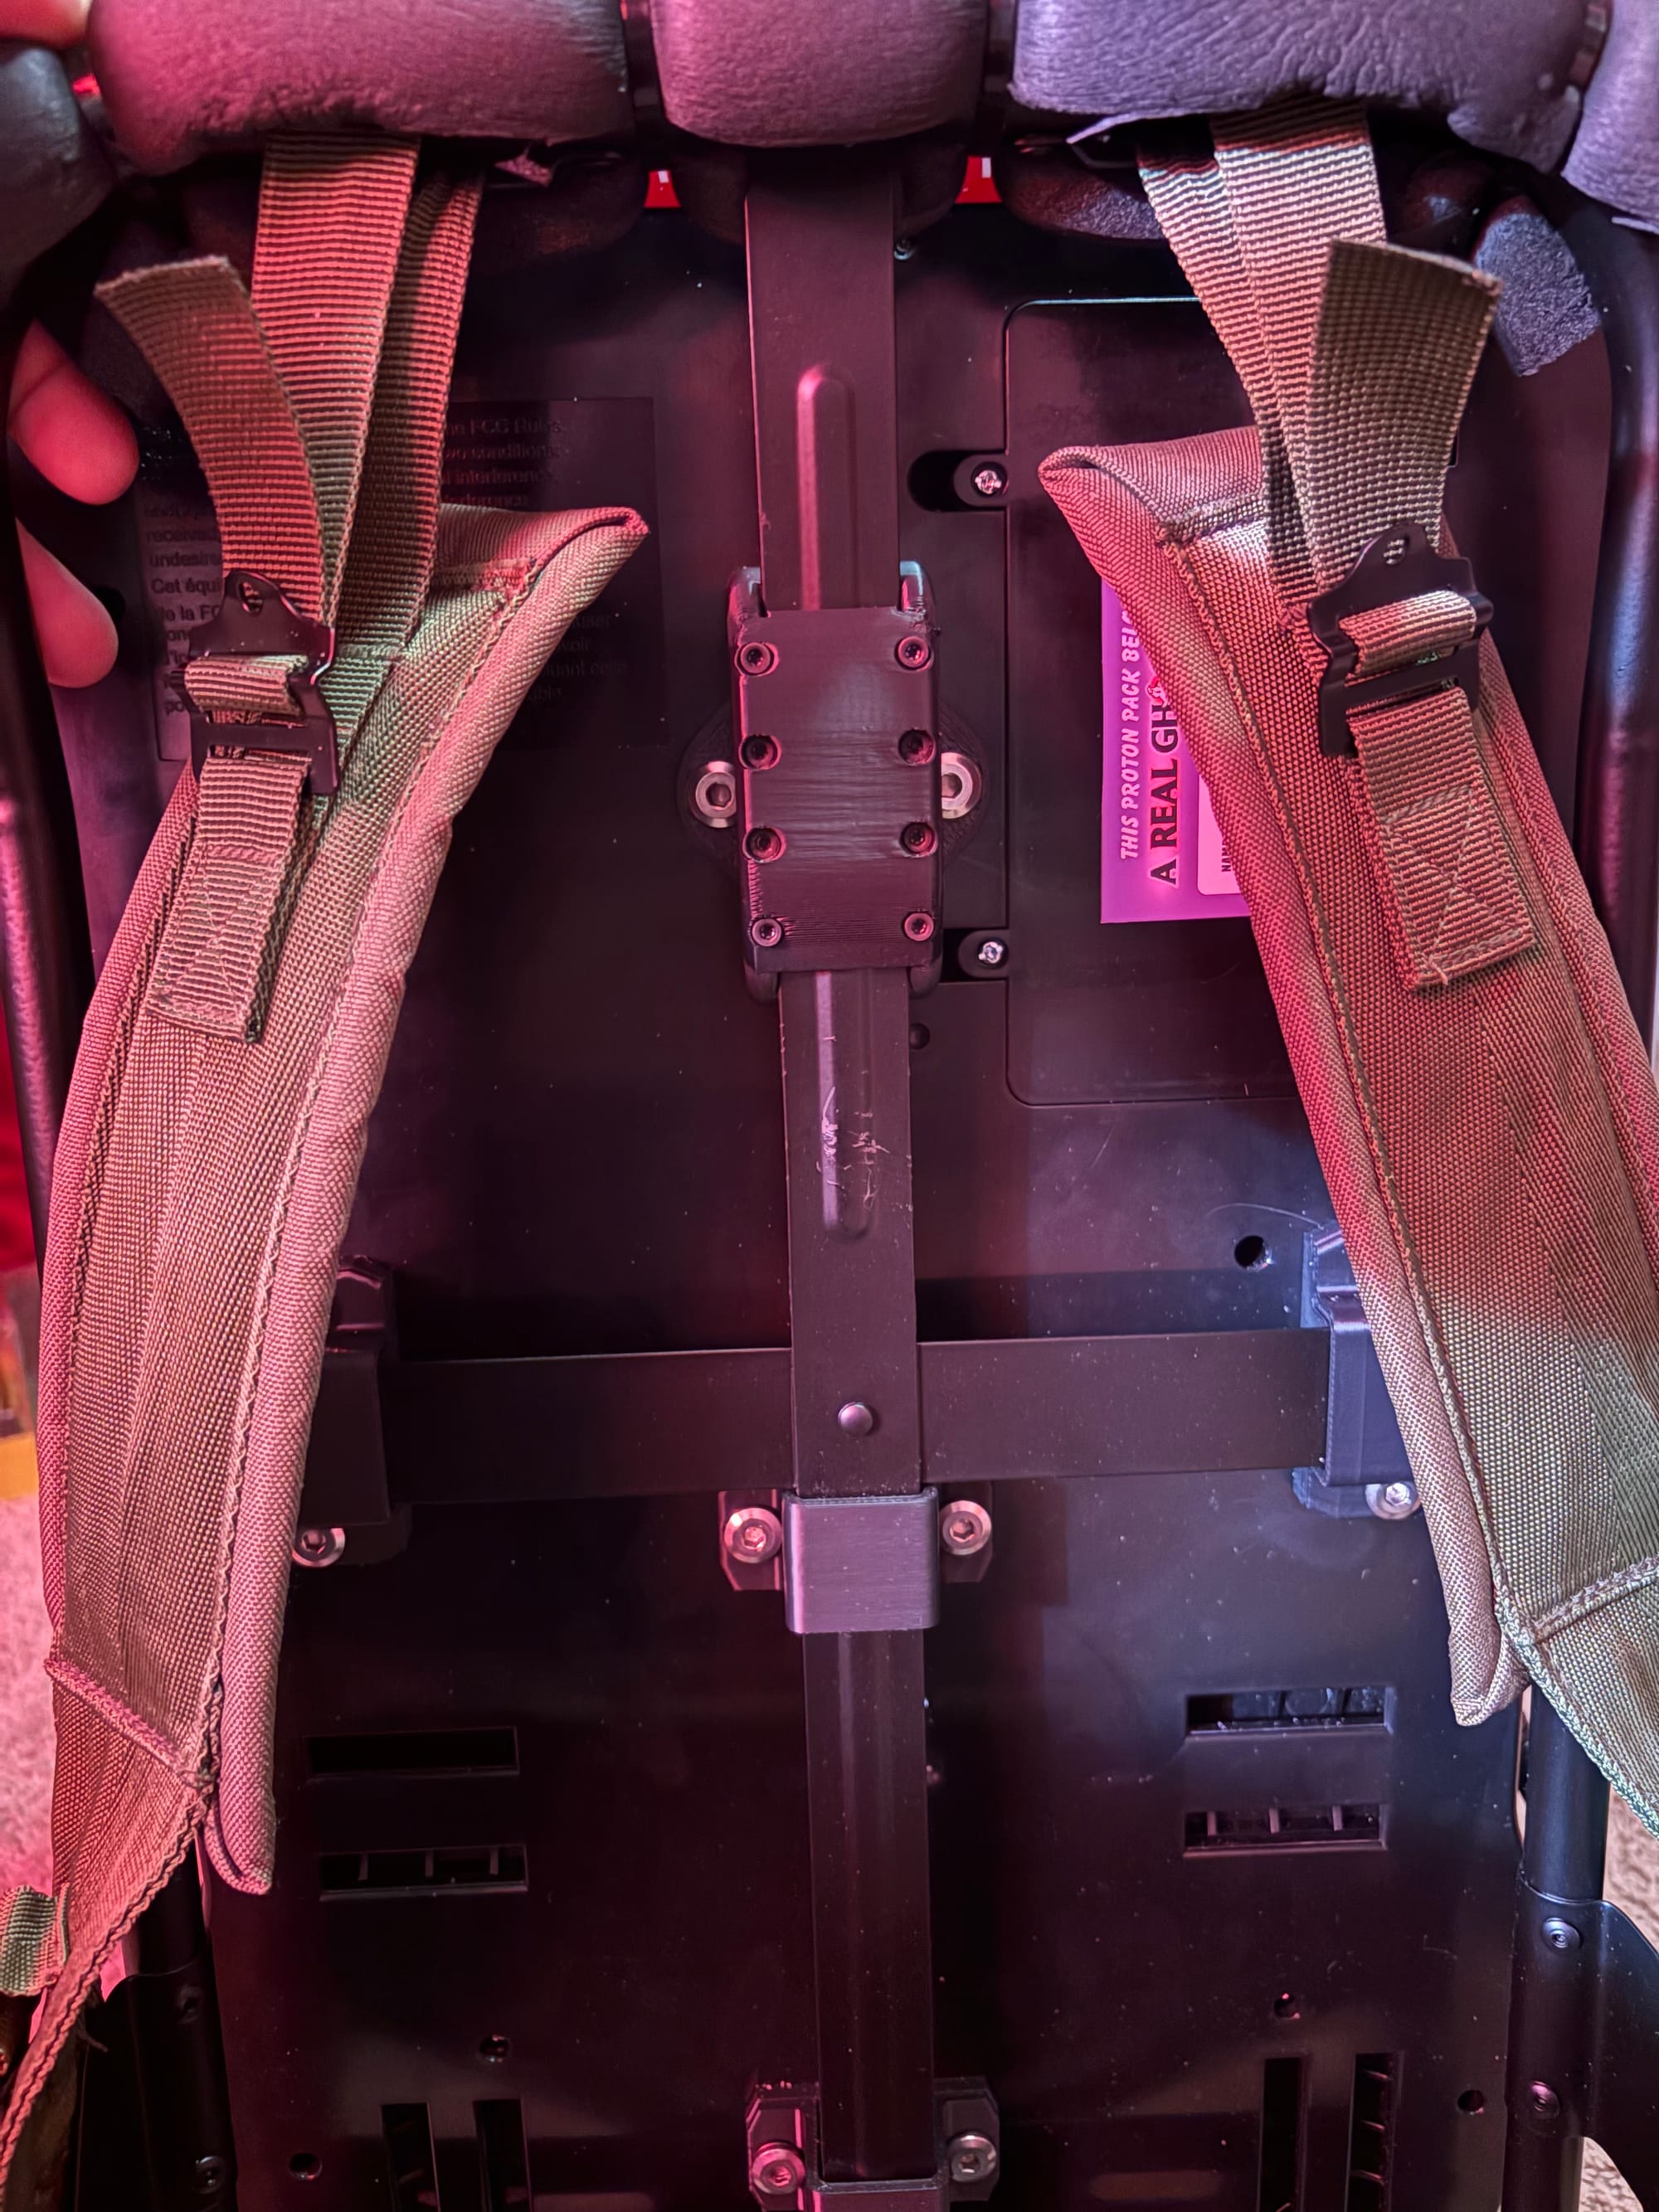
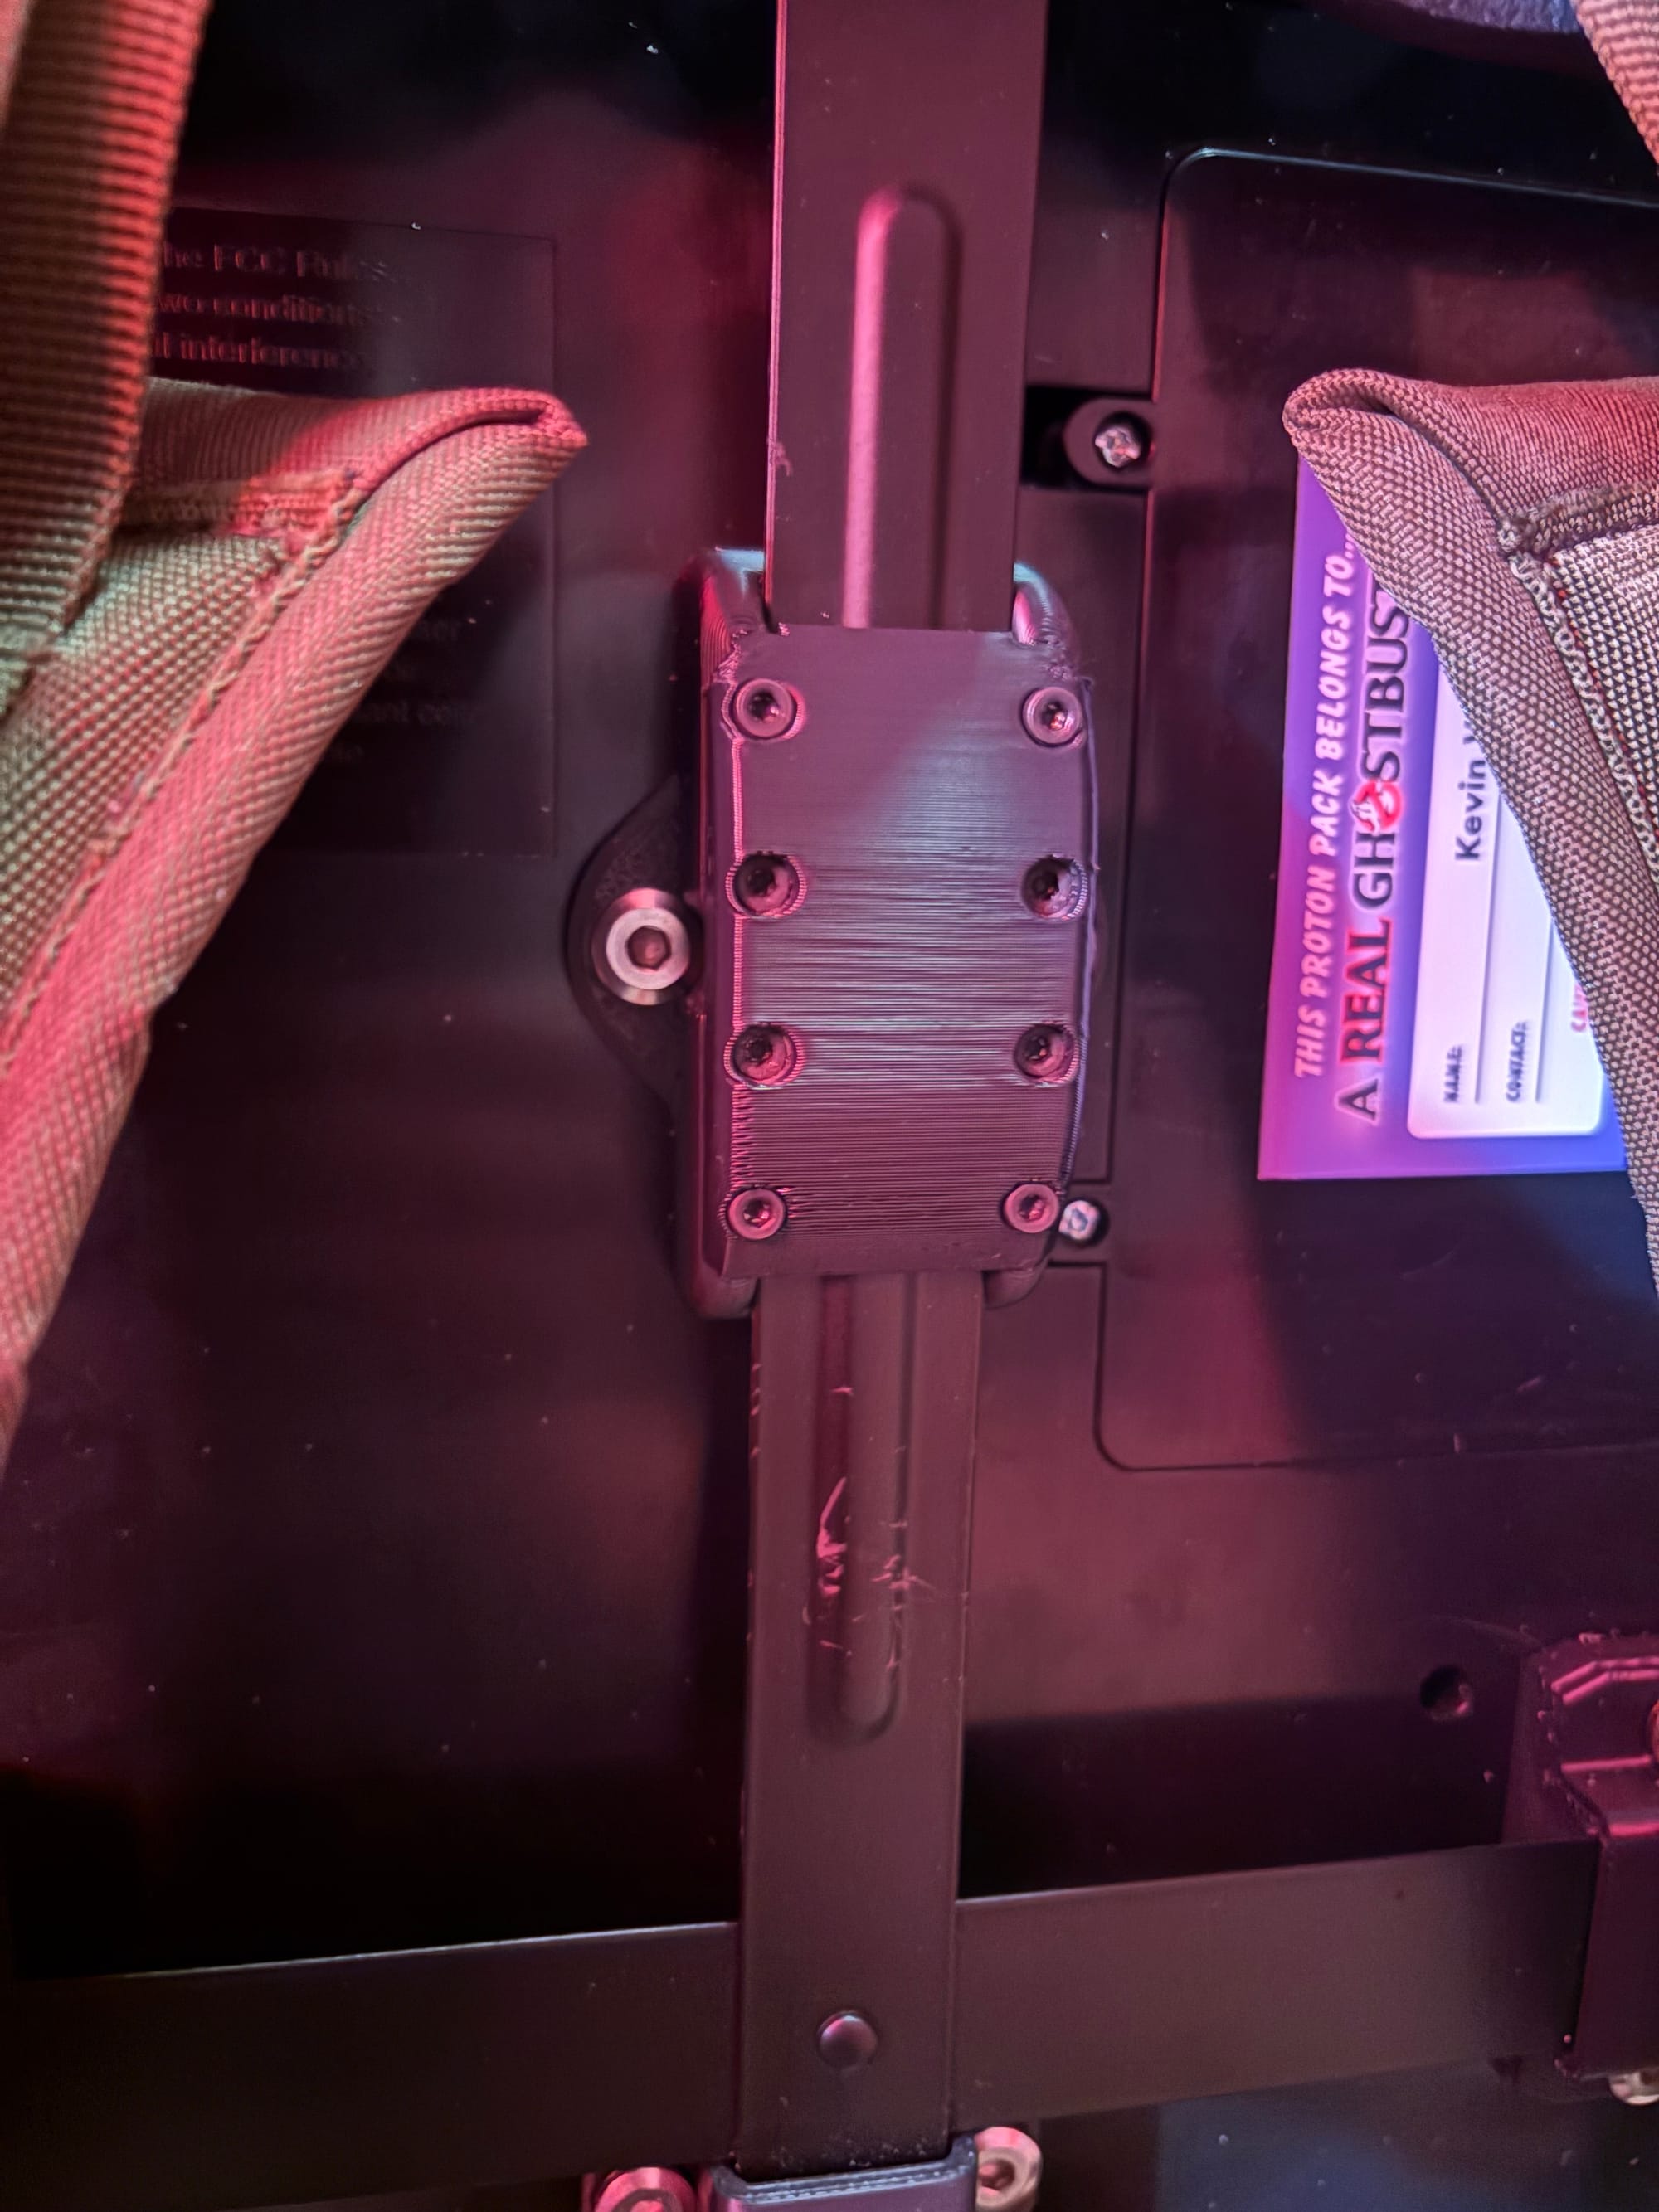
Despite being 3D printed, they feel very strong and certainly don’t give the impression of any chance of breaking under the weight. Most of them are pretty simple to install, as they are just a standard bracket. But the real magic is in the large oval “Puck,” which is designed to grip the center bar based on the specific design of your chosen frame, and then, in theory, keep it from slipping way better than the pressure of a U-bracket.
There are only two faults with this. First, the puck comes with a bunch of tiny nuts that were nearly impossible to seat correctly in the deep holes. Probably due to small imperfections in the print, but any attempts I made just had them land in there crooked, and it took way too long to do this part. Secondly, it digs into your back. Not if I’m standing straight up and still, but any movement, I can feel it push into my back, and it isn’t very comfortable. I will eventually need to wrap this in some foam or tape.
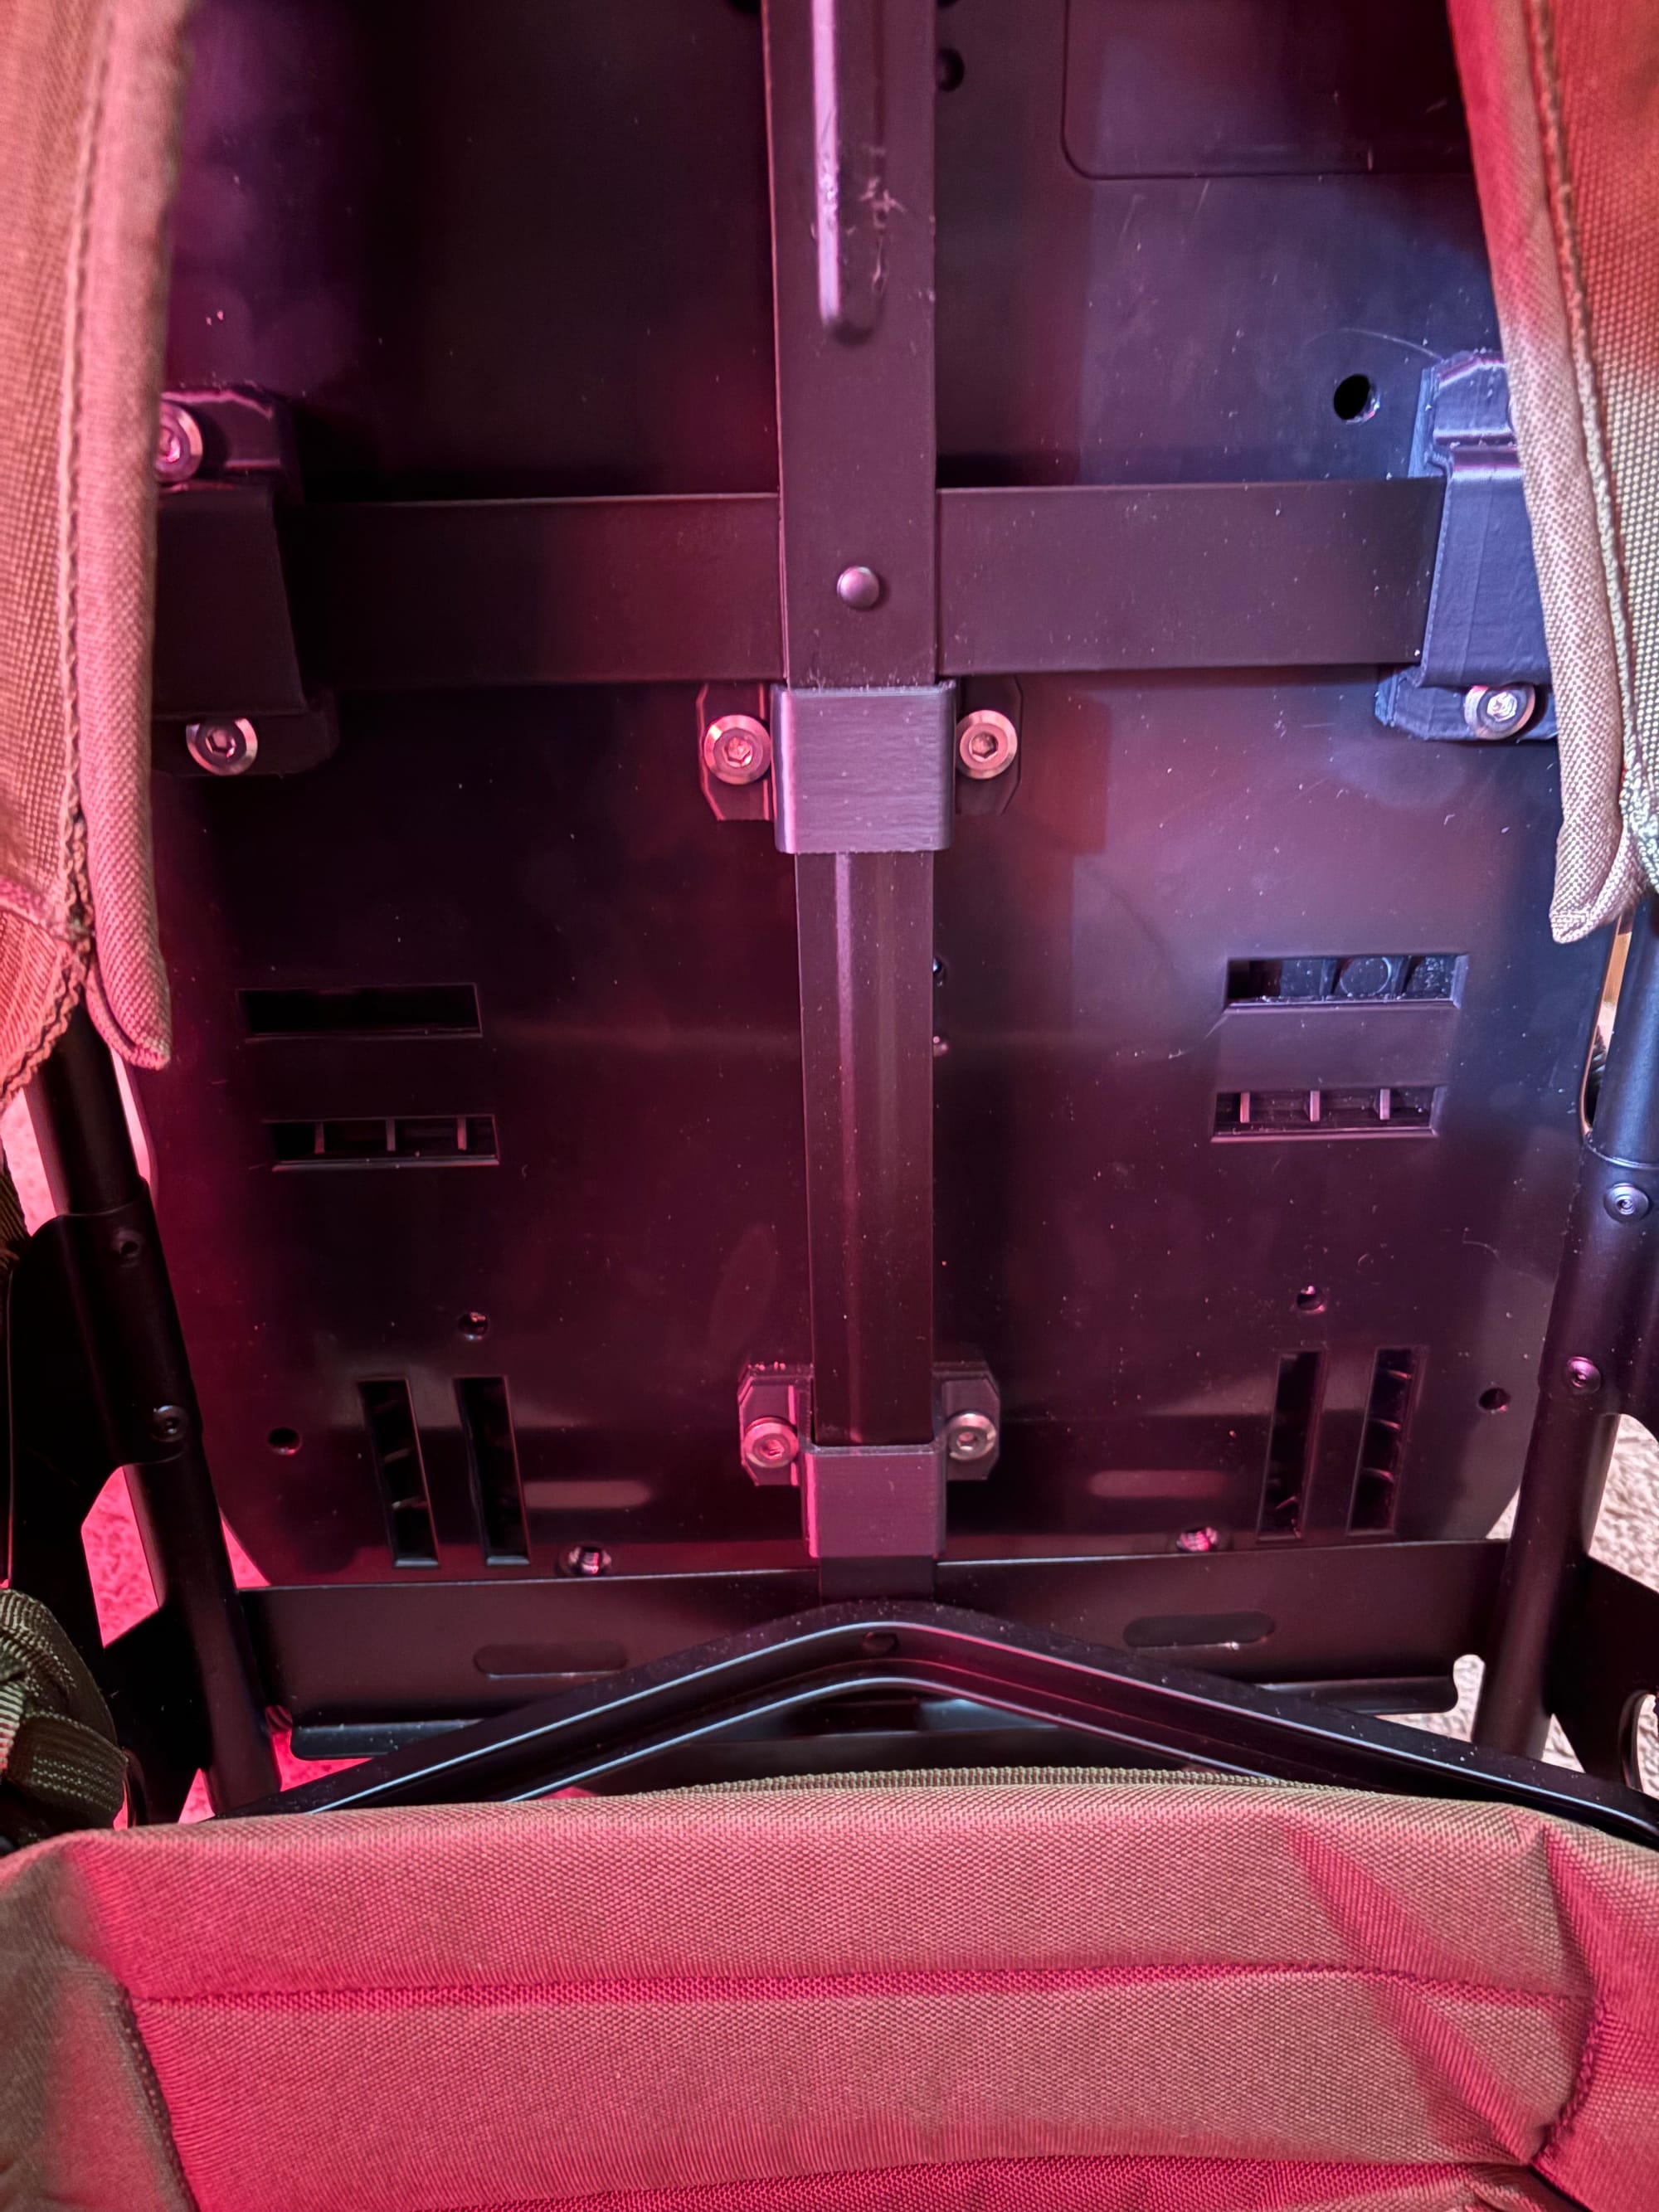
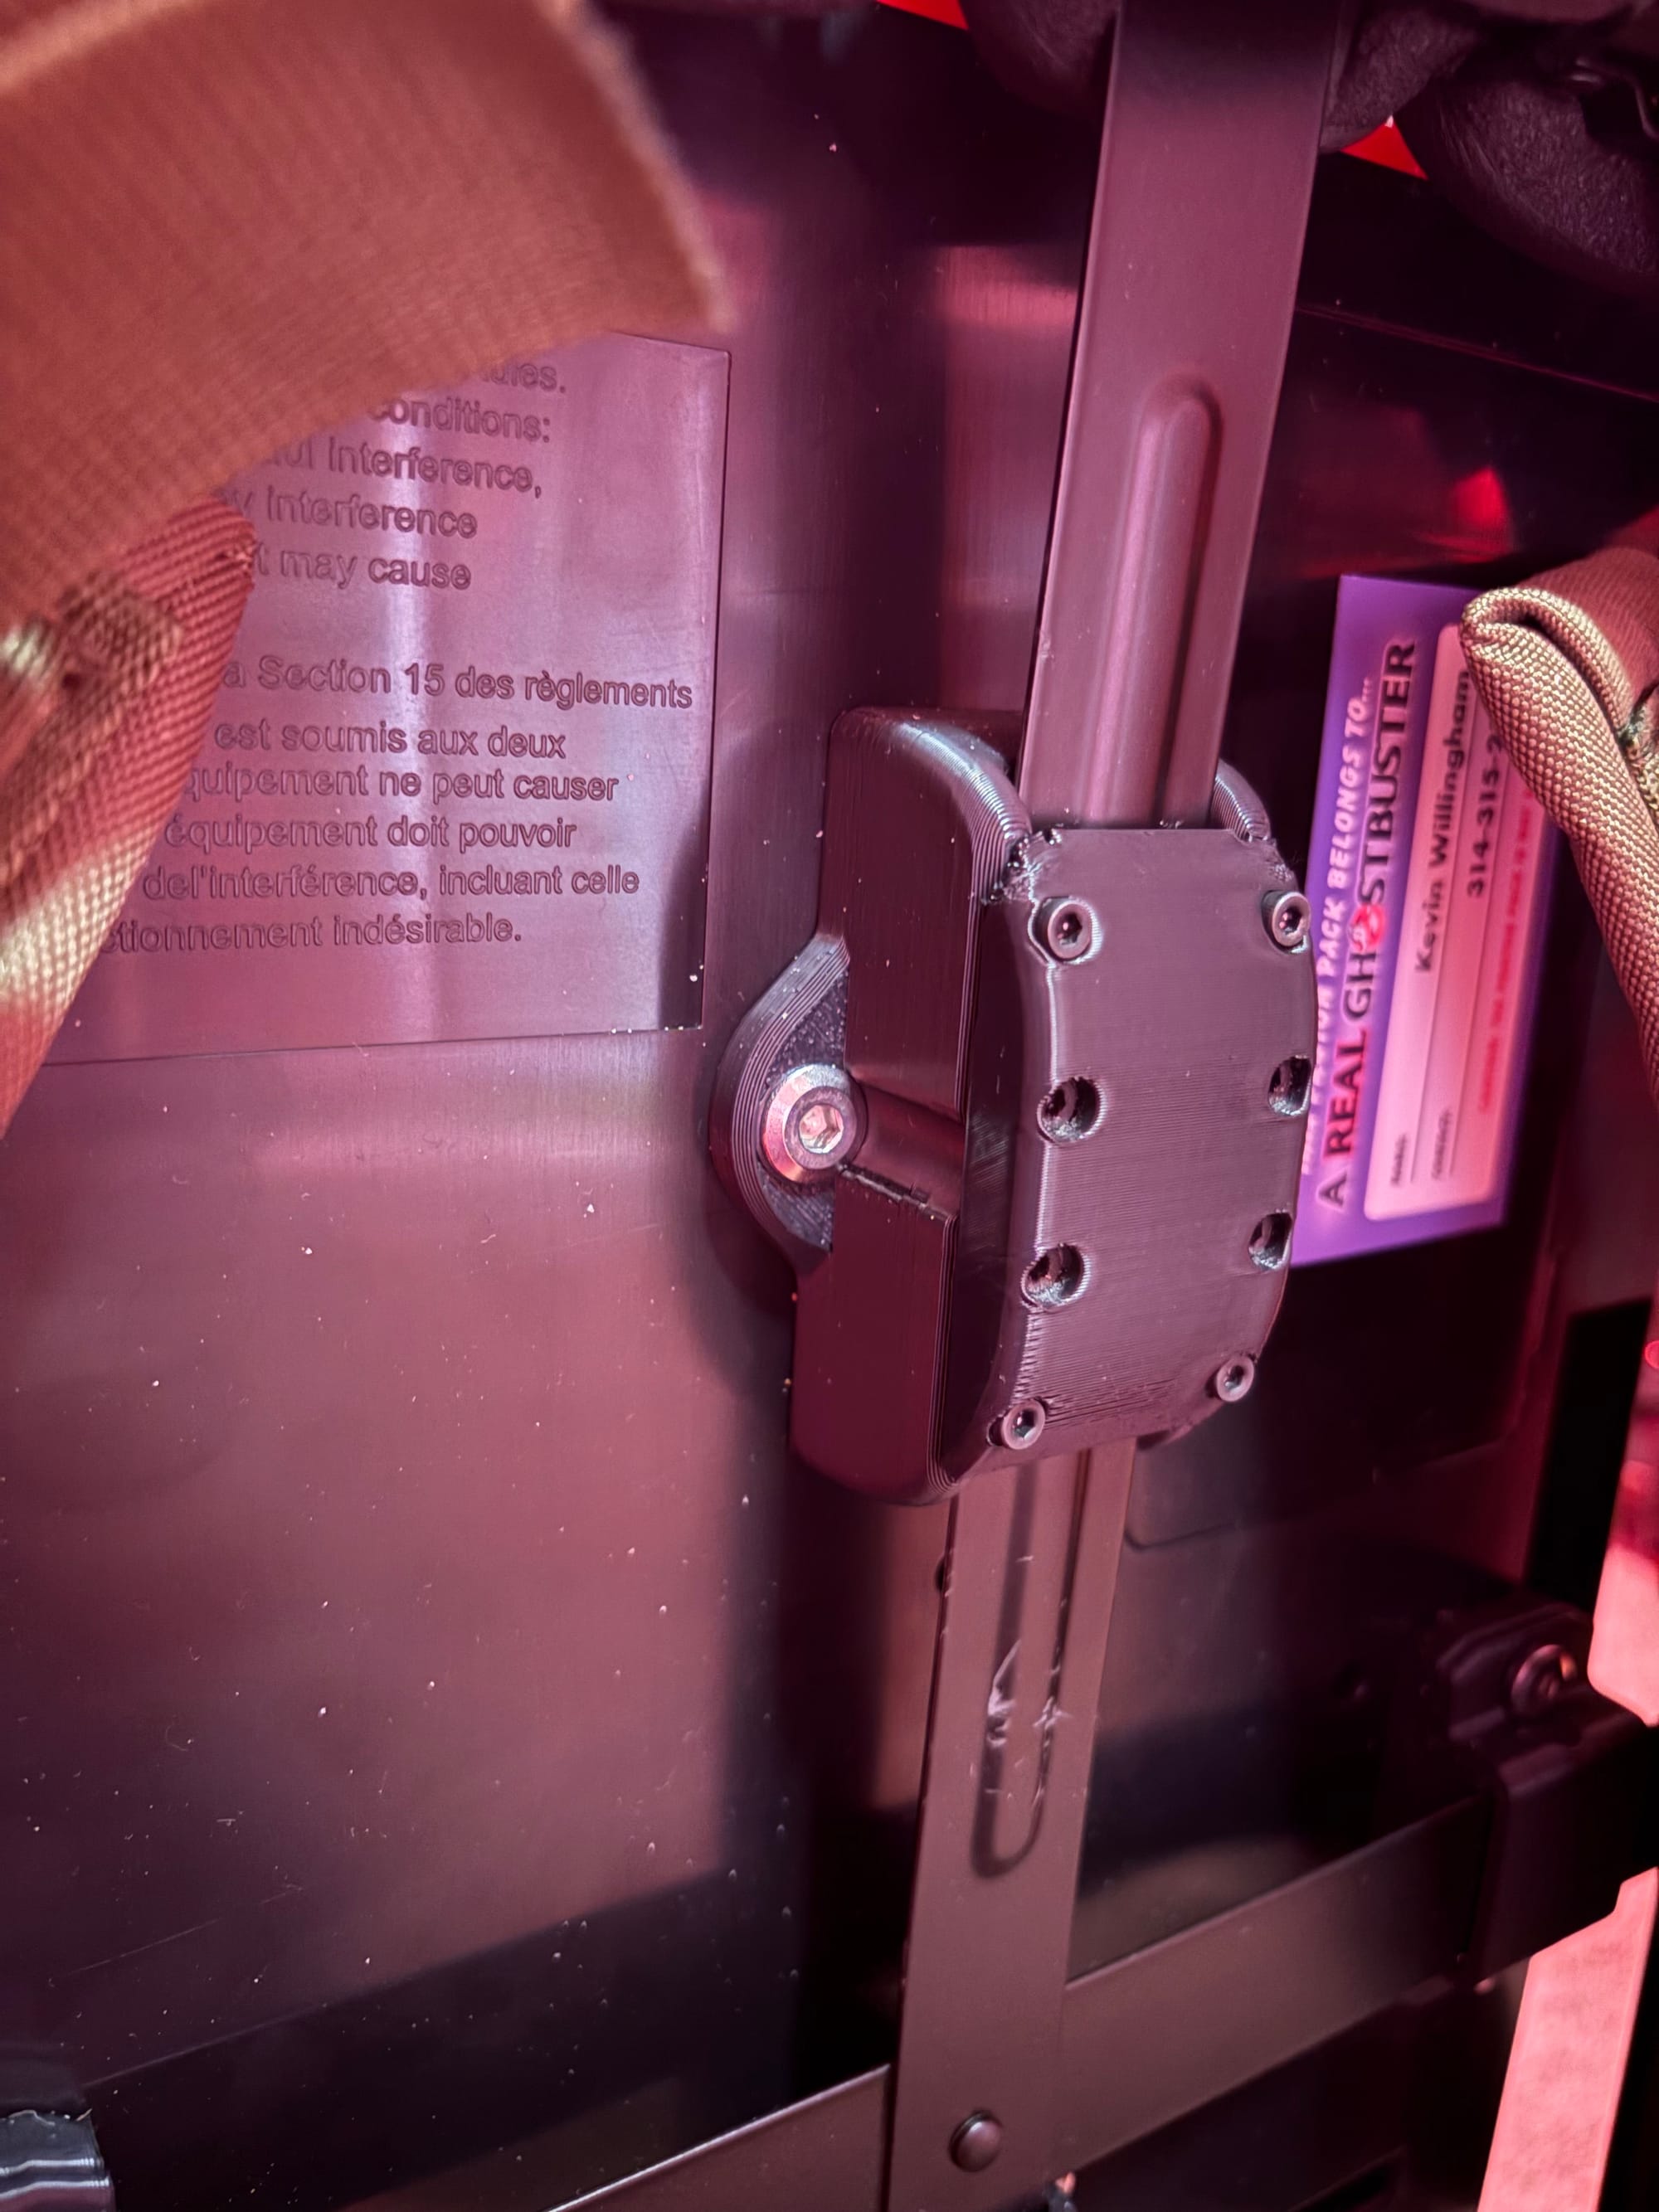
But other than those issues, it's a solid solution at a good price. Get them!
The Ion Arm
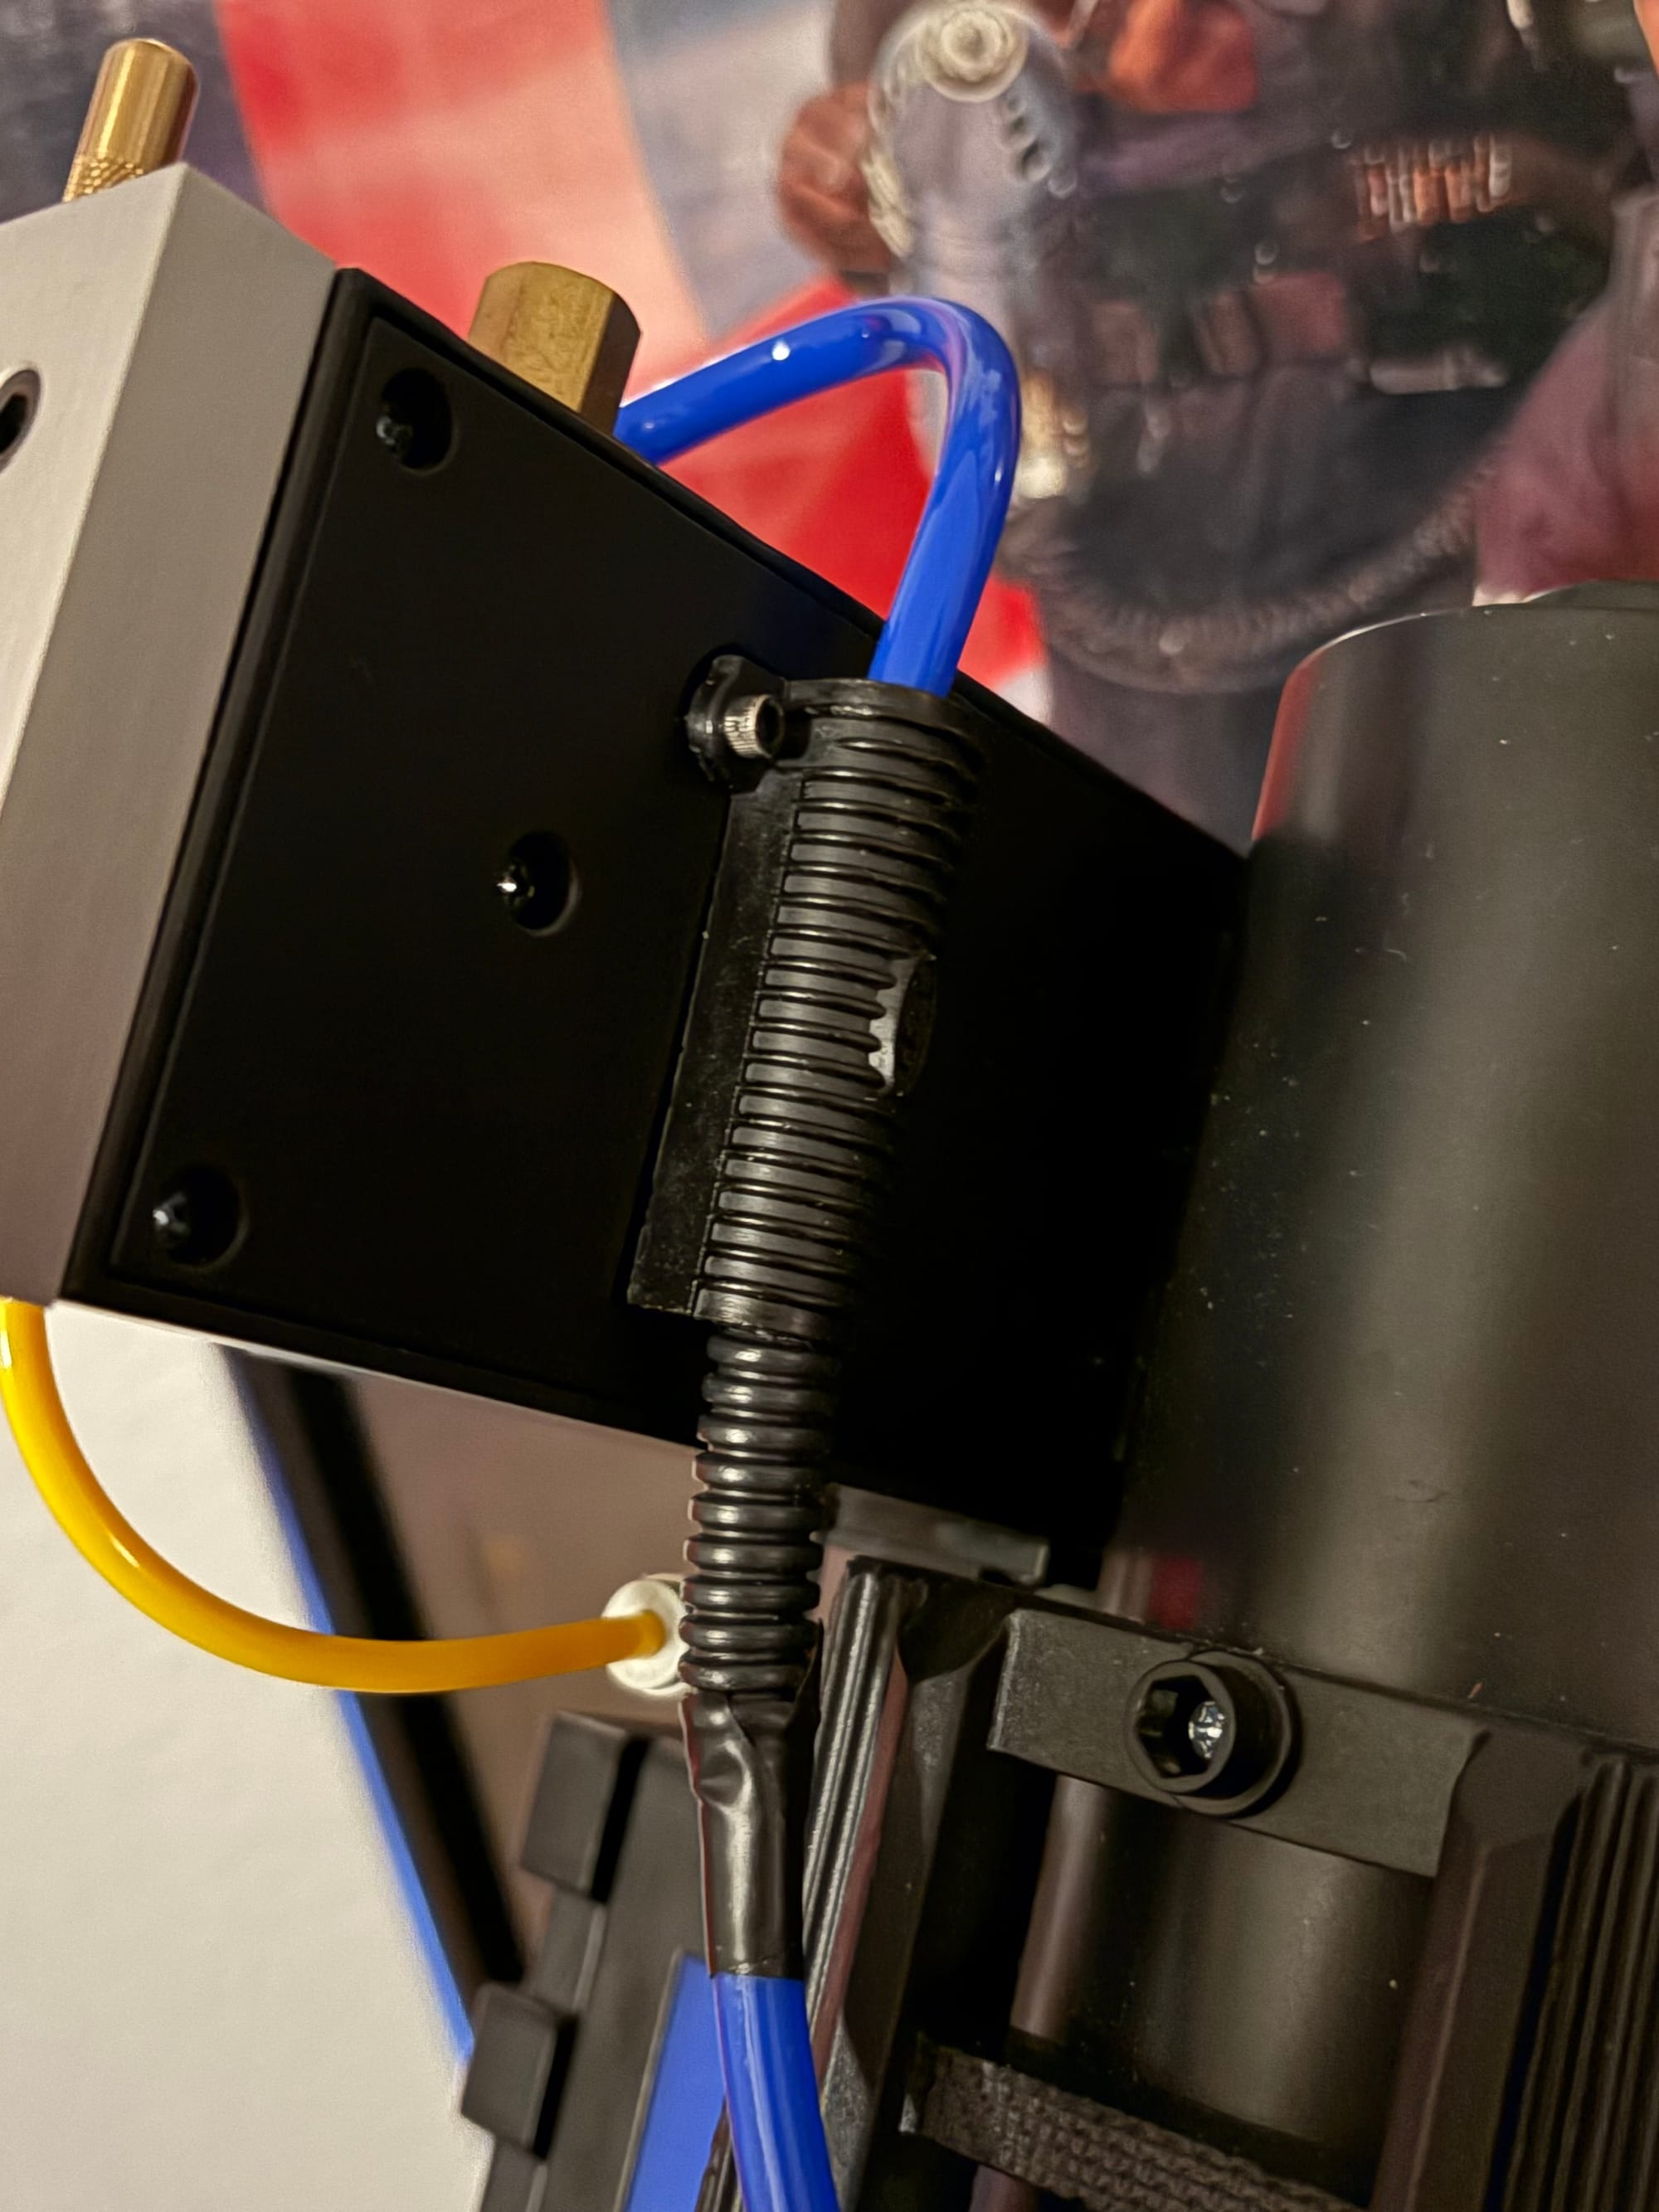
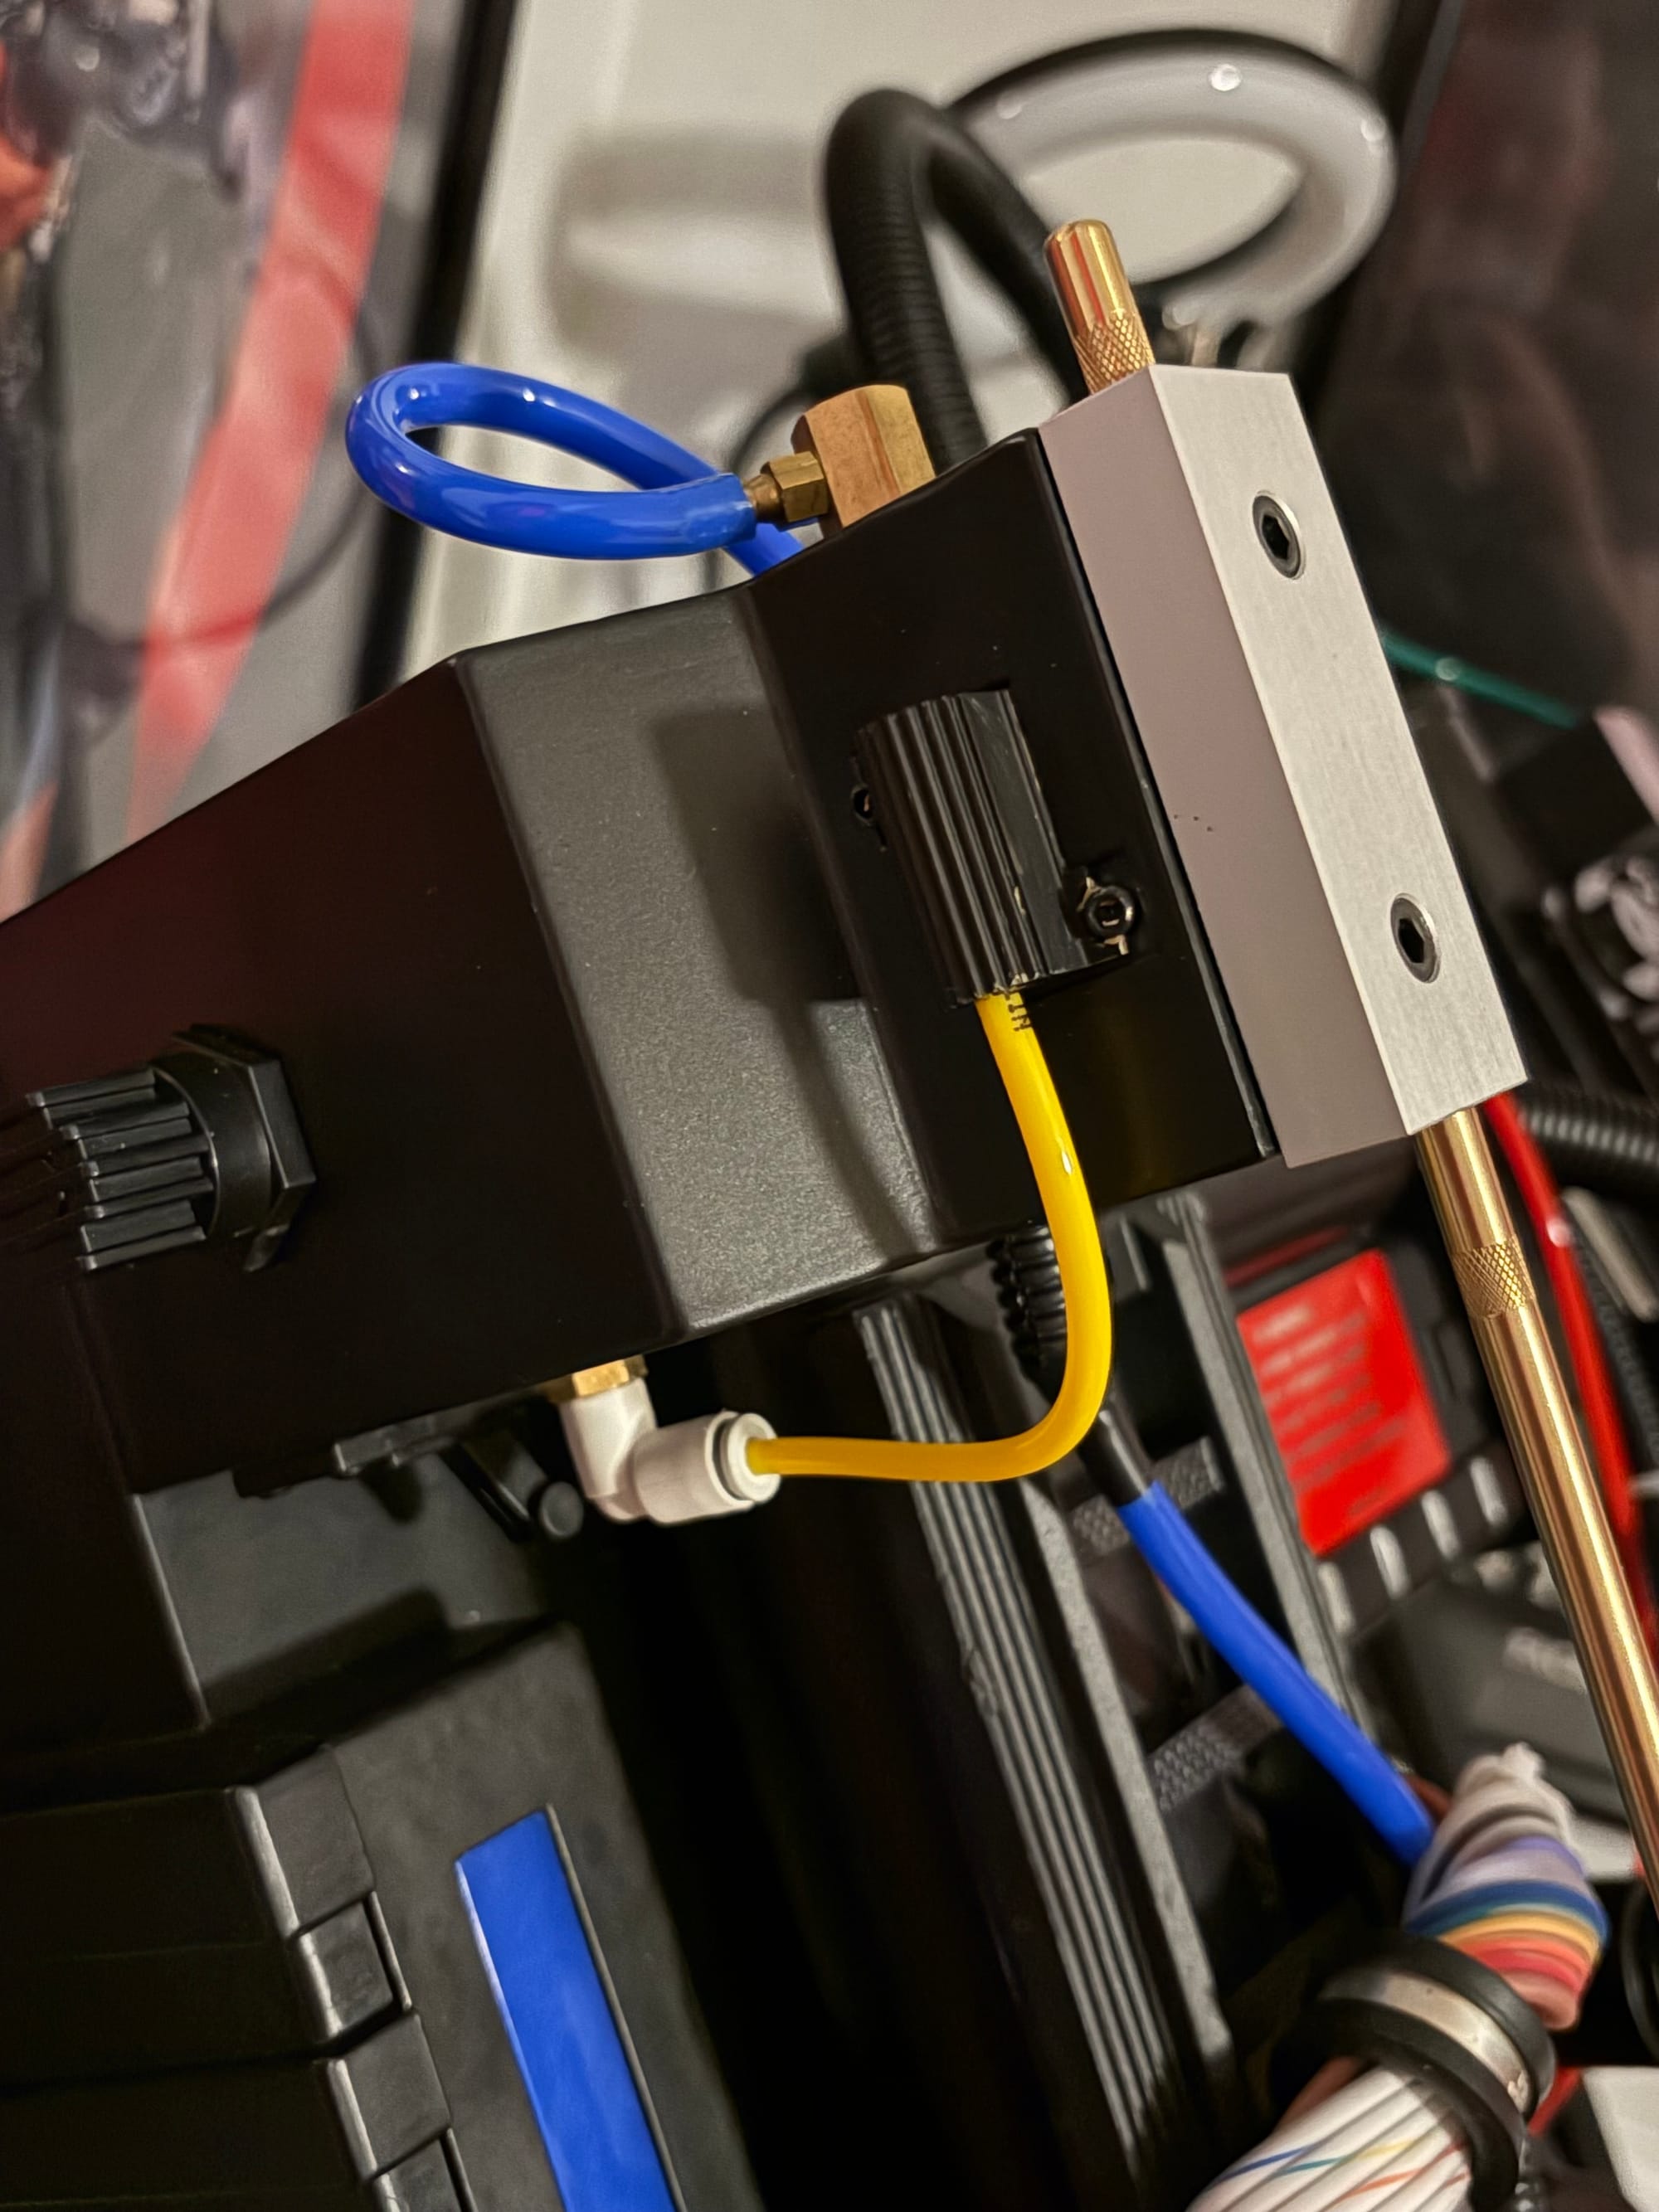
One of the other ugly parts of this pack is the Ion Arm Cap. Hasbro’s version, much like their take on the Clippard Valve, has changes in weird ways that make it look cheap and completely inaccurate. It is not a solid block, instead leaving some of the “damage” from the Afterlife version, which is missing a large slice down one side. It also doesn’t have the recessed screws holding it in place, opting to screw together on the back side before it friction-fits to the Ion Arm. But they still molded two very fake-looking screws into the front, which are also too small to begin with.
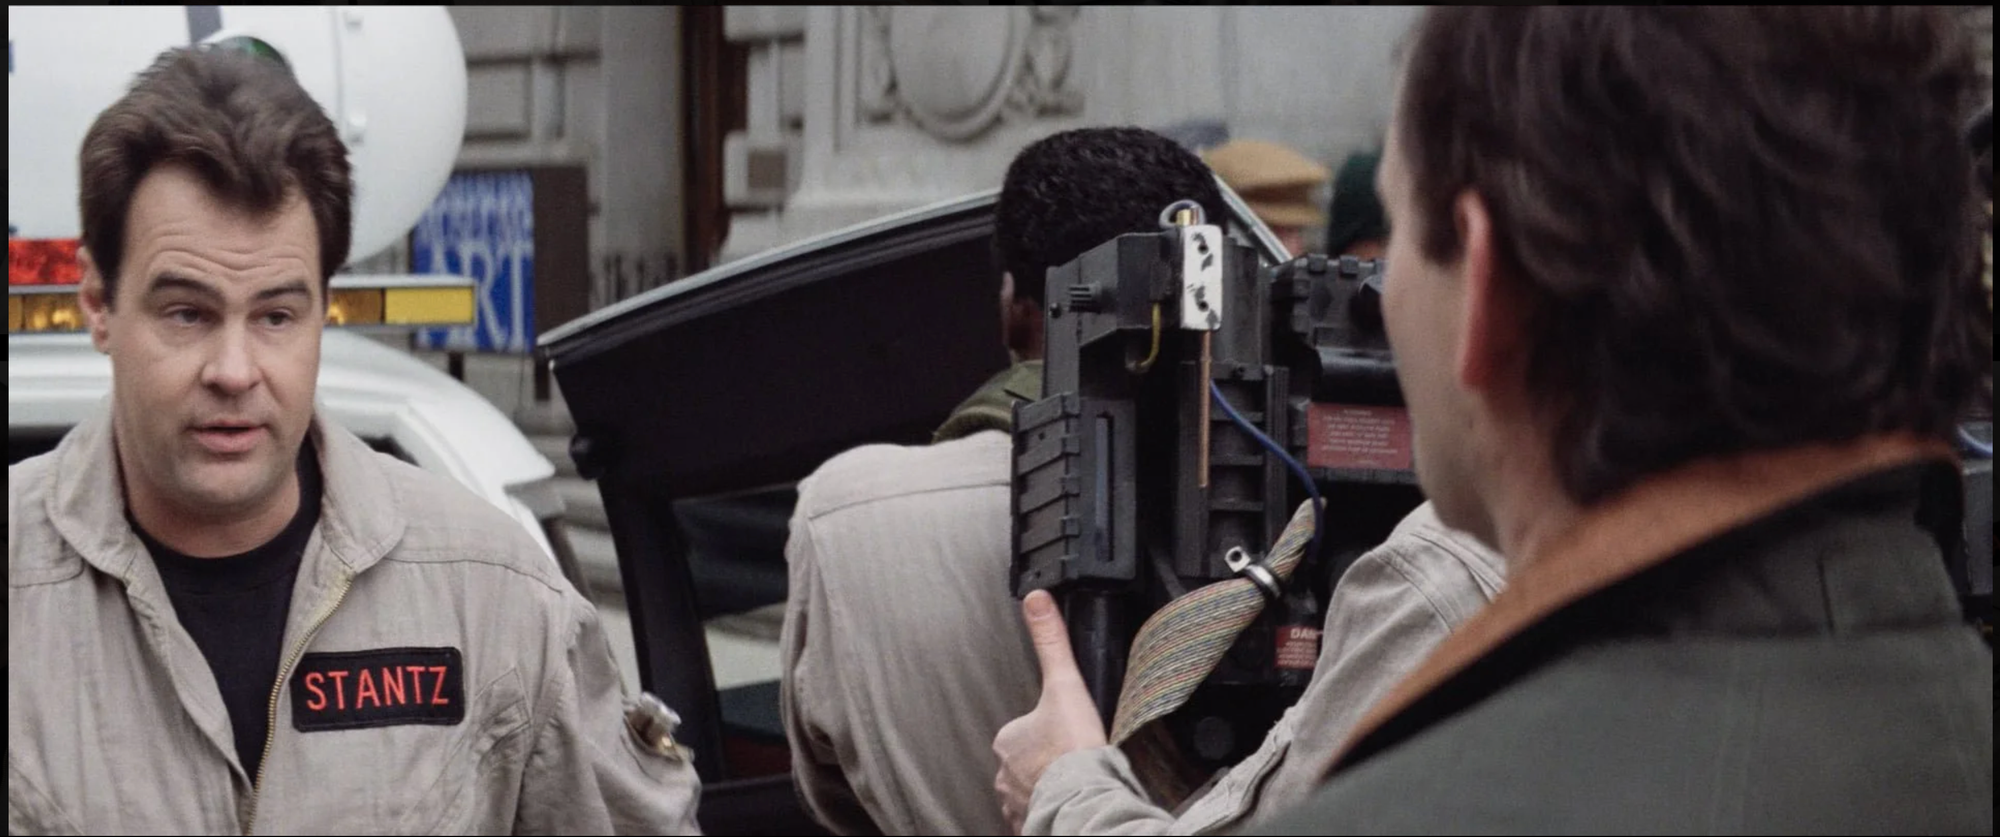
Also, as I wanted to switch this to GB2 style, which has the Clippard elbow behind the cap rather than attached to it as in GB1, it makes sense to get a different cap anyway. So I ordered an aluminum cap from GBFans. It's a nice option, though it uses brass rods rather than the accurate copper. But it was cheaper, and the more accurate version from Mack’s Factory was not in stock at the time. I can always give the rod a quick paint if it really bothers me.
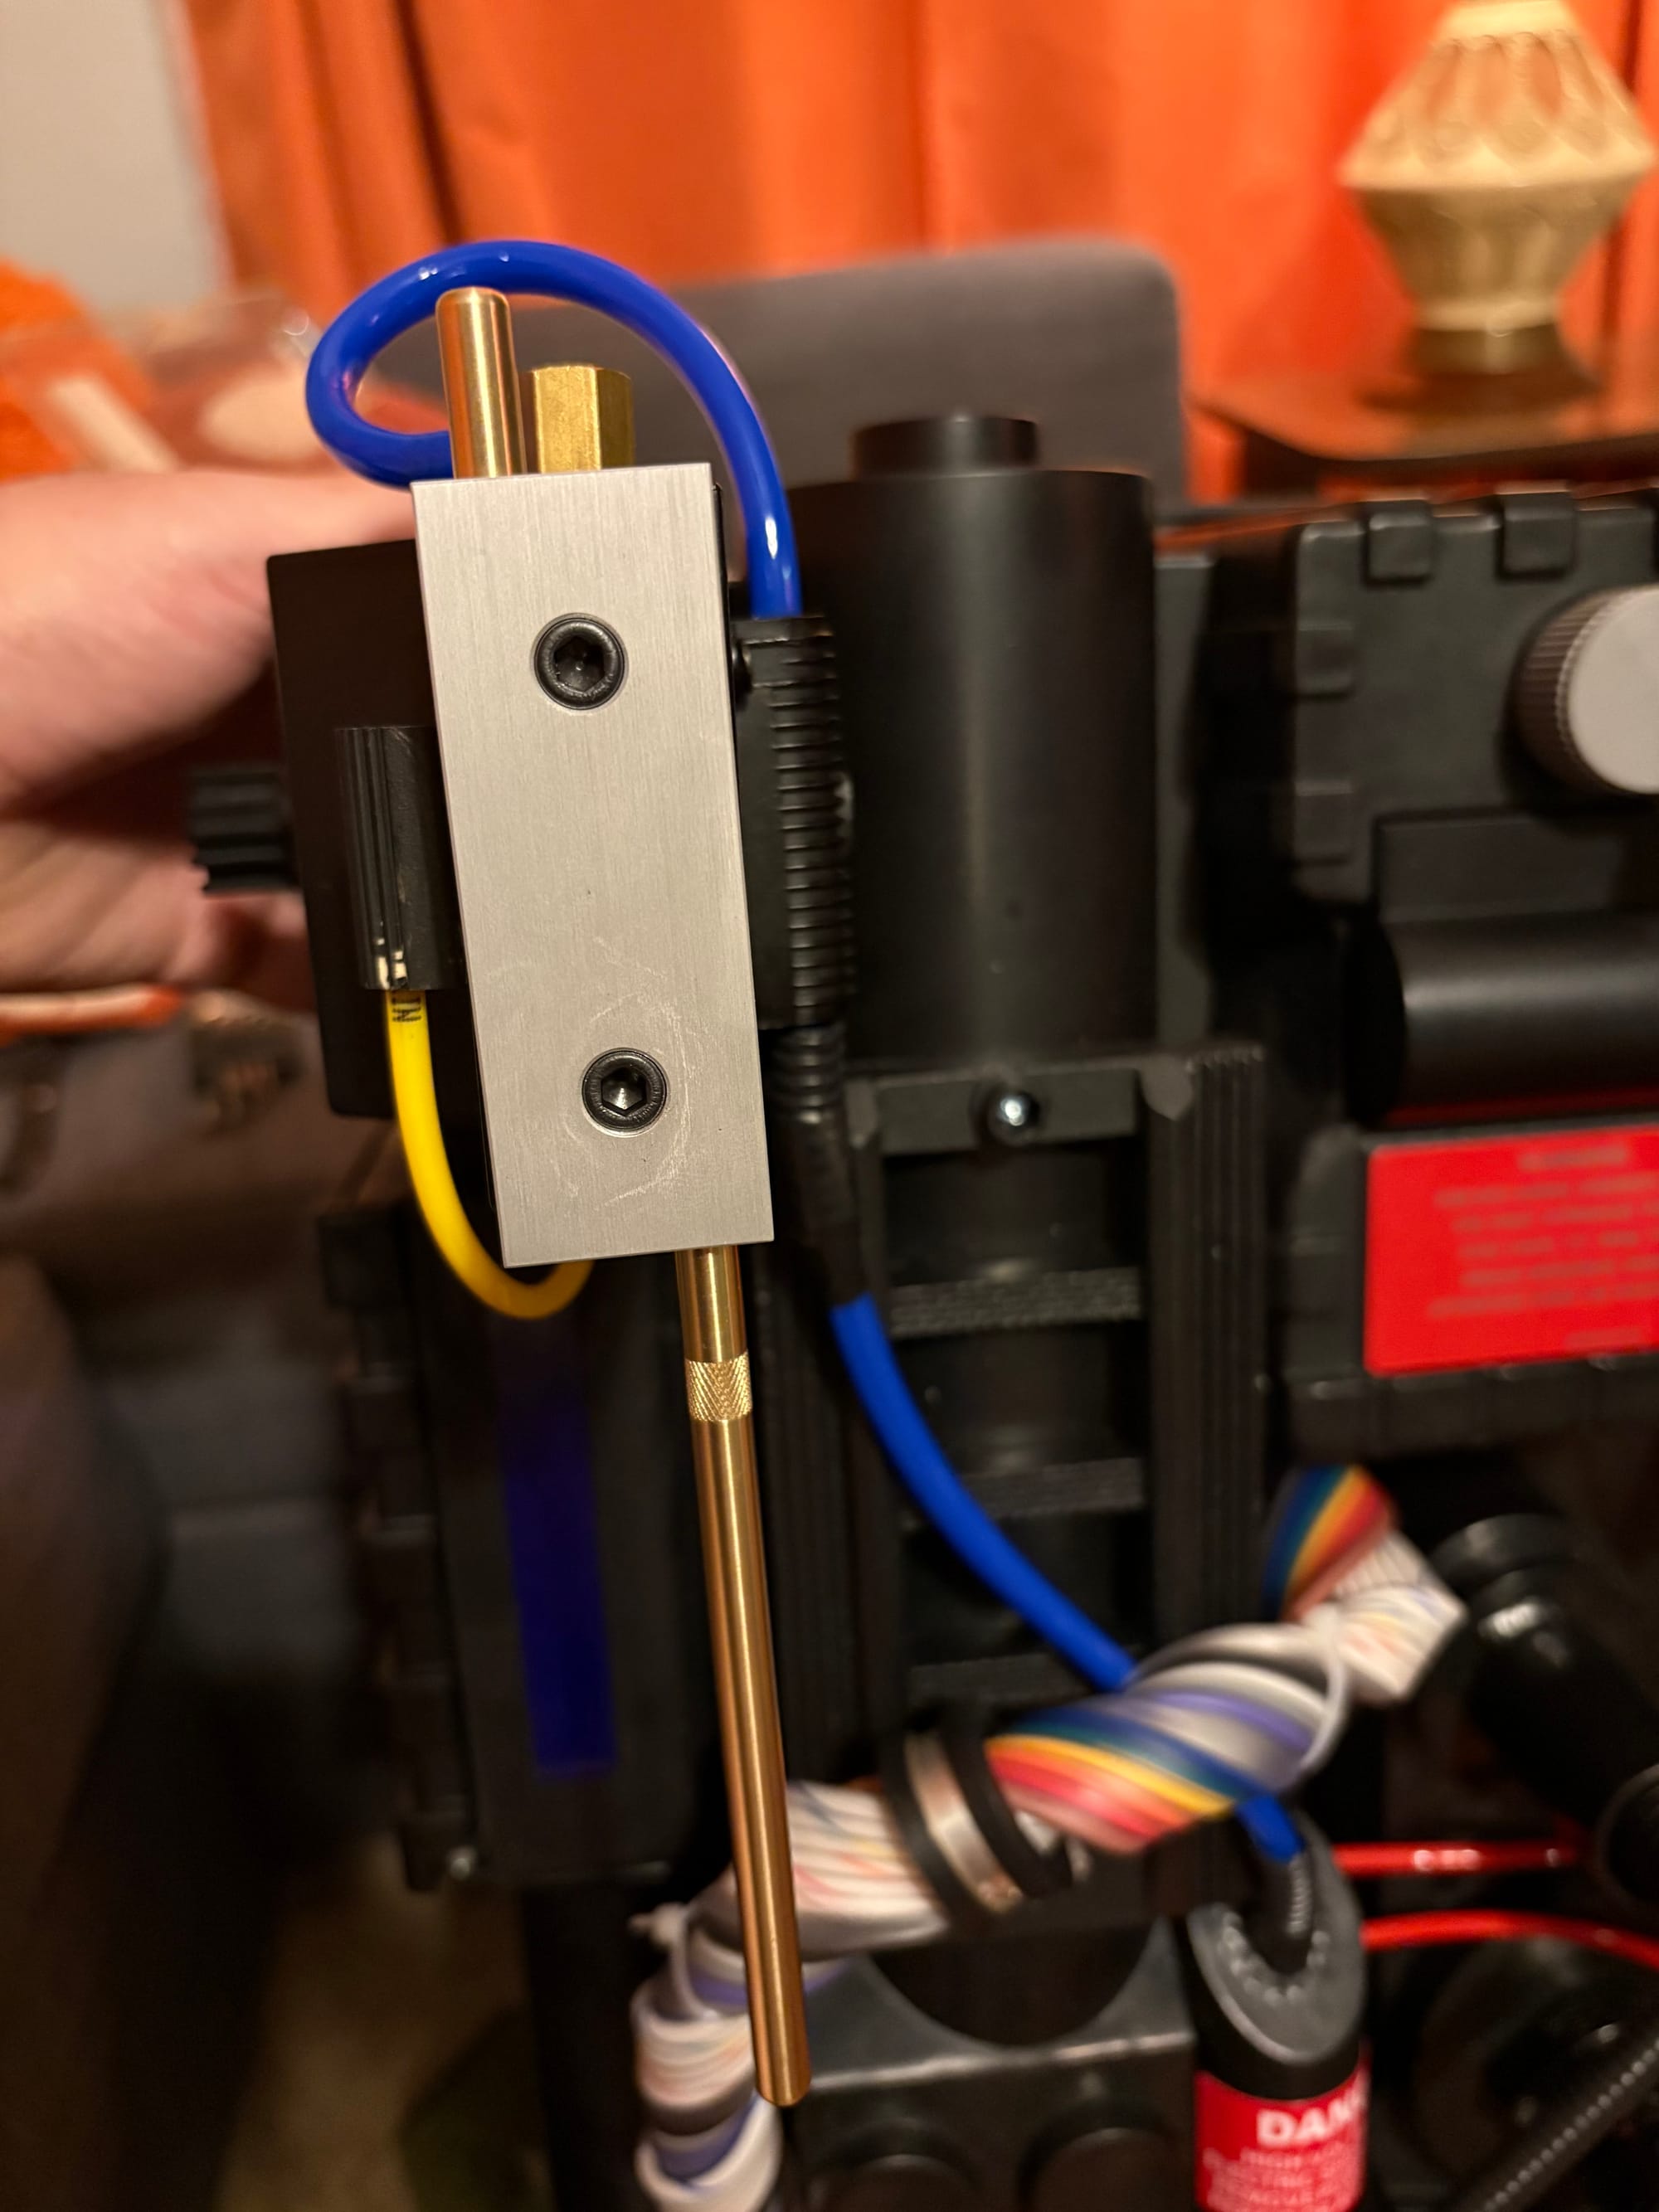
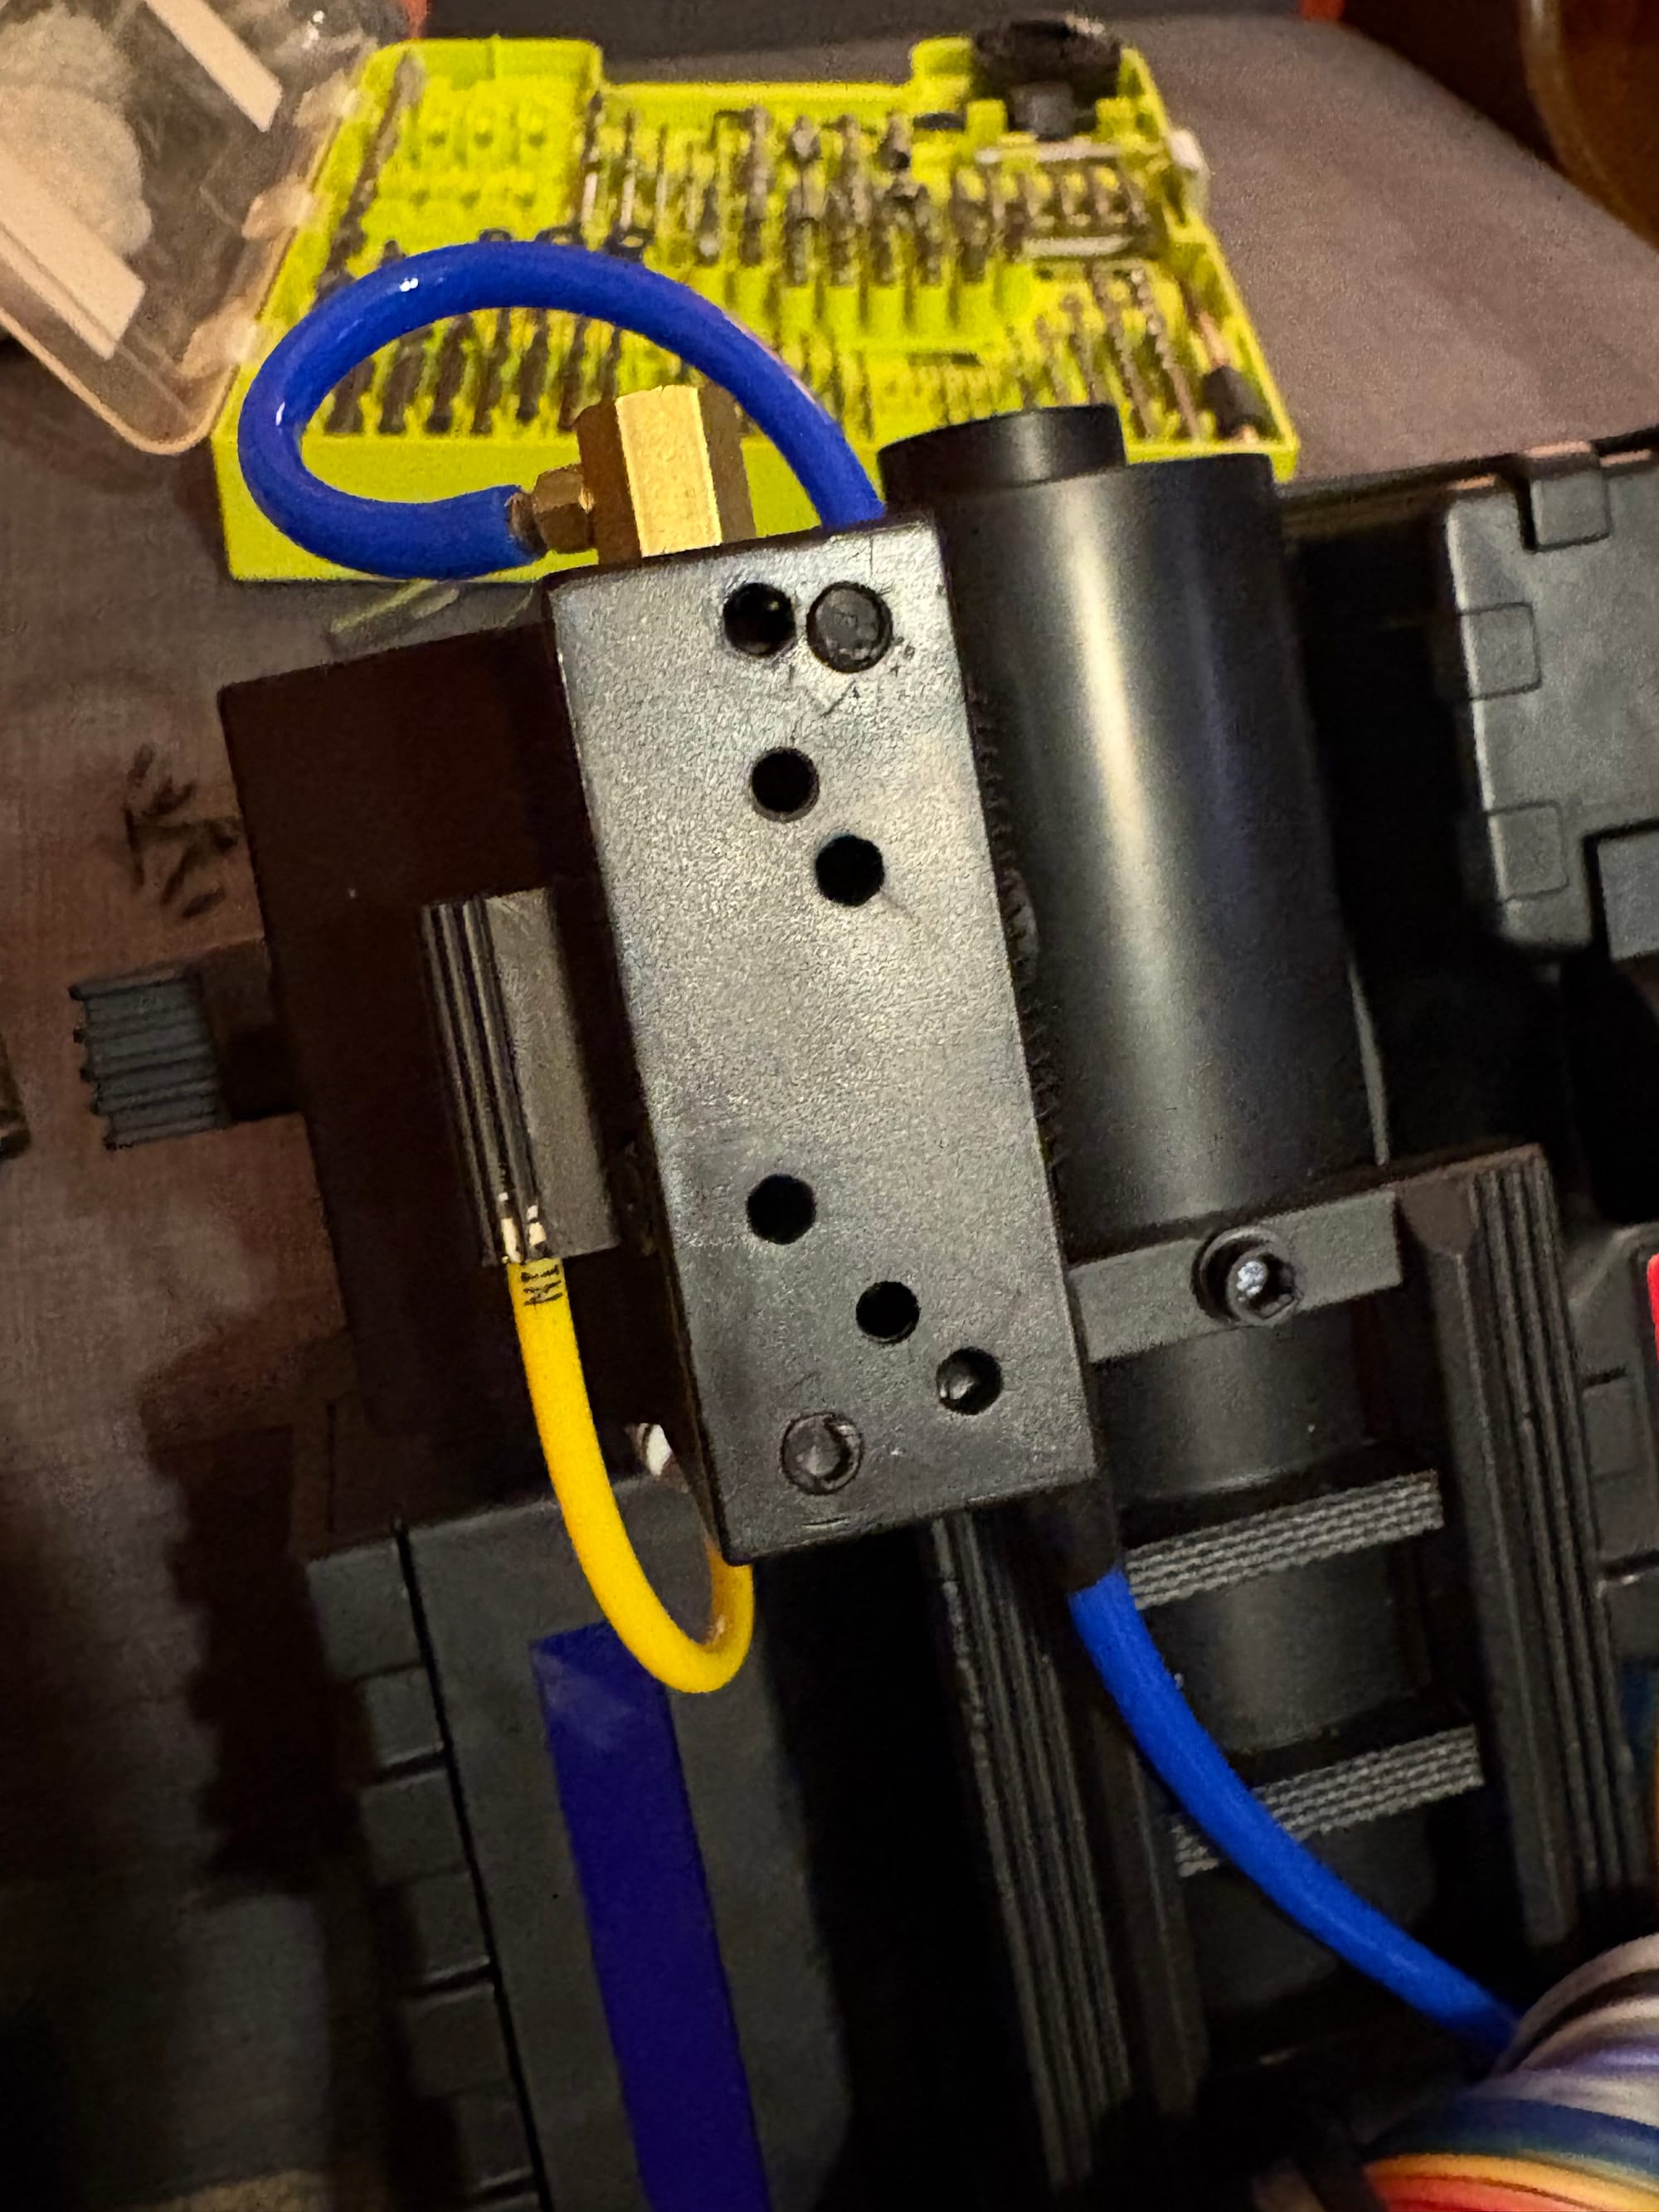
This was easy to attach; I trimmed off the nubs meant for the original cap, lined up the new one, marked where the holes should be, and then drilled those holes. Right now I’ve left it silver, mimicking some of the more worn versions of the caps in Ghostbusters II. I don’t plan on making a well-weathered proton pack, but I do like the silver look. So, I may paint it later, or I may not.
Cyclotron Lenses & Rings
The longer I spent with the lenses covered by the vinyl coverings from Moby Designs, the less I liked them—too red, not enough diffusion. Then I saw a post on Facebook about new ring covers from Chris Bosh Props that snapped onto the stock cyclotron and made them closer to the sizing of the 84/89 packs. Plus they even have the little nail holes barely seen on a few of Hero and Semi-Heroes. When I checked the listing out on Etsy, they even had an option for acrylic lenses that snapped into the stock holes, and wedged between the new rings–instant buy.
They are only 3D printed, but when they arrived, they were very clean prints. I didn’t sand or prep them beyond giving them a few coats of primer. Then I decided to have a little fun and gave them a few sprays of hammered silver paint before finishing them in satin black. This way, if they ever naturally weather, they hopefully show a little silver to give the illusion of metal rings. They didn’t come out “hammered” enough really, but I'm still happy with them.
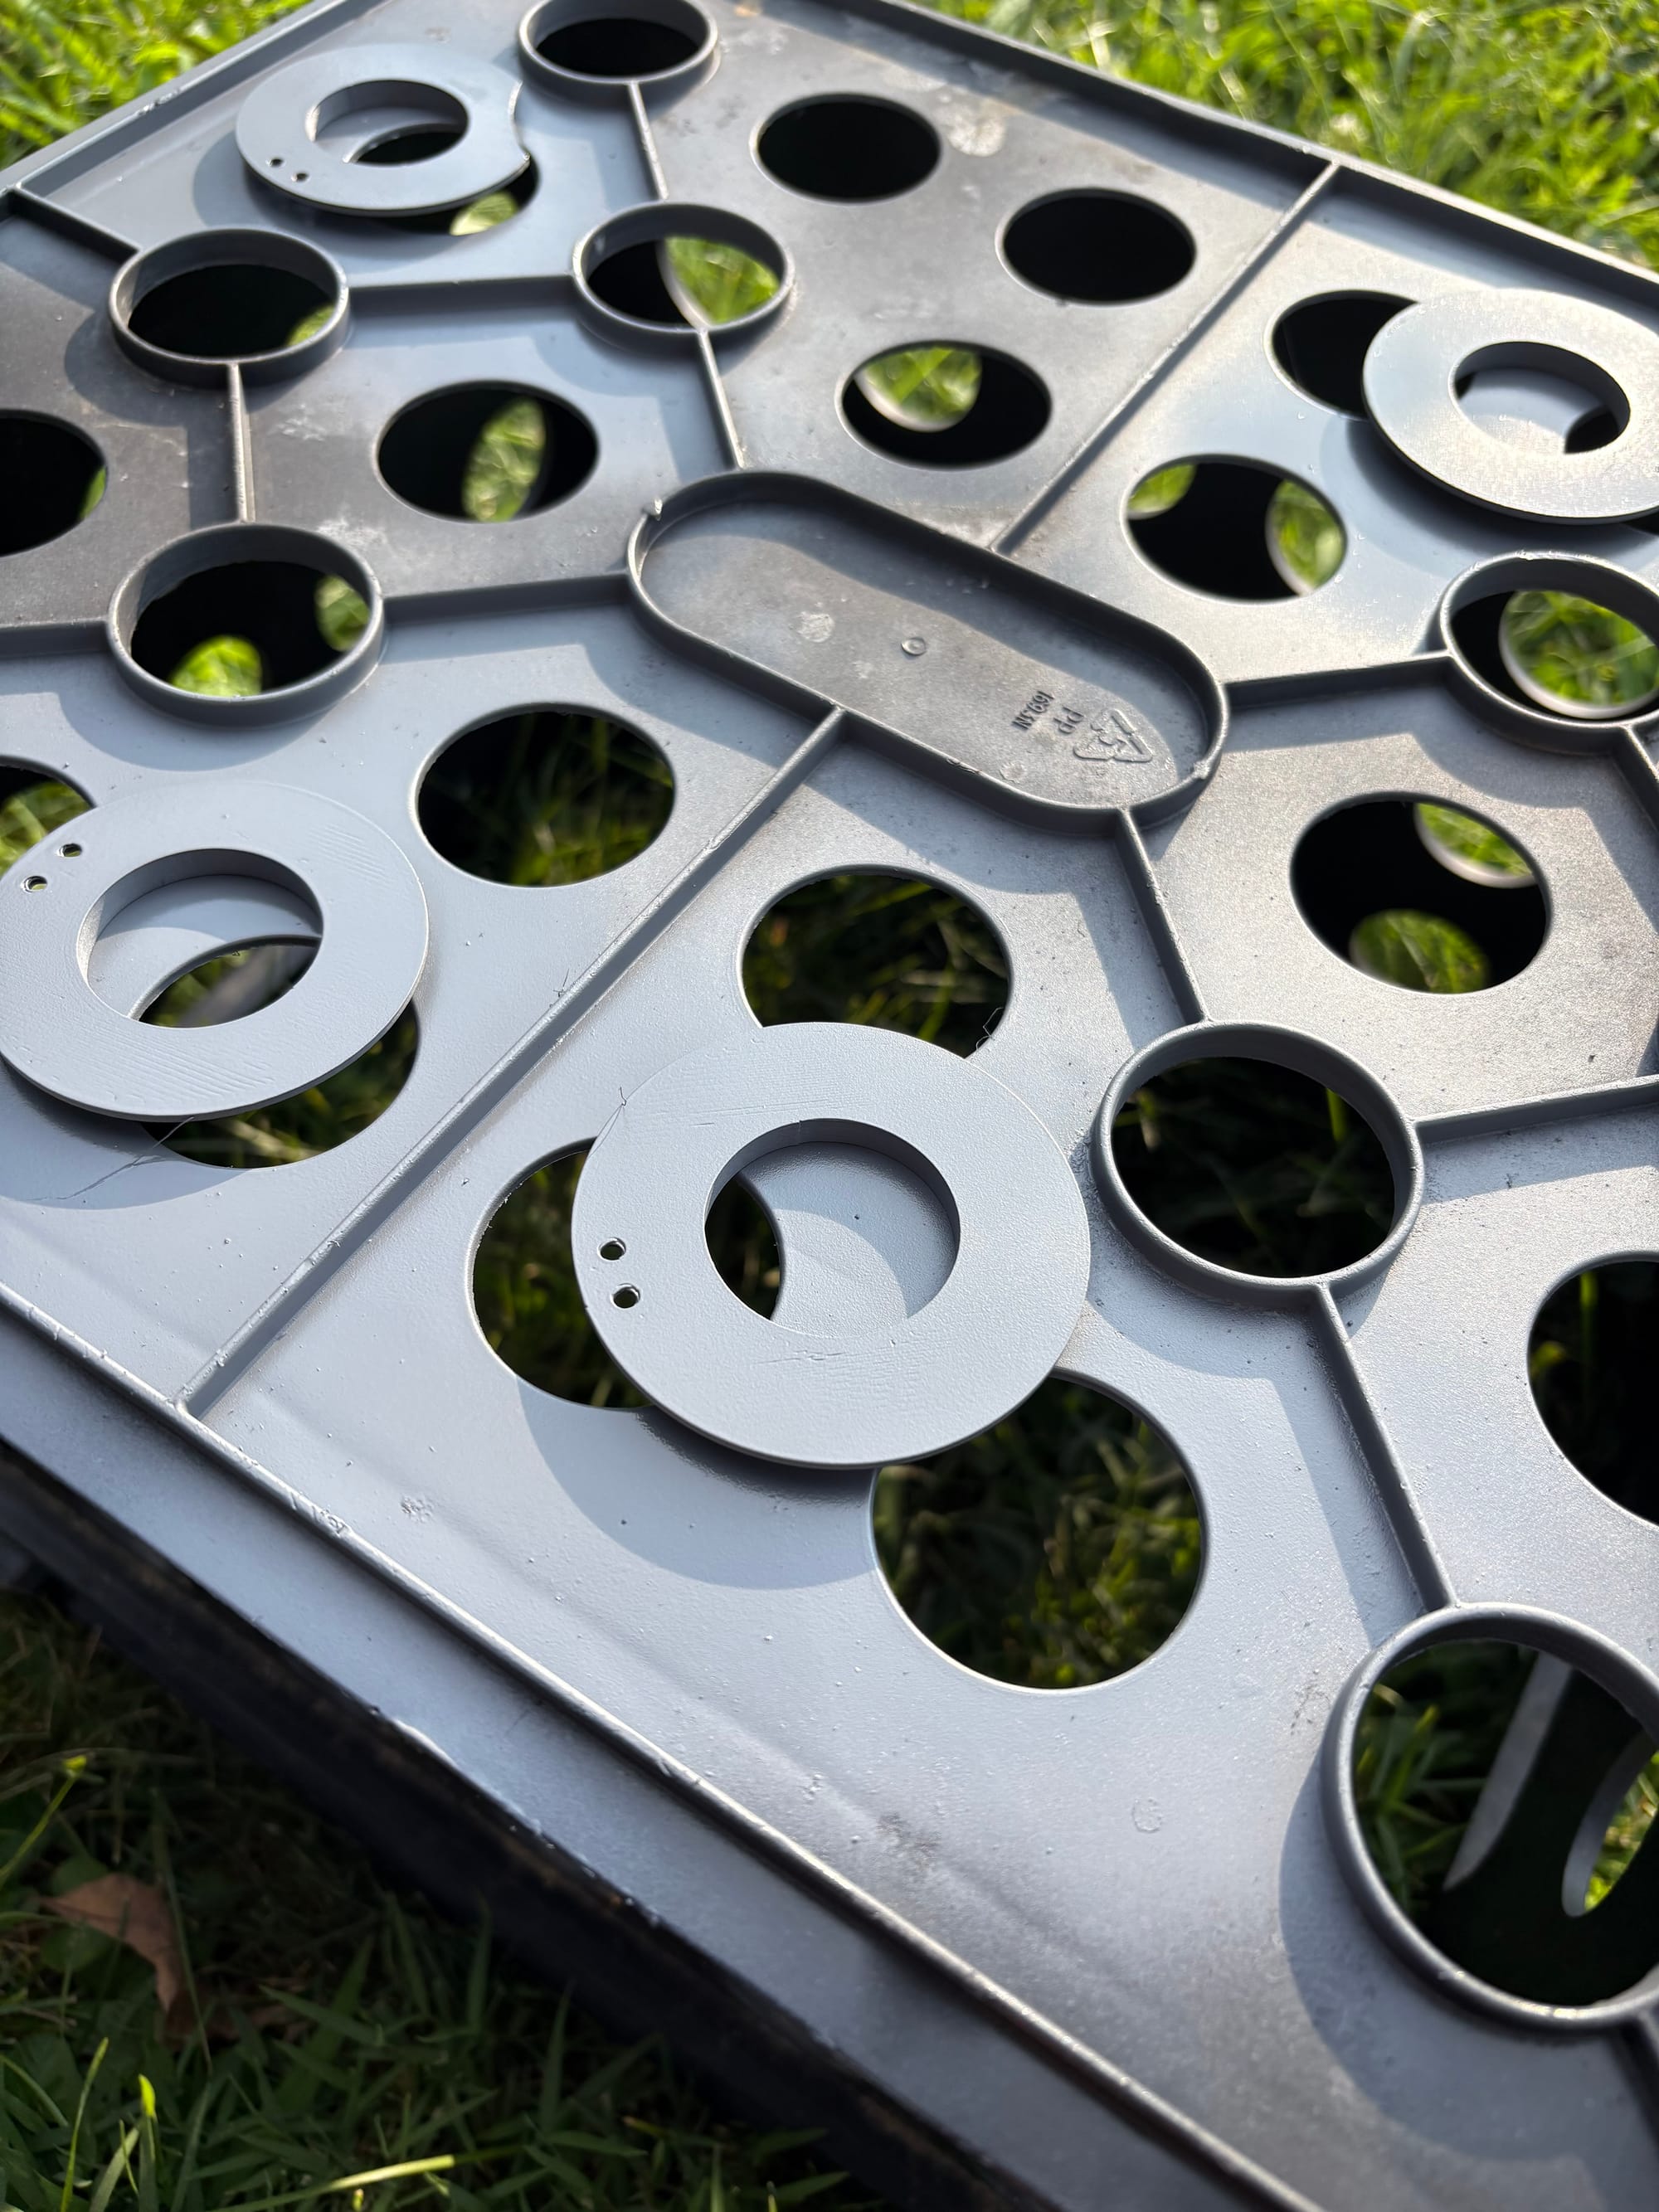
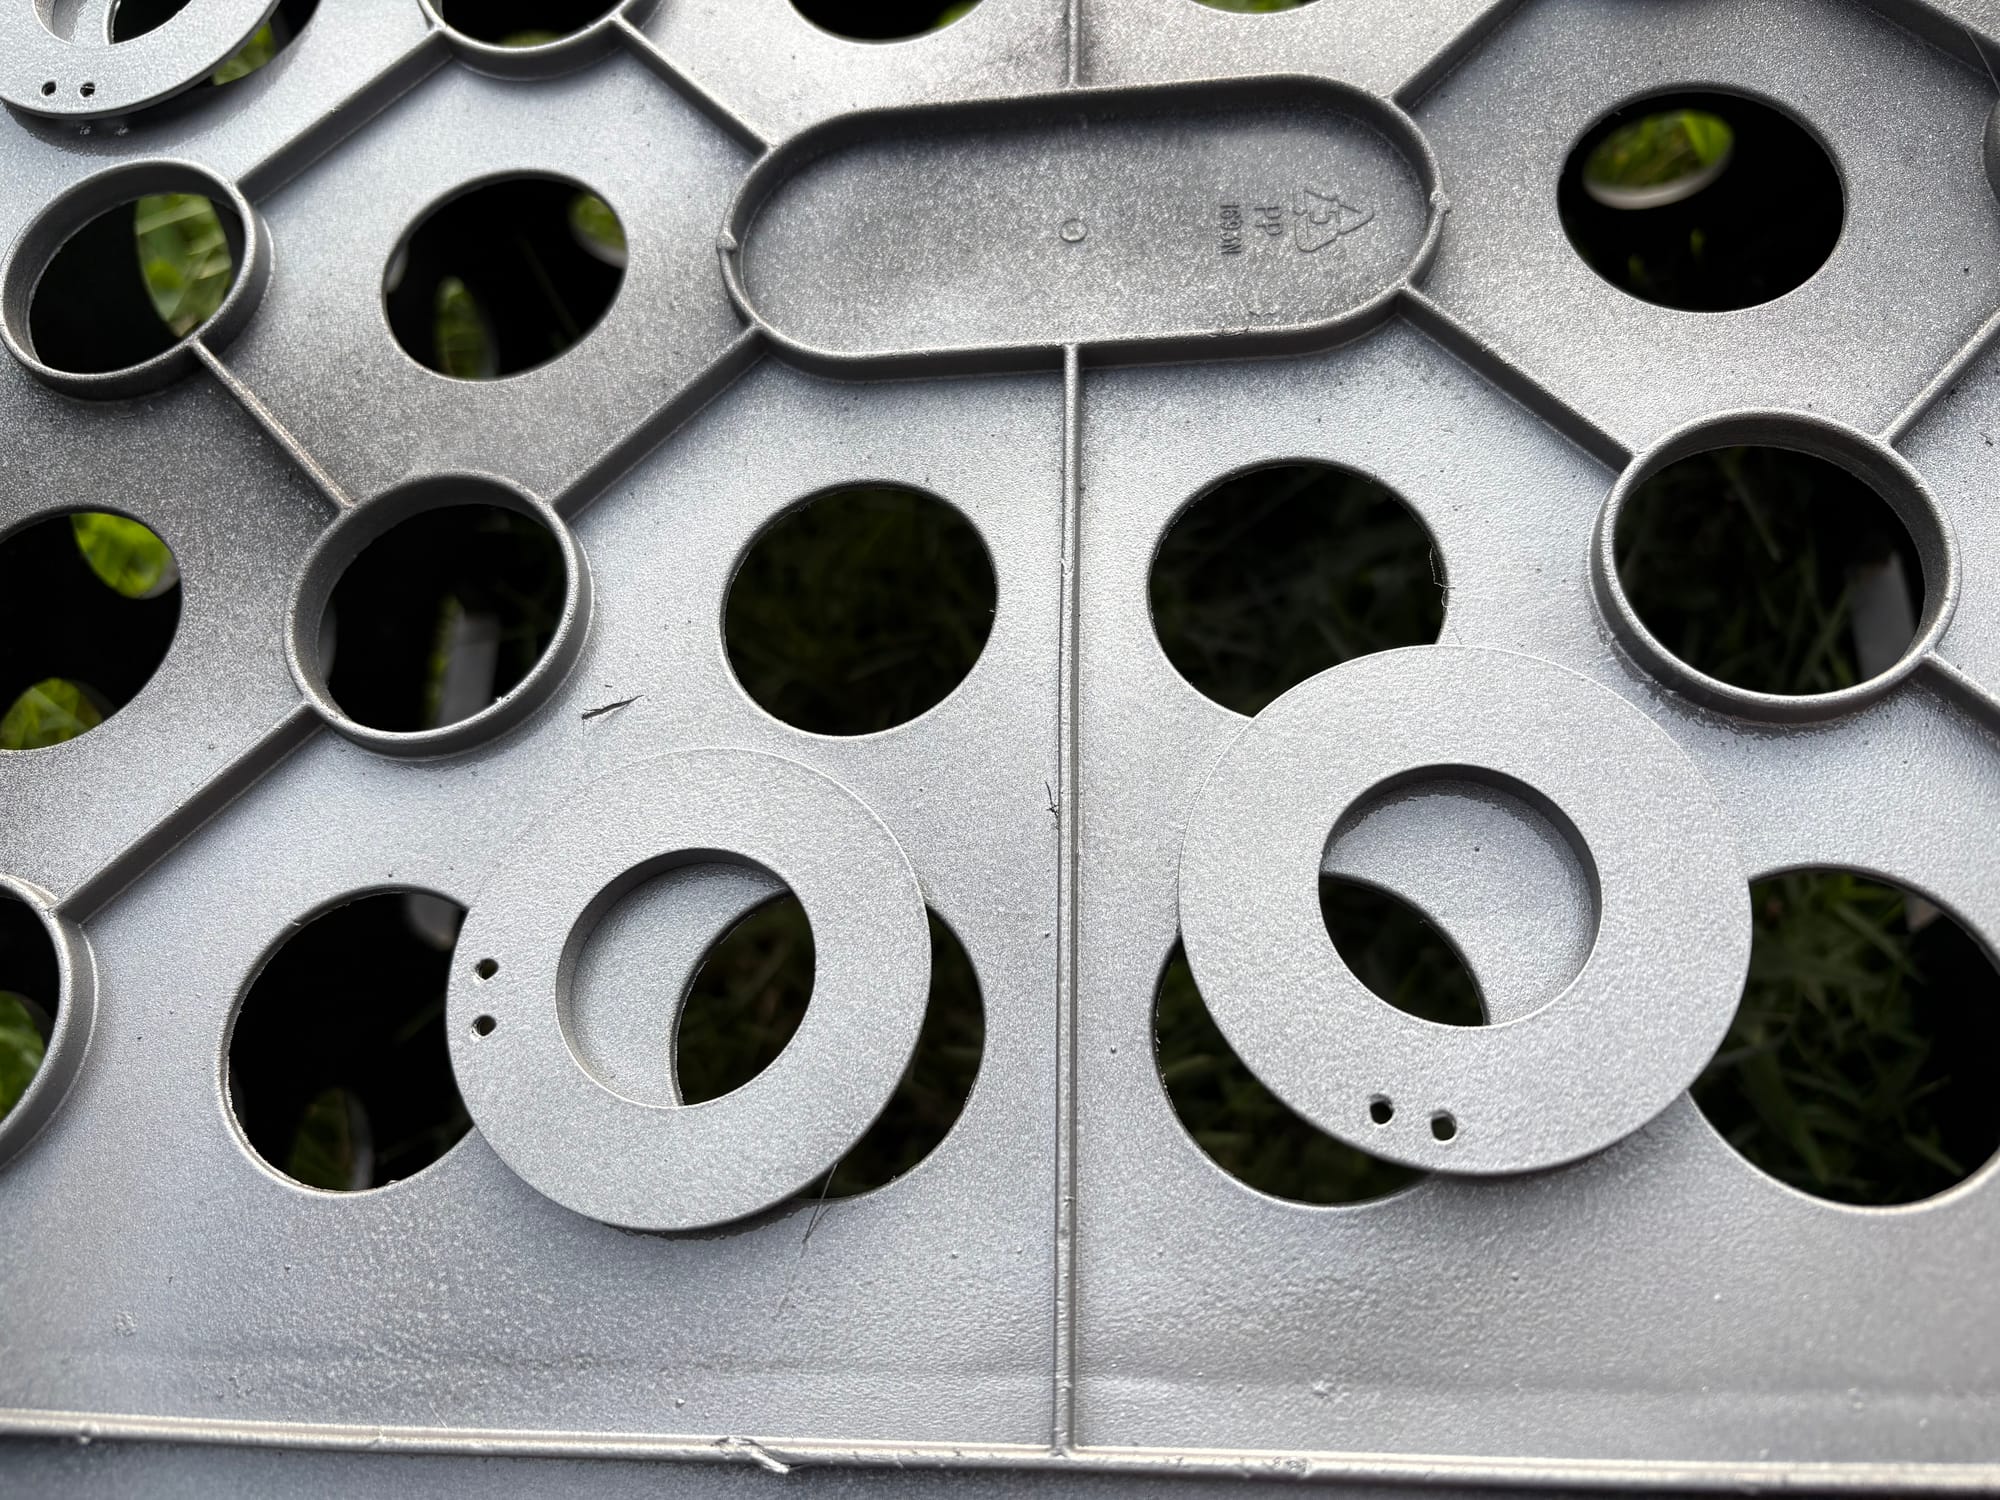
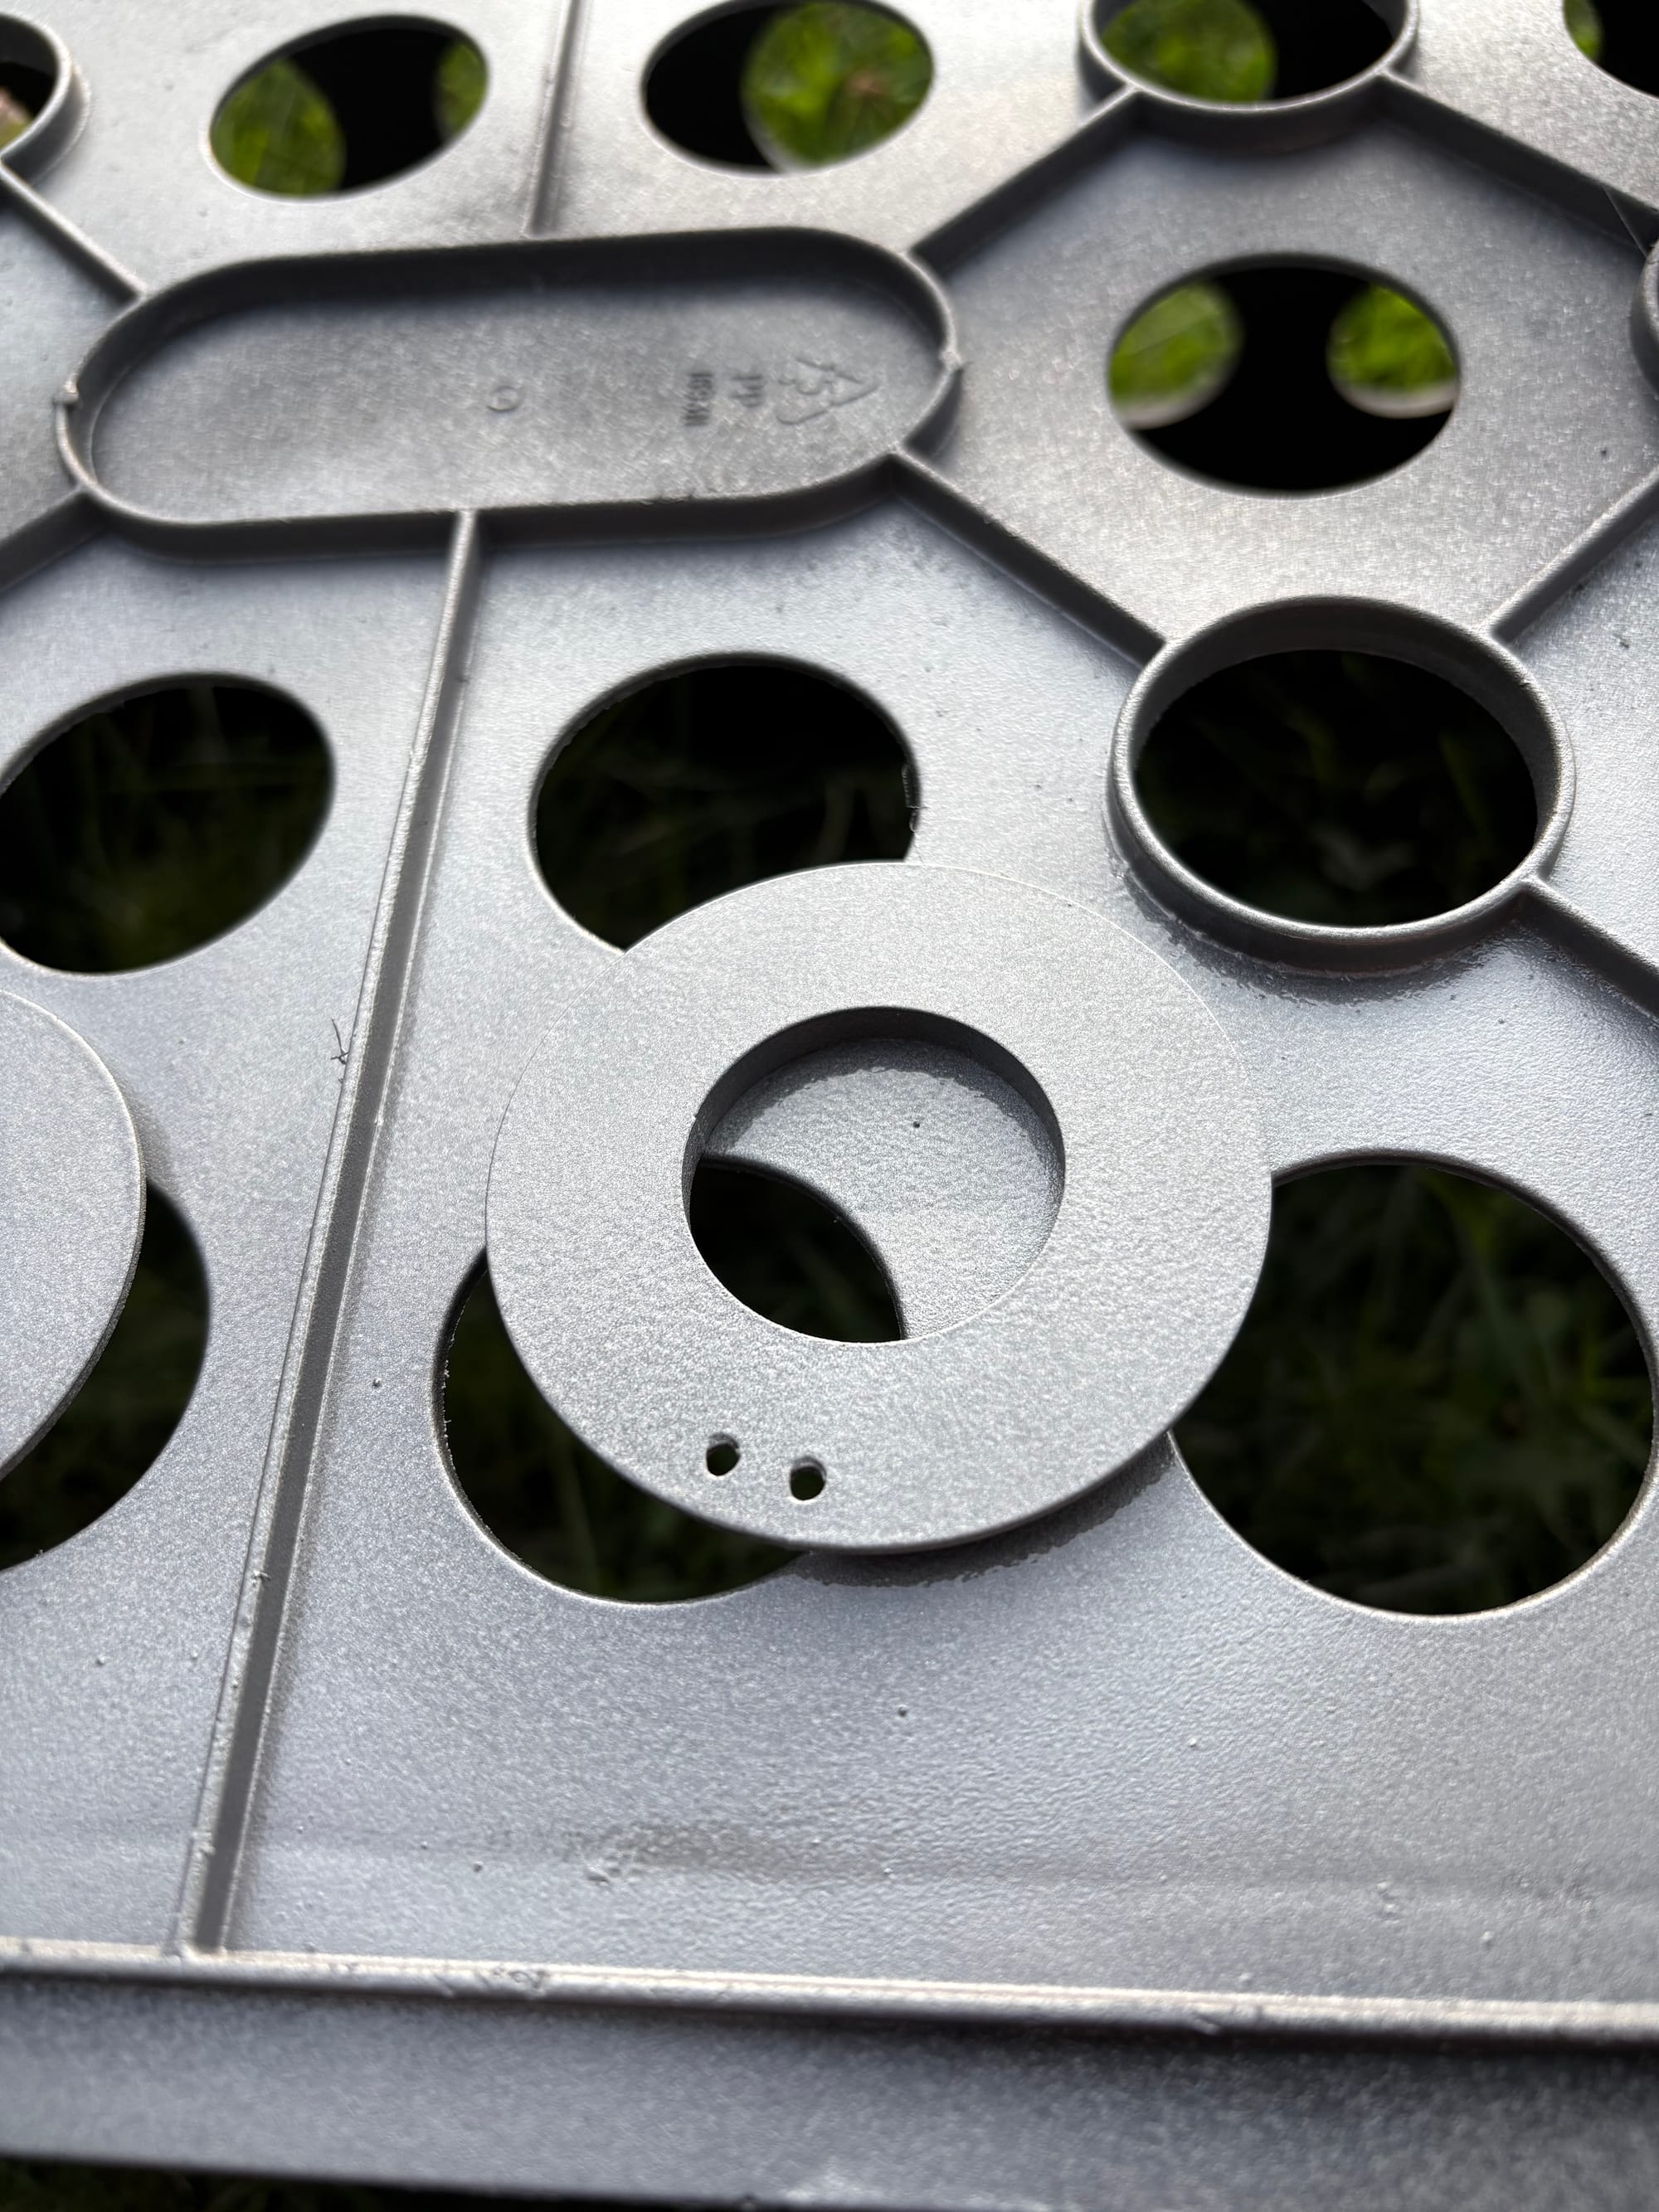
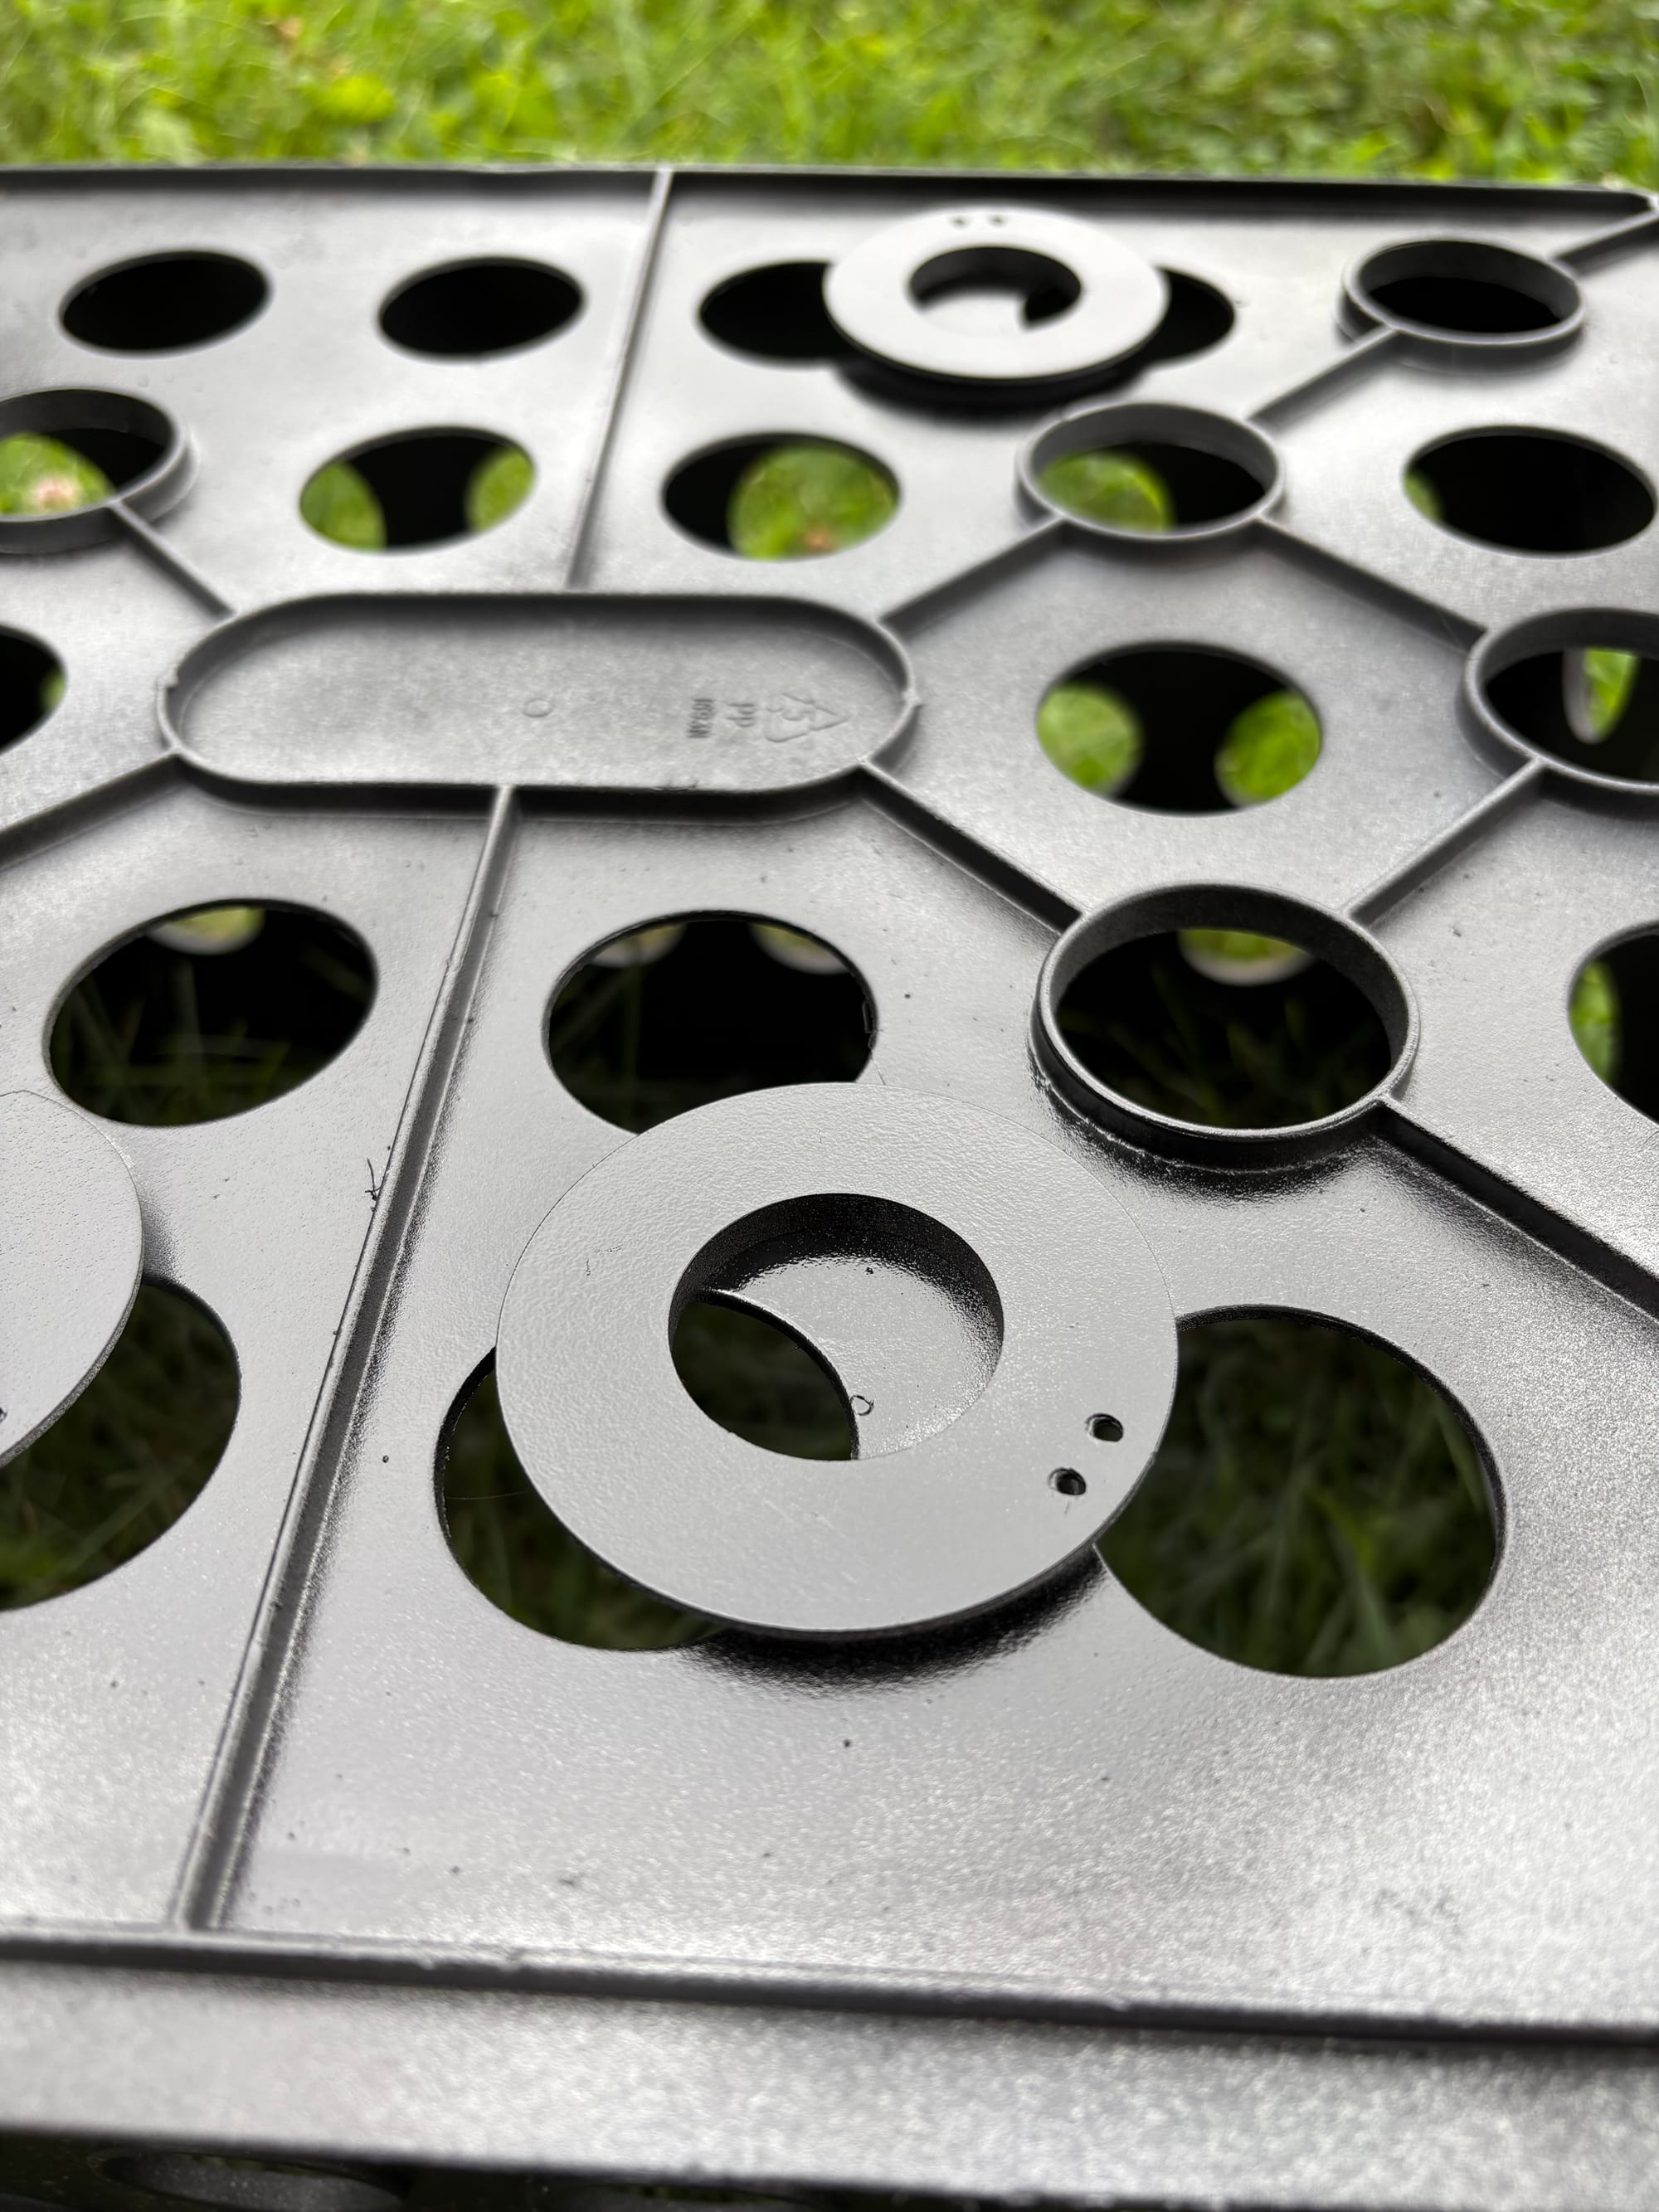
A simple mod that really changes the look of the pack, and the lenses that came with them tone down the lights and are a way more accurate dark red. Up close, the difference isn’t as apparent, but far off, wow it looks really good. Get these over ANY other reversible lens mod
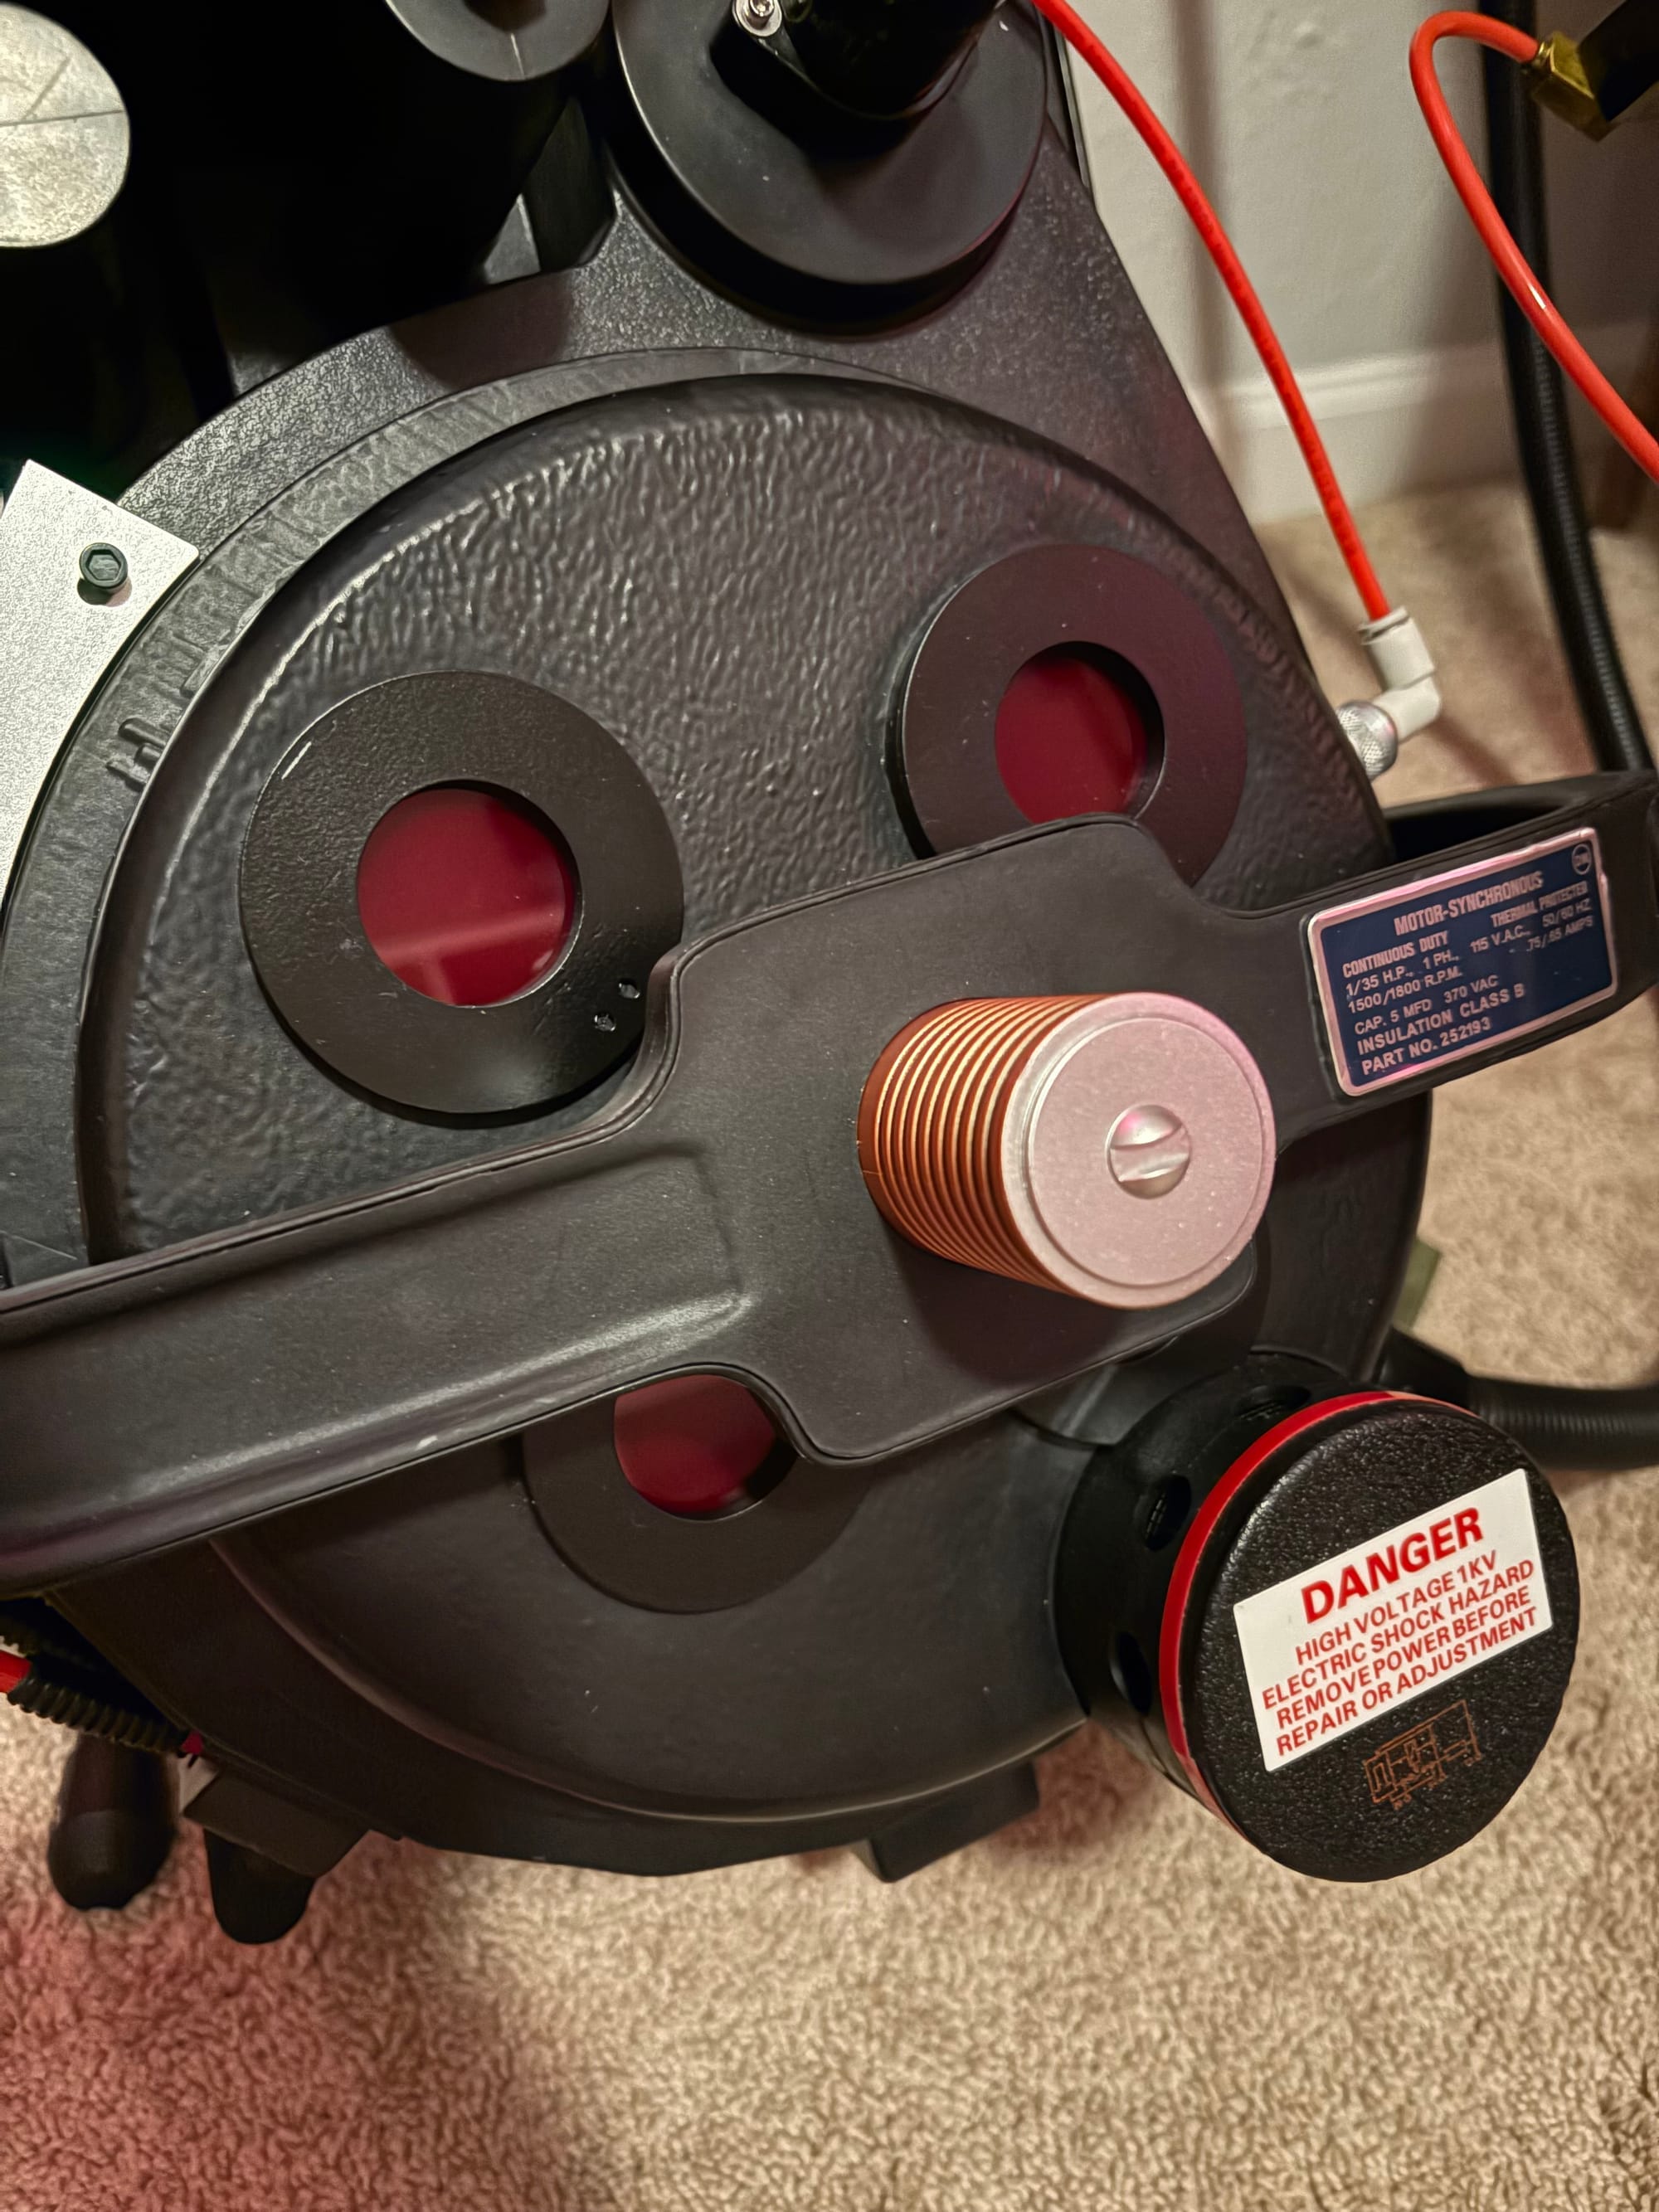
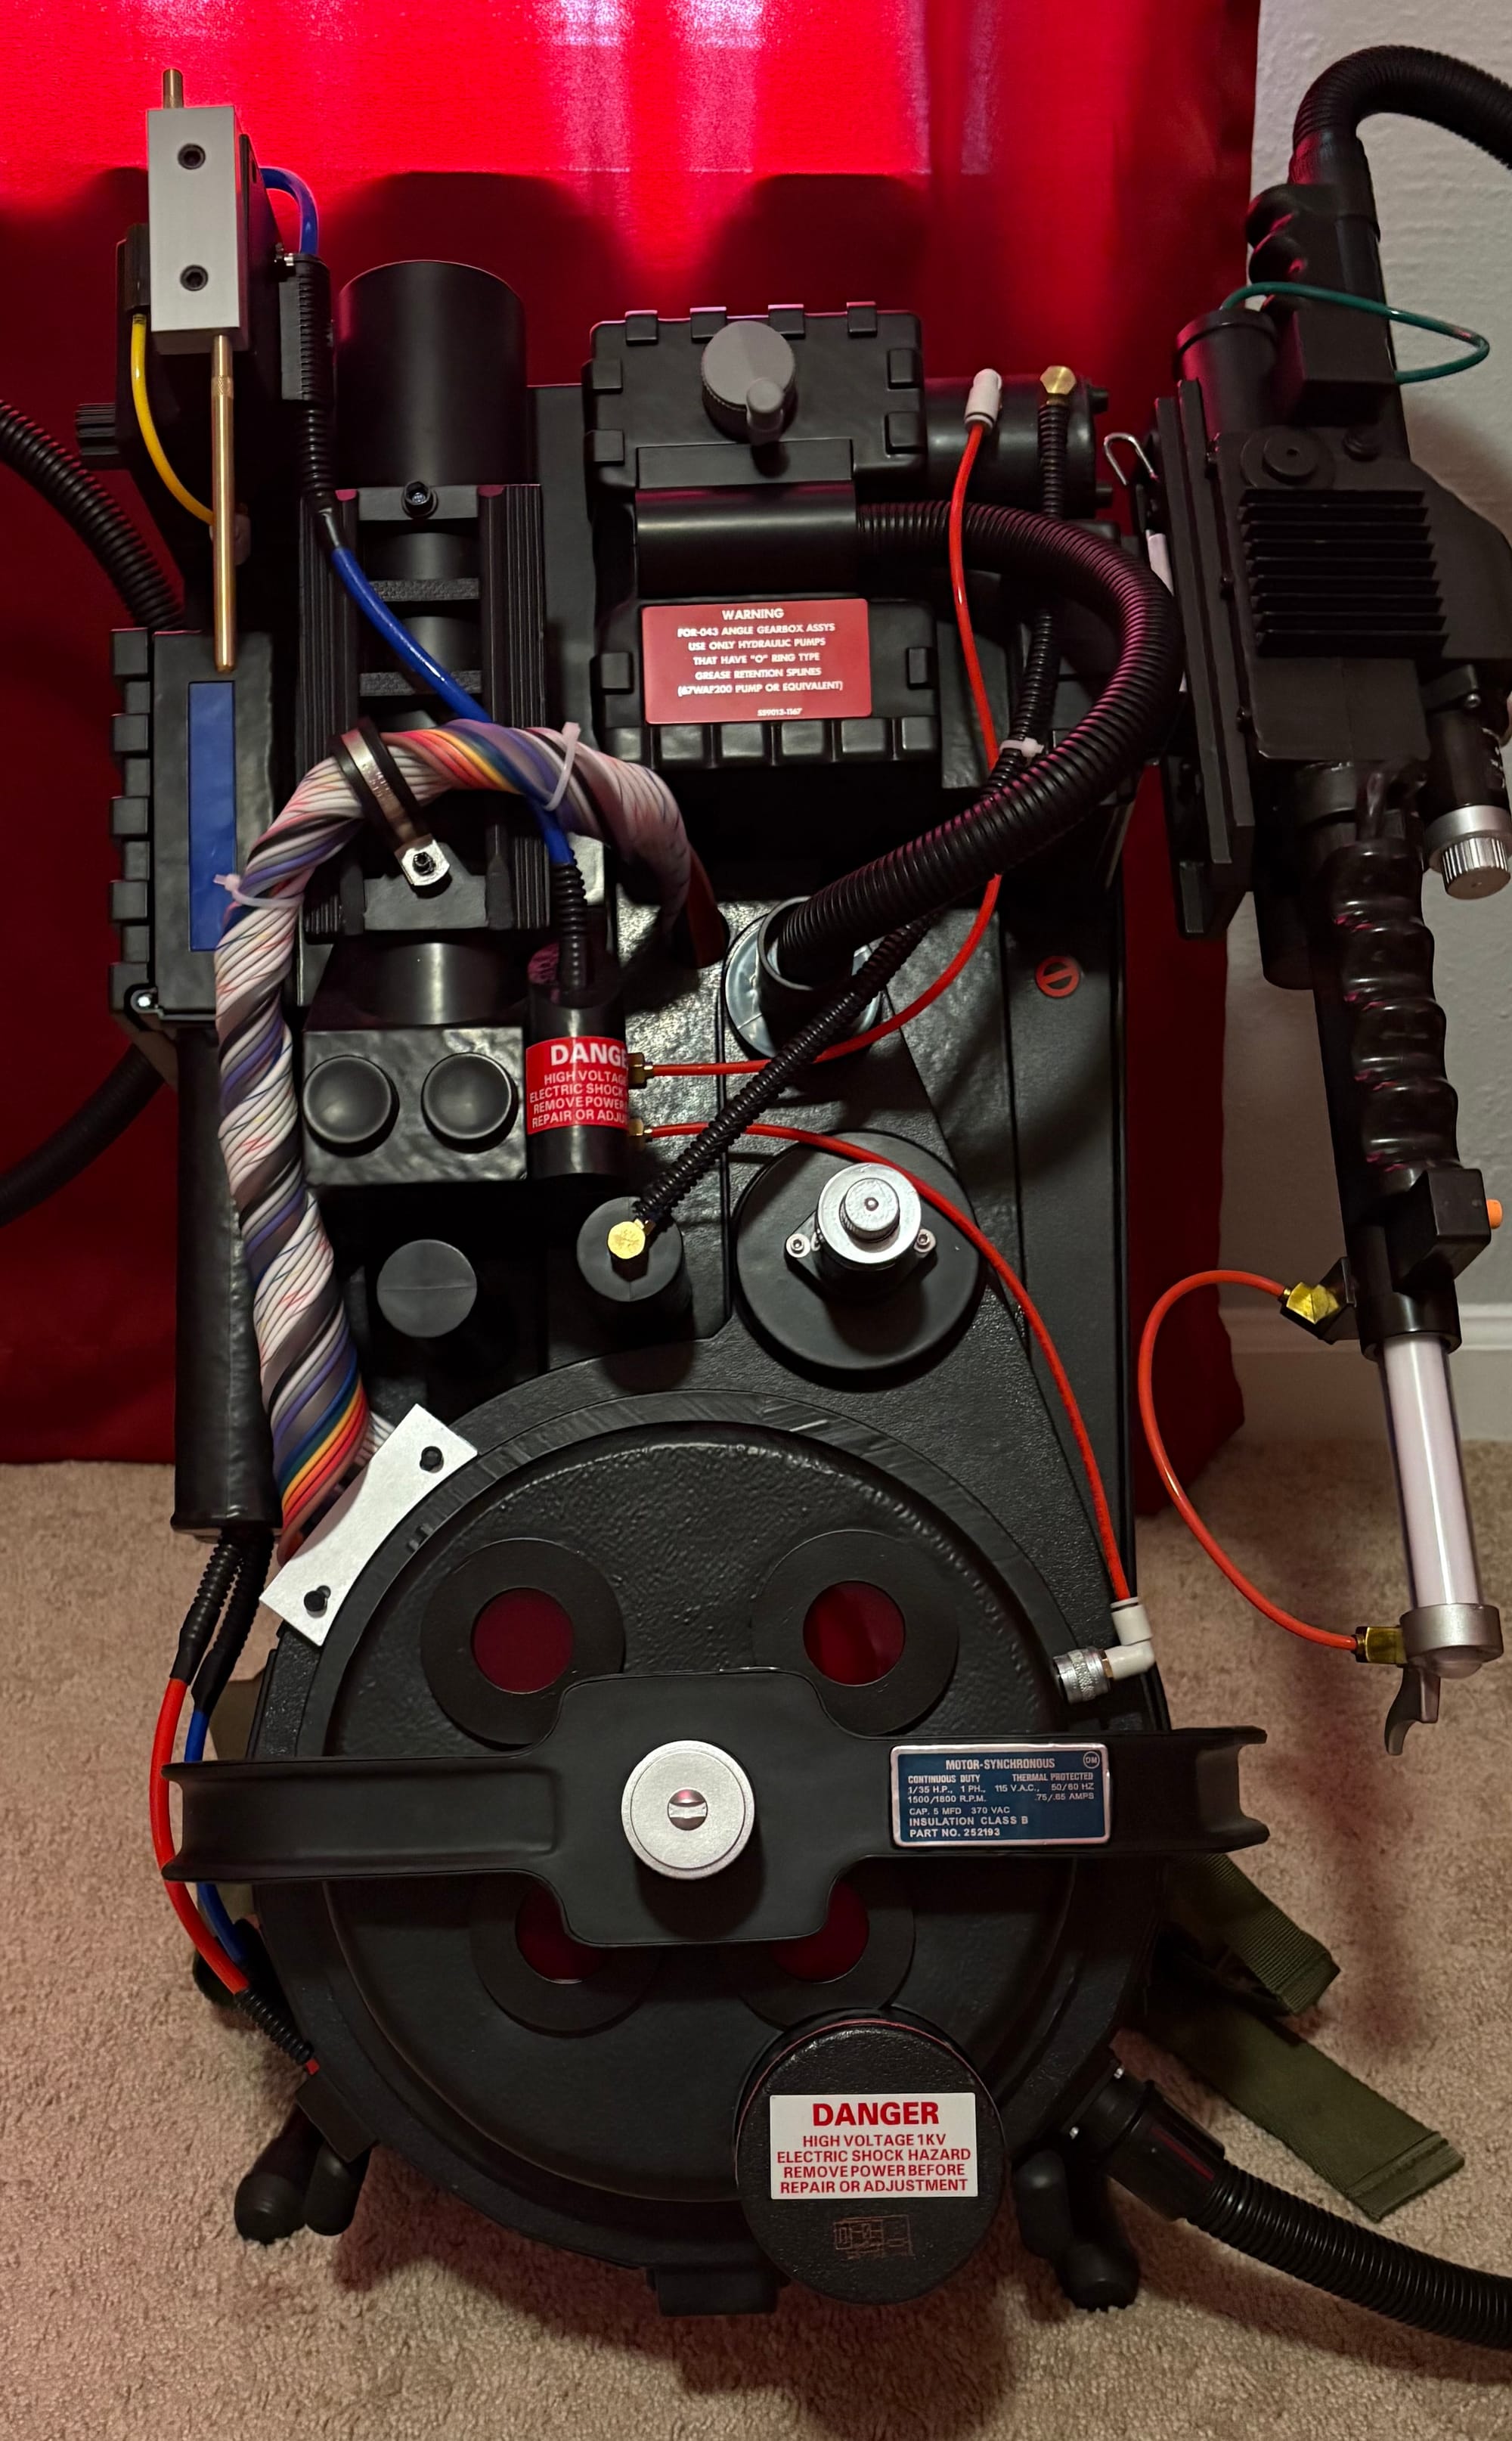
New lenses and covers
Screw Replacement
I originally set out not to make too many mods that couldn’t be reversed. But as I’ve gone on, I’m rethinking that decision. Also early on, I didn’t have any hex cap screws on hand, so I used whatever I had, which was probably a mistake that I’ll be fixing later. Either way, I did order some #4 and #8 hex cap screws and have started replacing the screws I had used or those used by Hasbro with those. For example, I switched out the standard screws I used to hold in the two resistors for the #4 hex caps. I also gave them a quick hit of black paint, since the box I bought was all silver. These things are small changes, but in the end they do make a big difference in terms of visual appeal. Accuracy isn’t even that important here; these types of screws look a little more purposeful, and having all of them match adds more polish. Will I drill out every post and make them all accurate to size? Maybe 50/50.
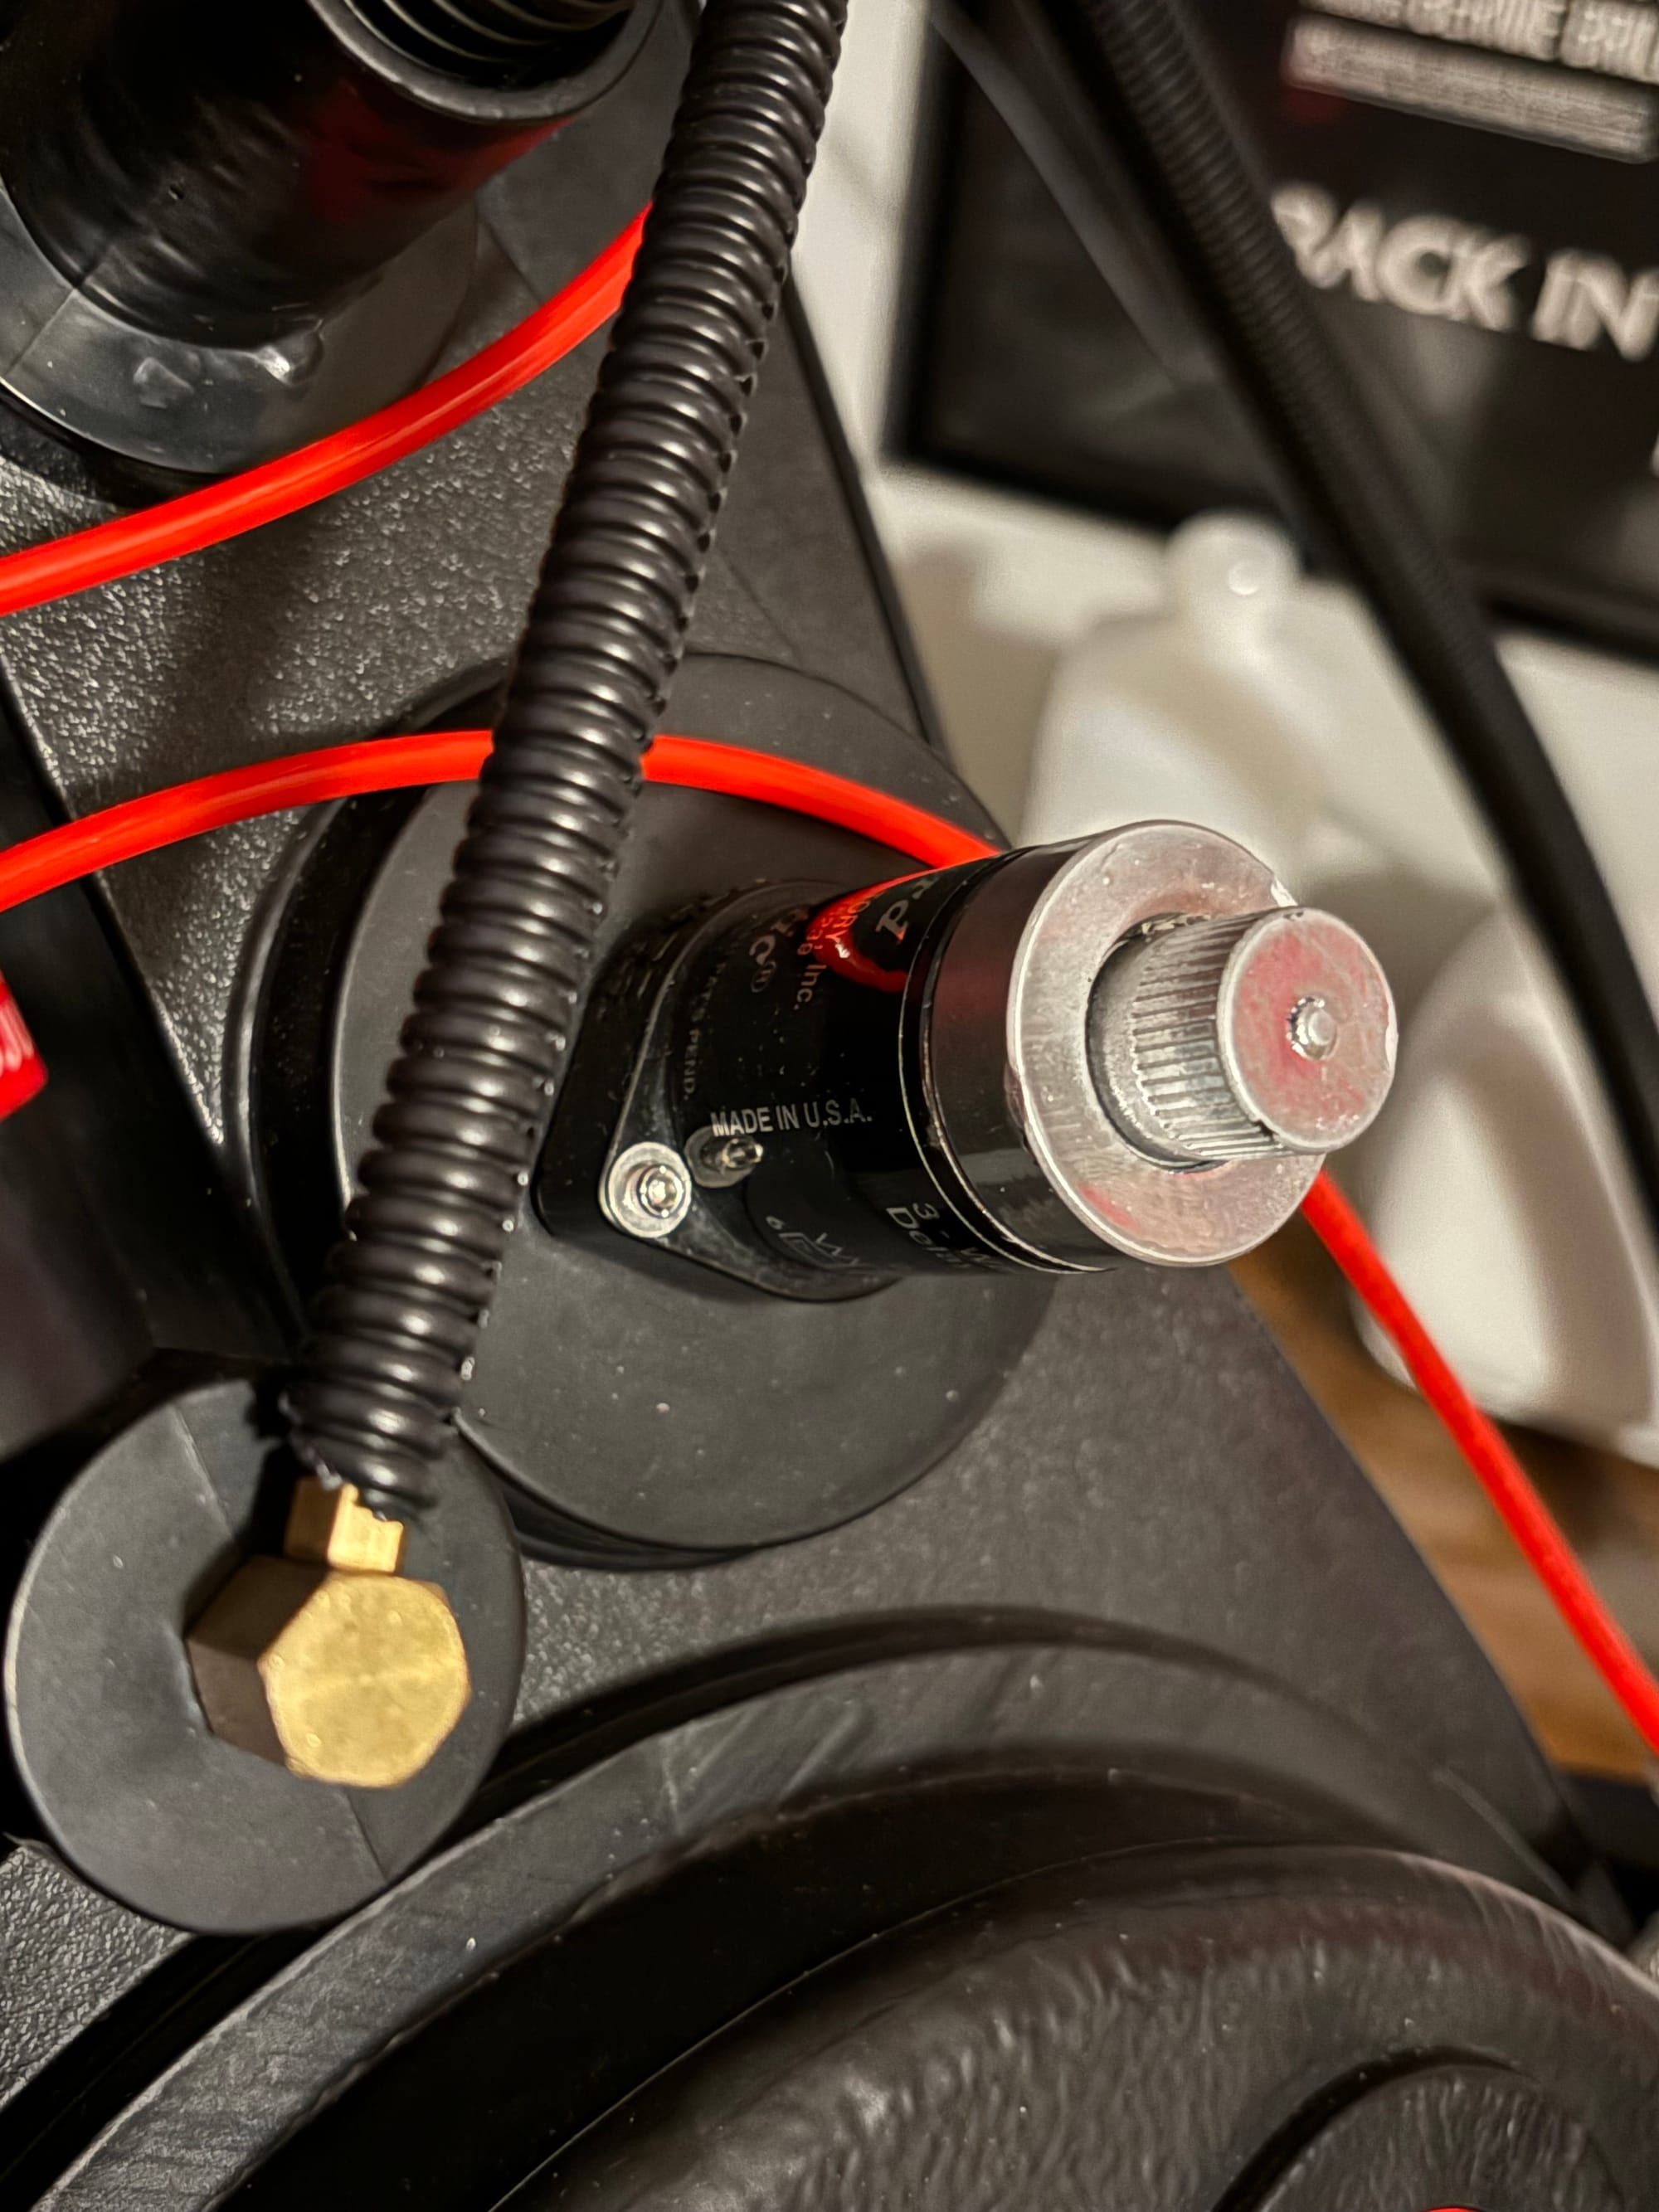
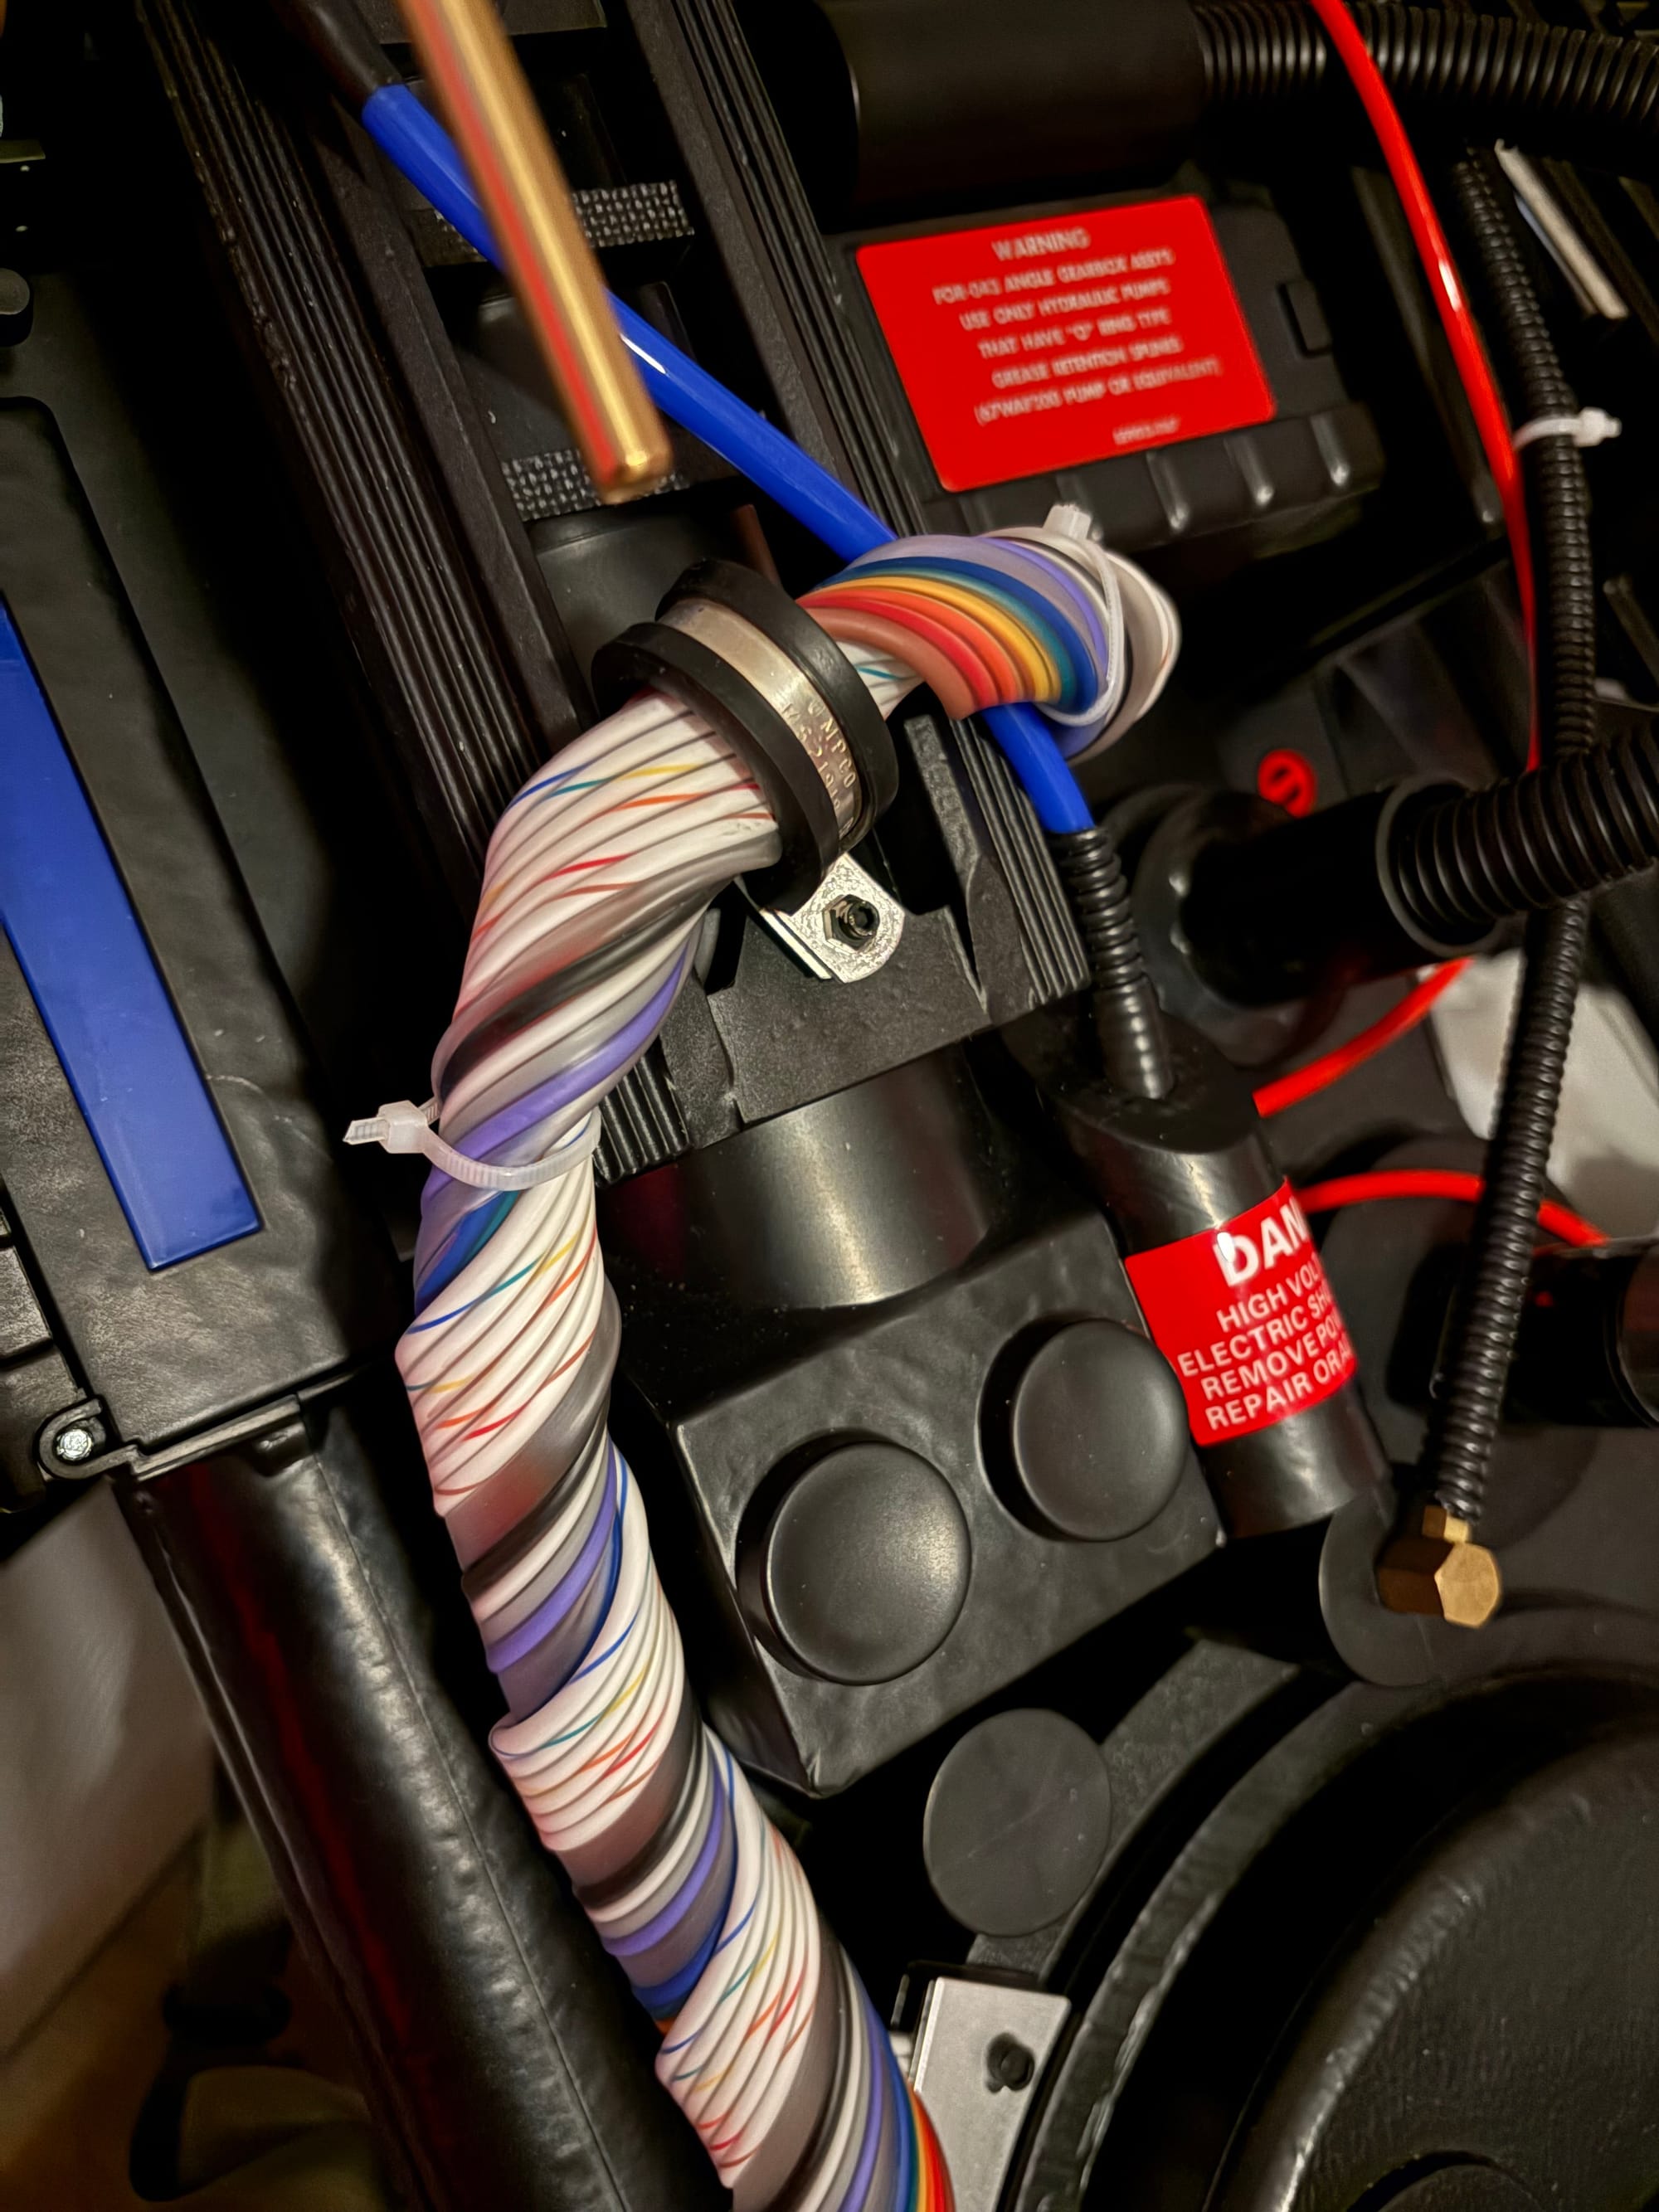
First steps with the Positron Colider
I’m not completely sure what I’m going to do with modifying the thrower. I’m not happy with how much weathering there is or how the attempt looks. They didn’t smooth out any of the “rust” spots and brushed on some silver paint in questionable ways. On top of that, the grips had brown on them to replicate how the black paint wore off the brown resin grips for the busted-up versions on display in various collections. But the thrower is much more difficult to mod; it is hard to open and doesn’t leave a lot of room to work. On top of that, stuff like the fake Clippard is not just screwed in but is held on the inside with nuts. So, you have to open it even for simple part switching.
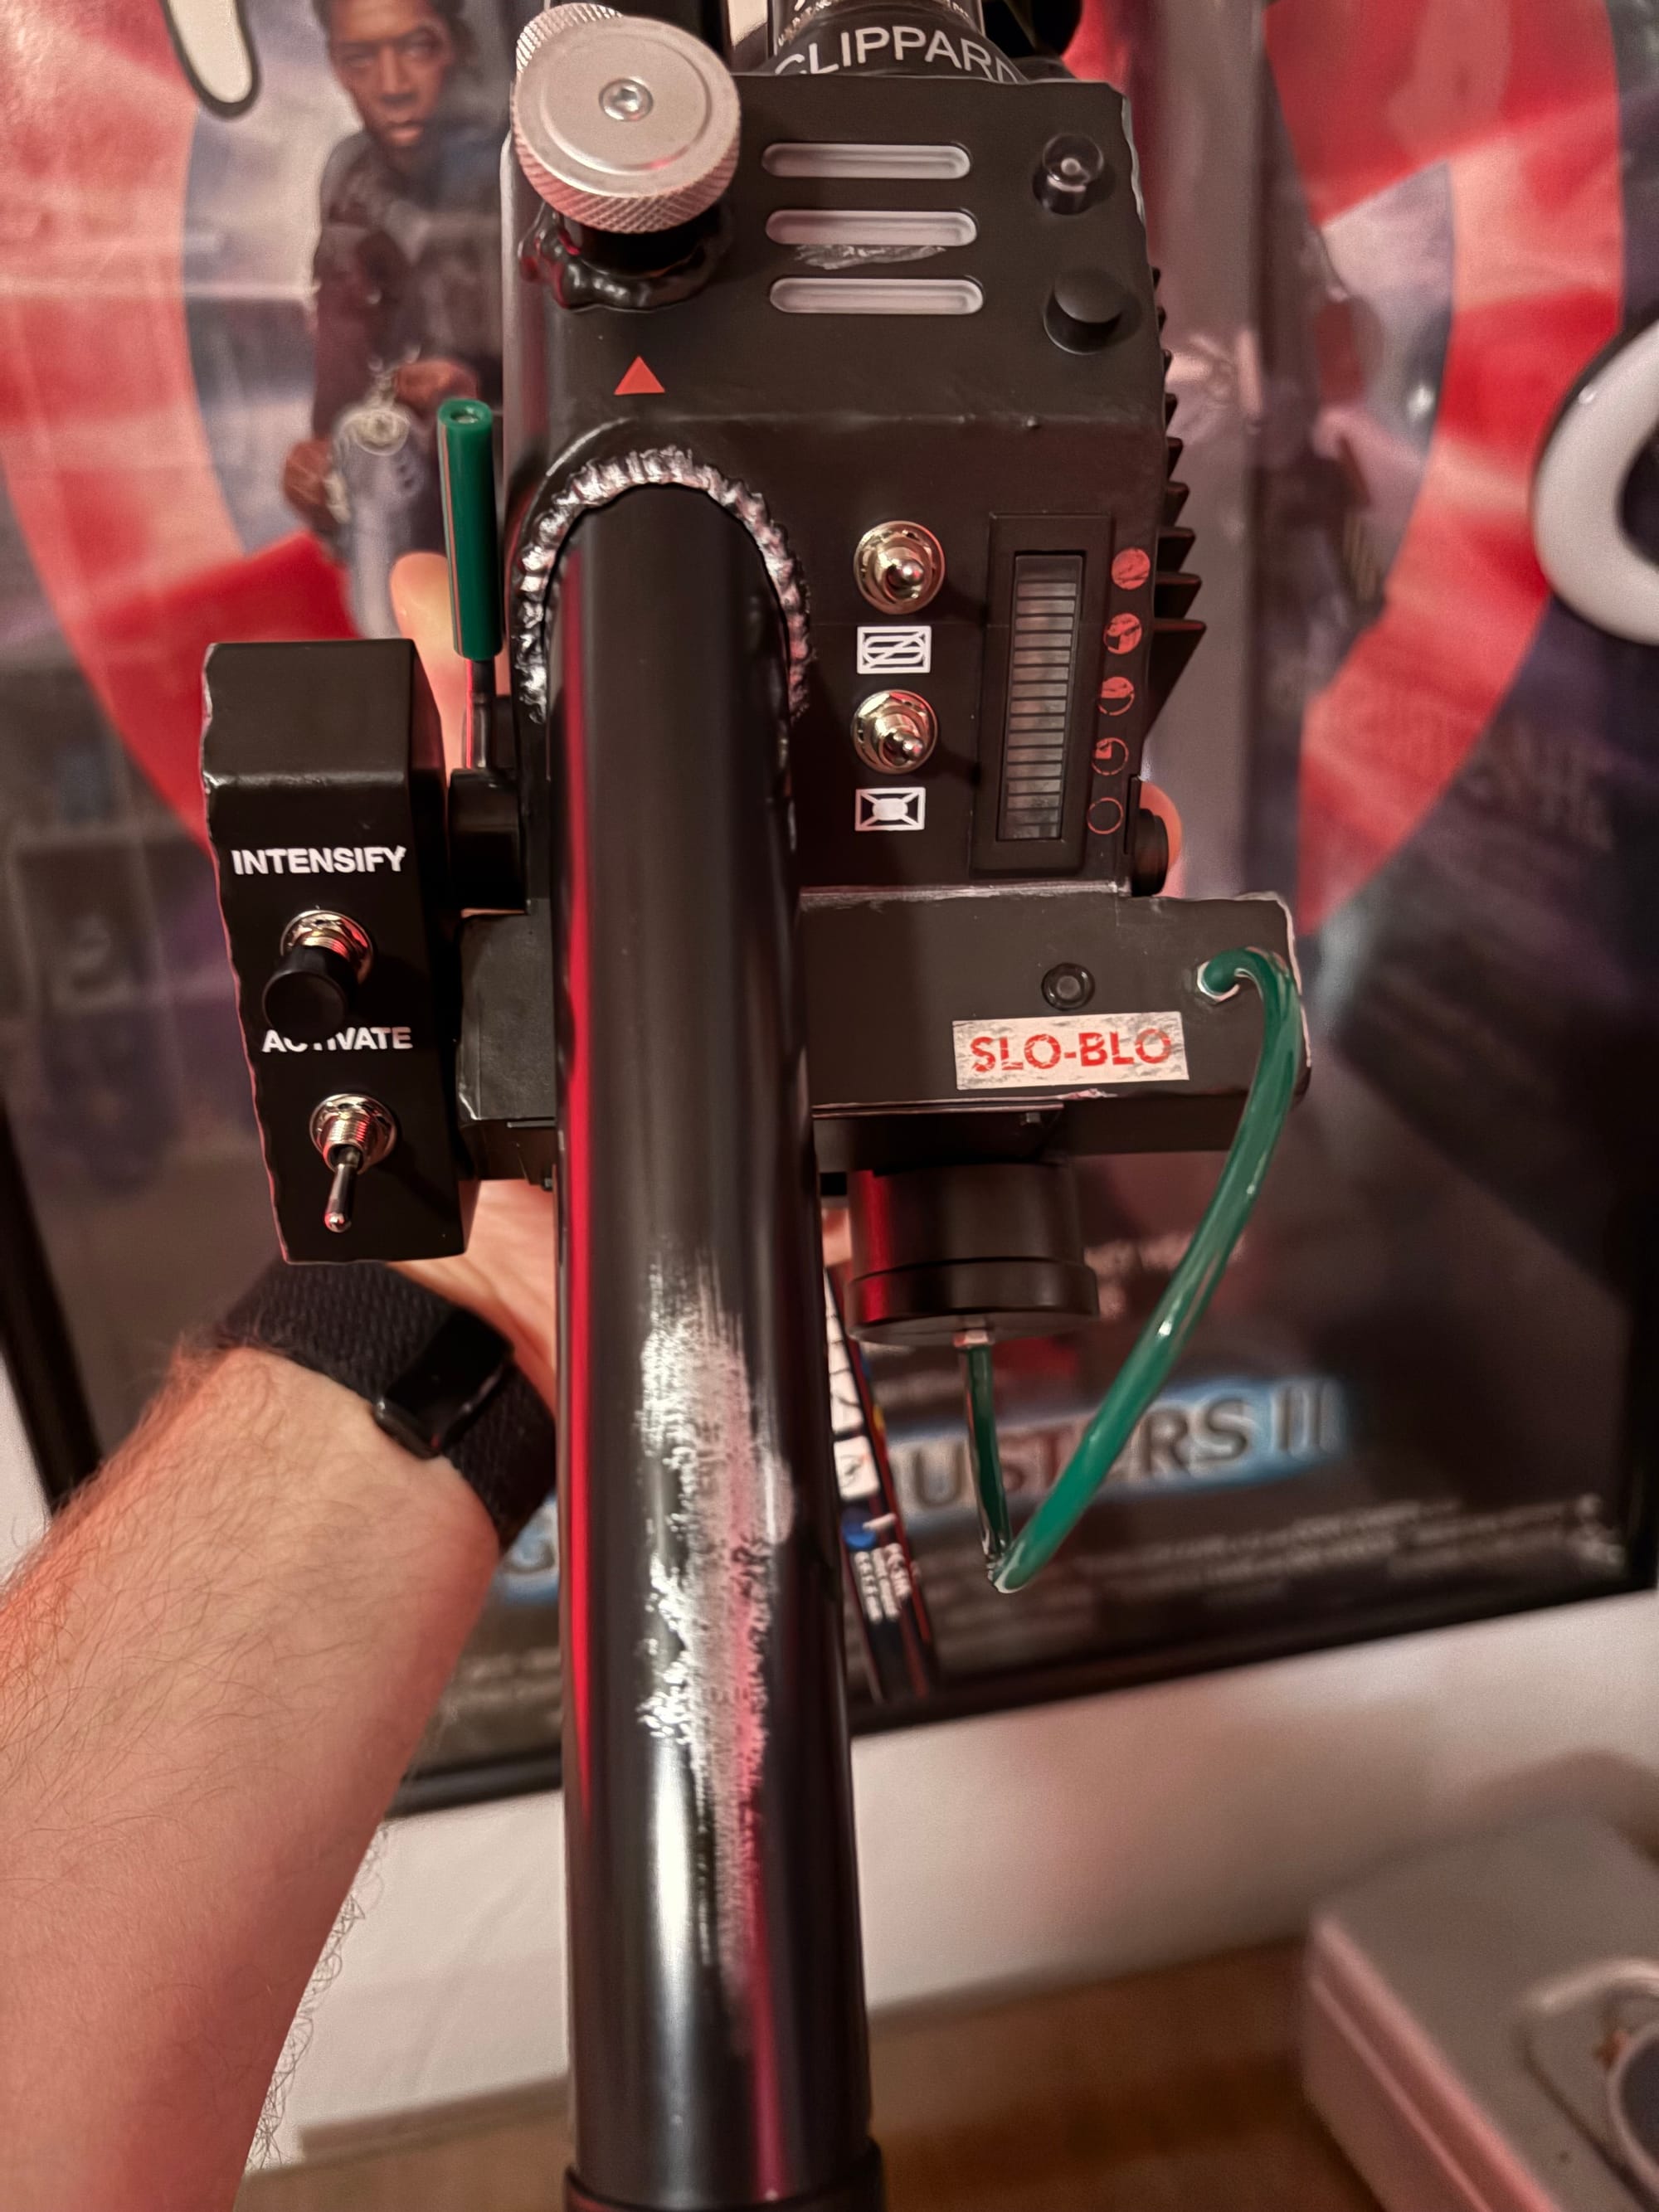
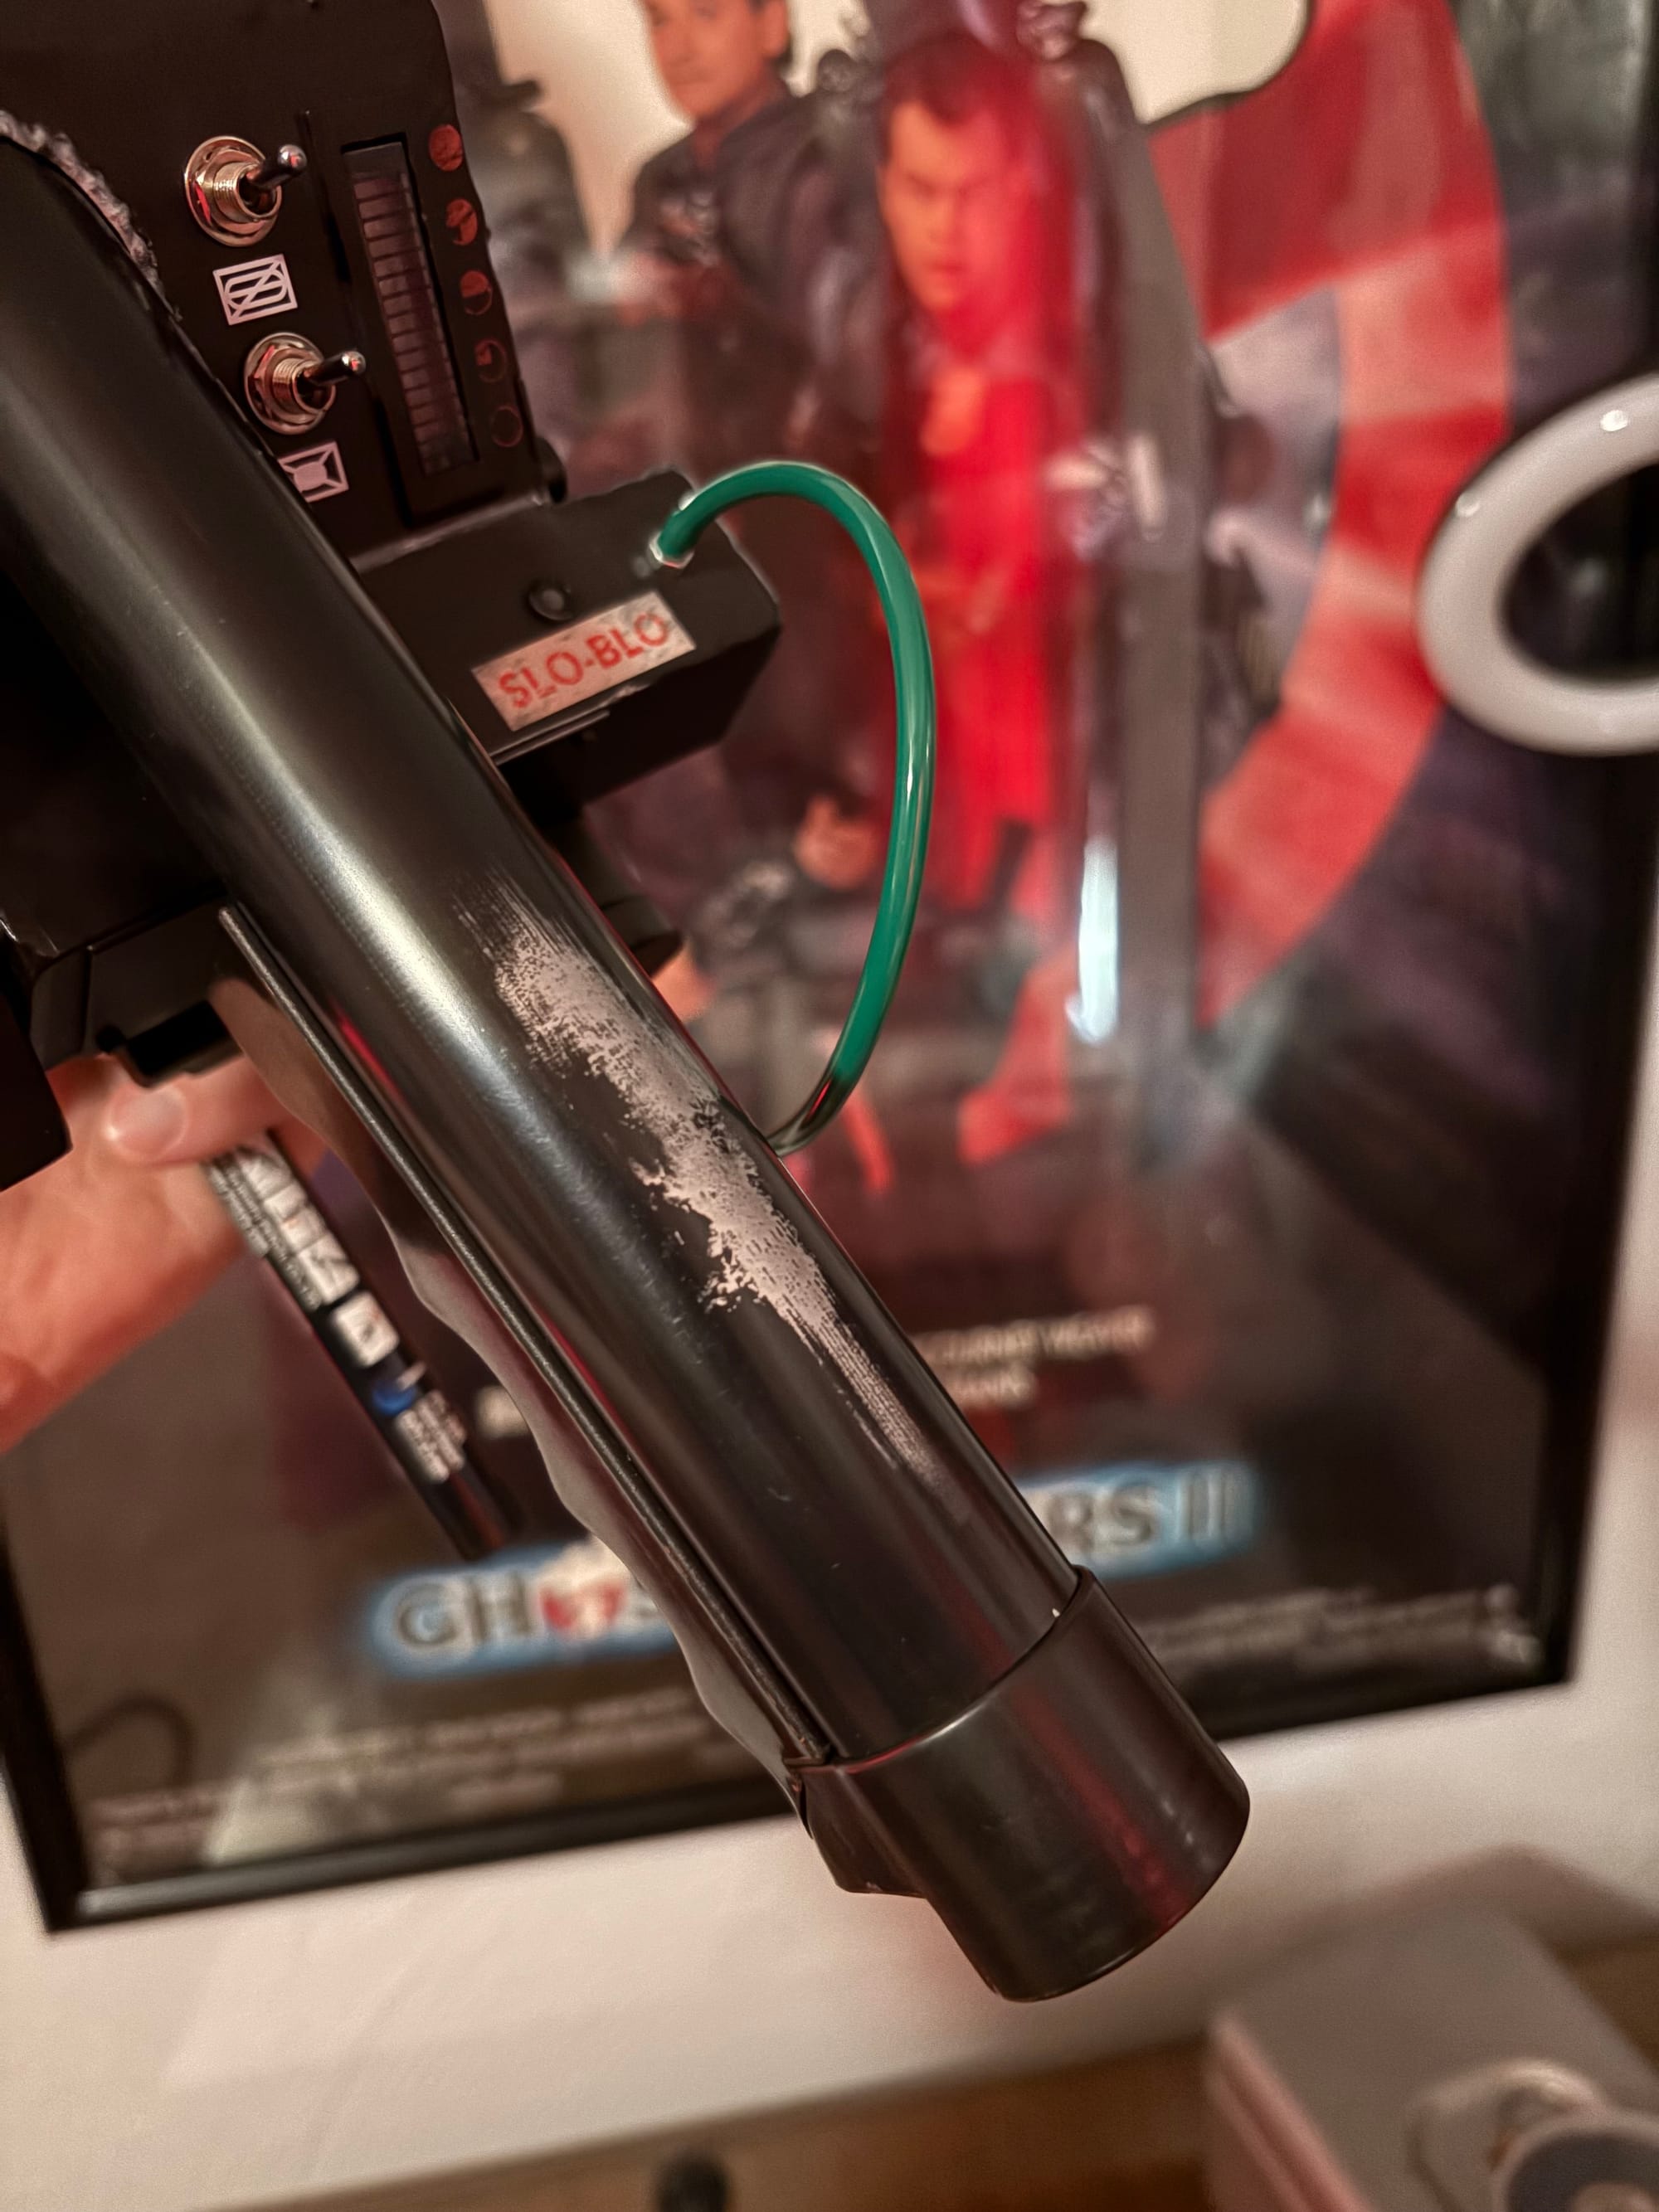
The silver "weathering" before
The poop brown stains on the handles were easily removed with just a smidge of rubbing alcohol. The silver was not as easy; some of it required alcohol and some scrubbing with a magic eraser. You’re essentially just using a little chemical and a light abrasive; be careful not to do too much, or you can leave microabrasions on the plastic. That worked best on the handle; for everything else, I just used a Posca marker and covered them up.
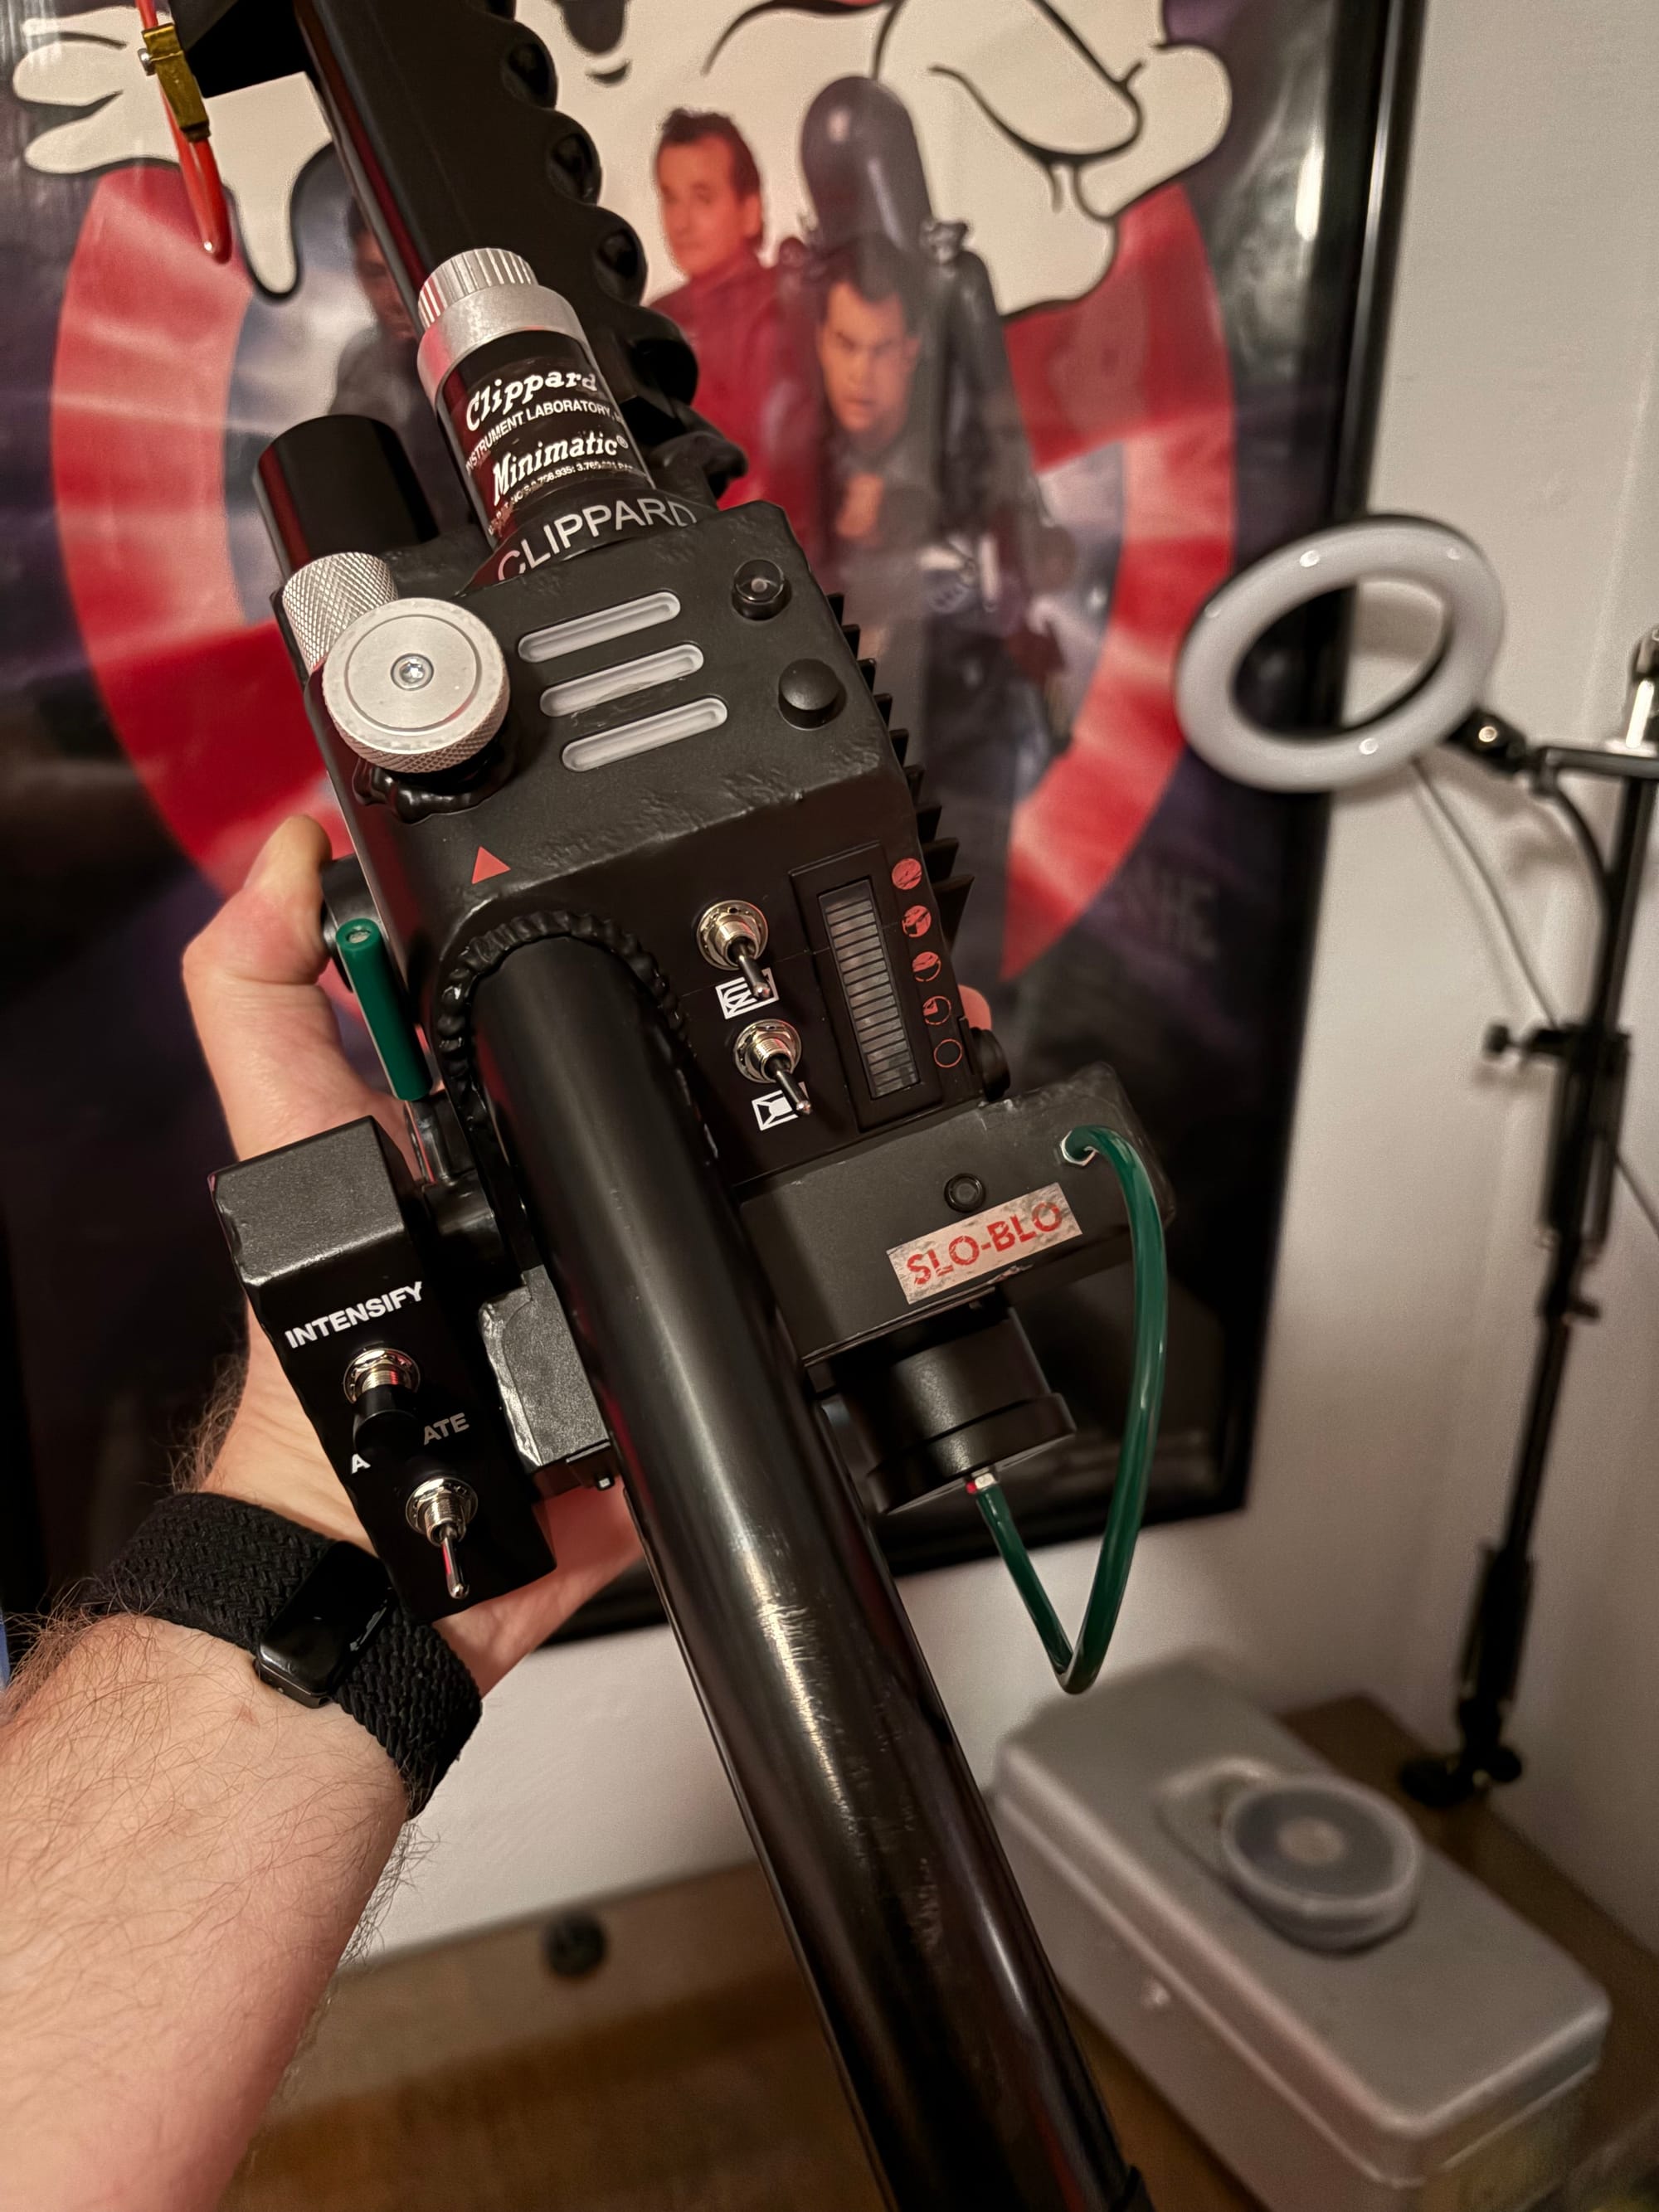
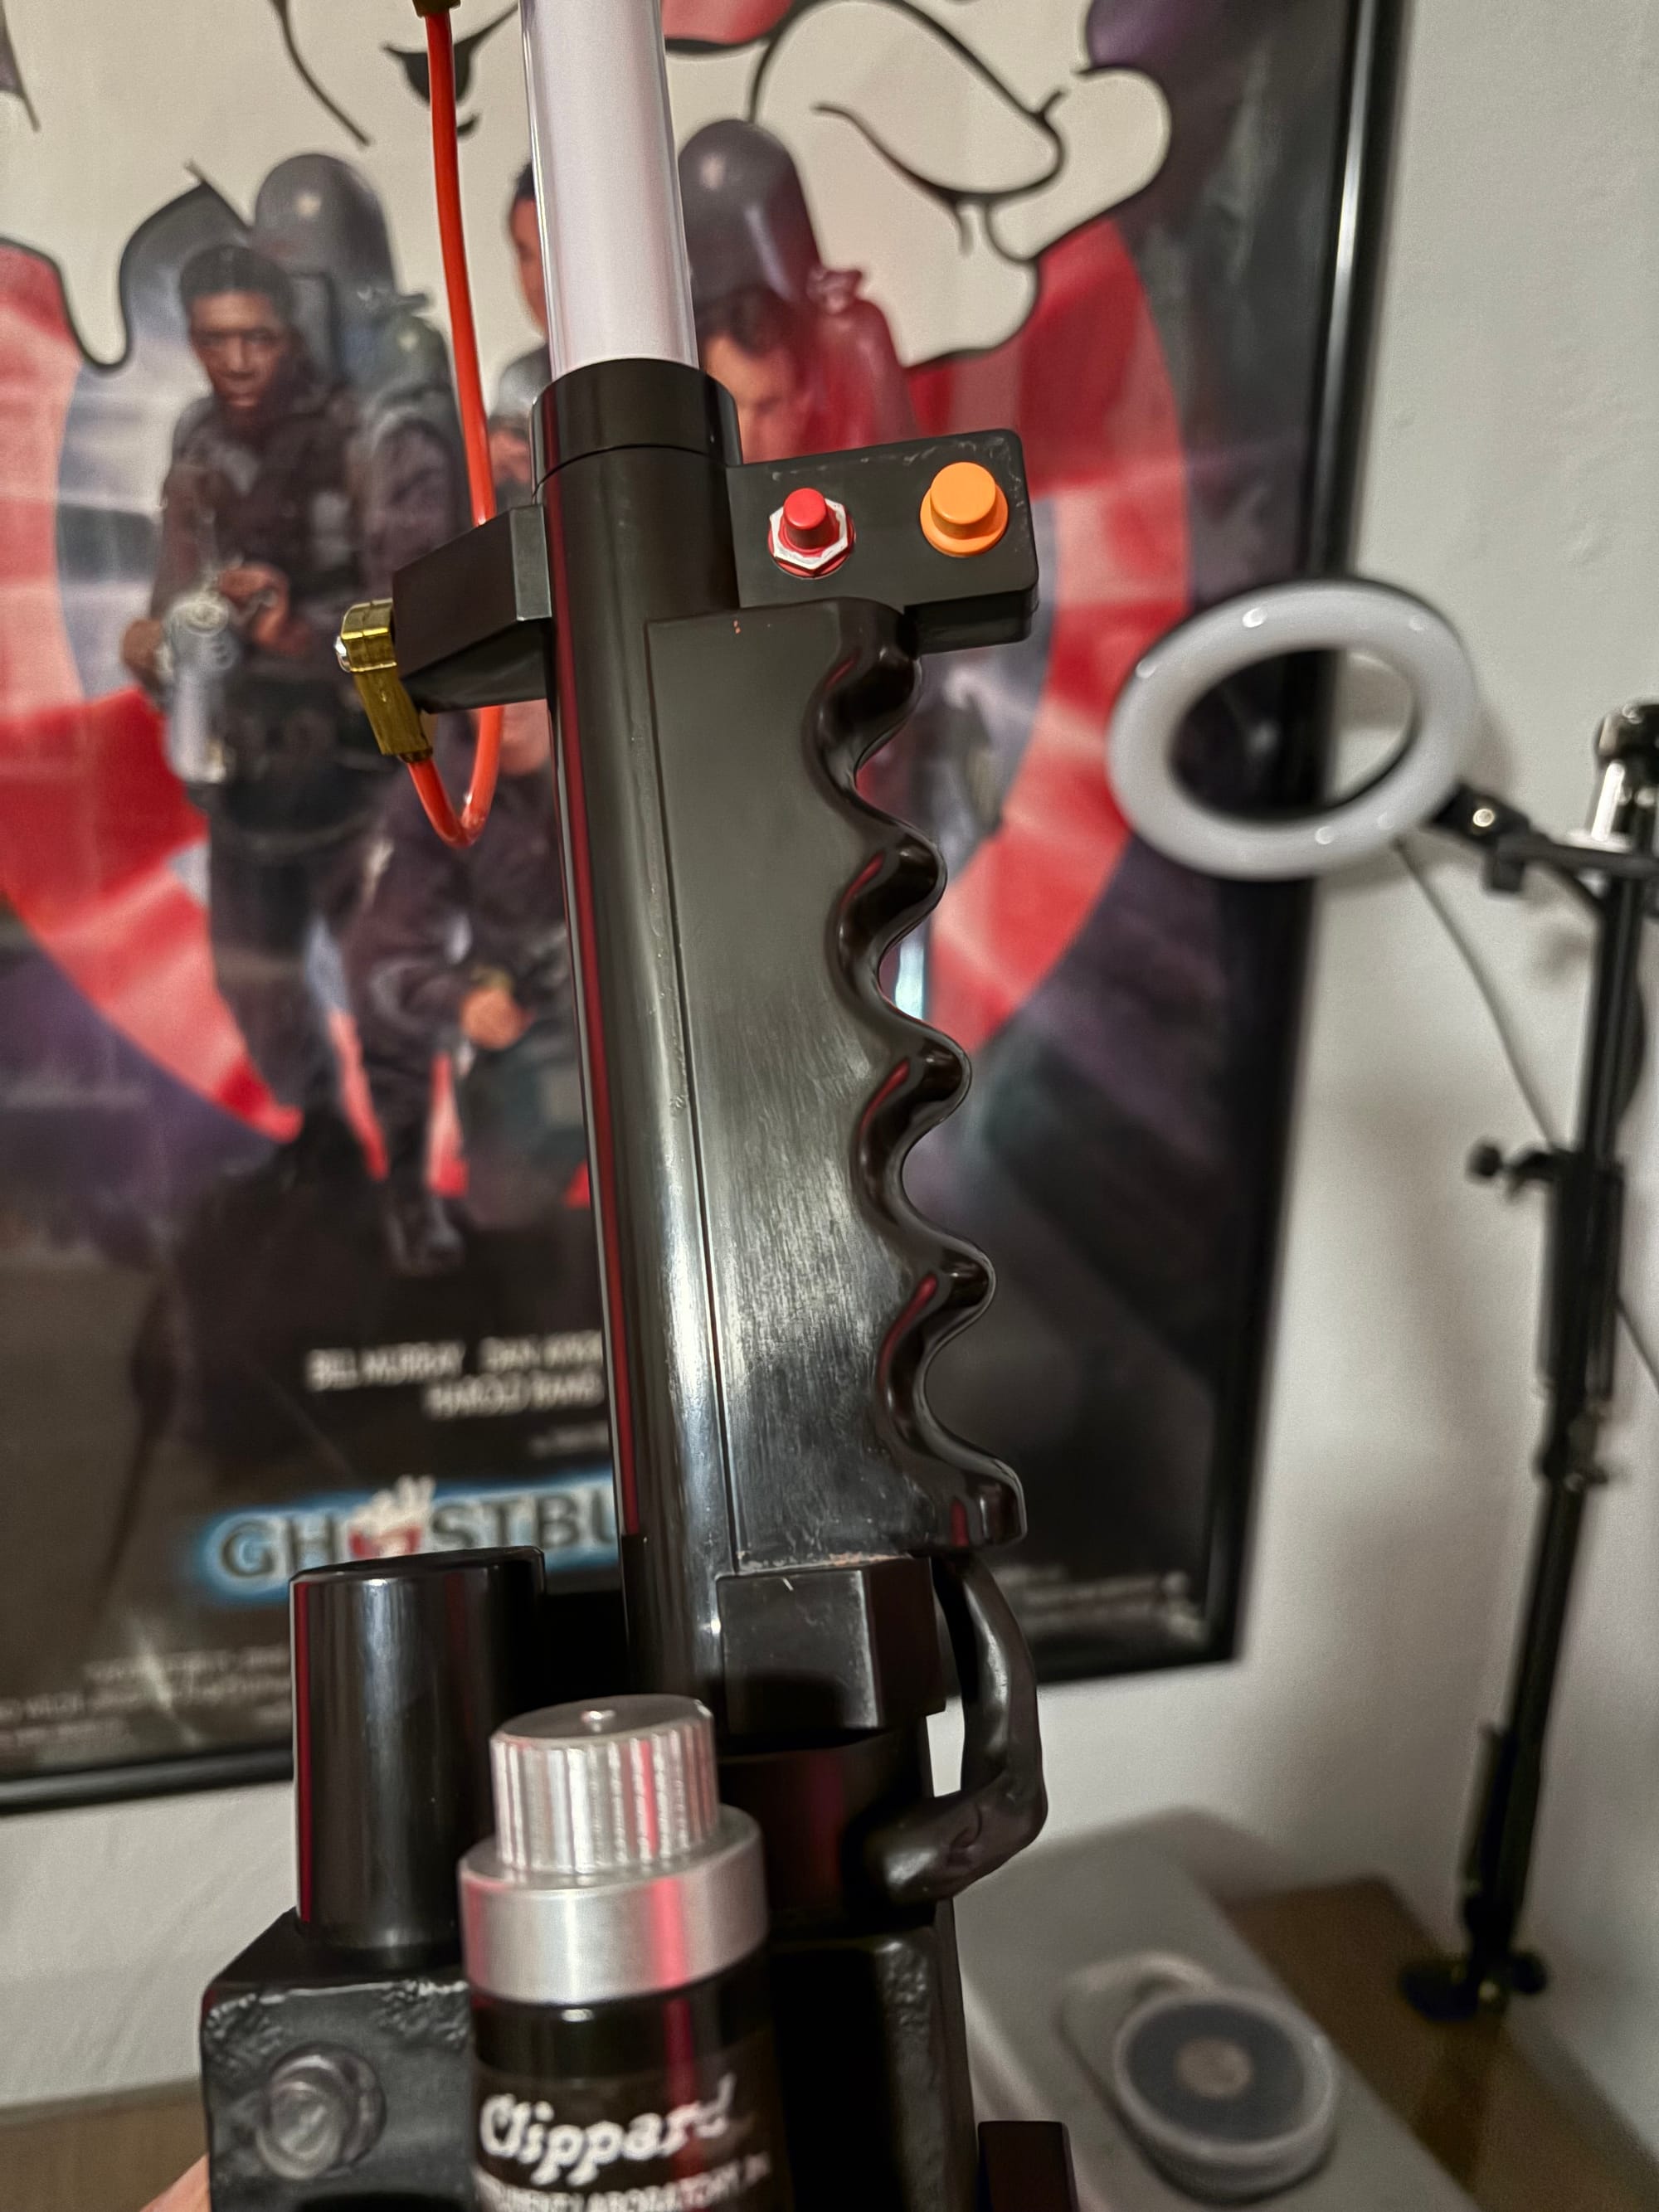
After a little scrub and brush. I finished that switch silvering later and then replaced it anyway.
I also wanted to remove the orange cap. My eventual goal is to add some acrylic to the end and add a new silver ring on the end, and then replace the Banjo connectors. For now, I just cut it off with an X-acto. Mazel Tov. Not exactly elegant, but with a little silver paint, it does the job.
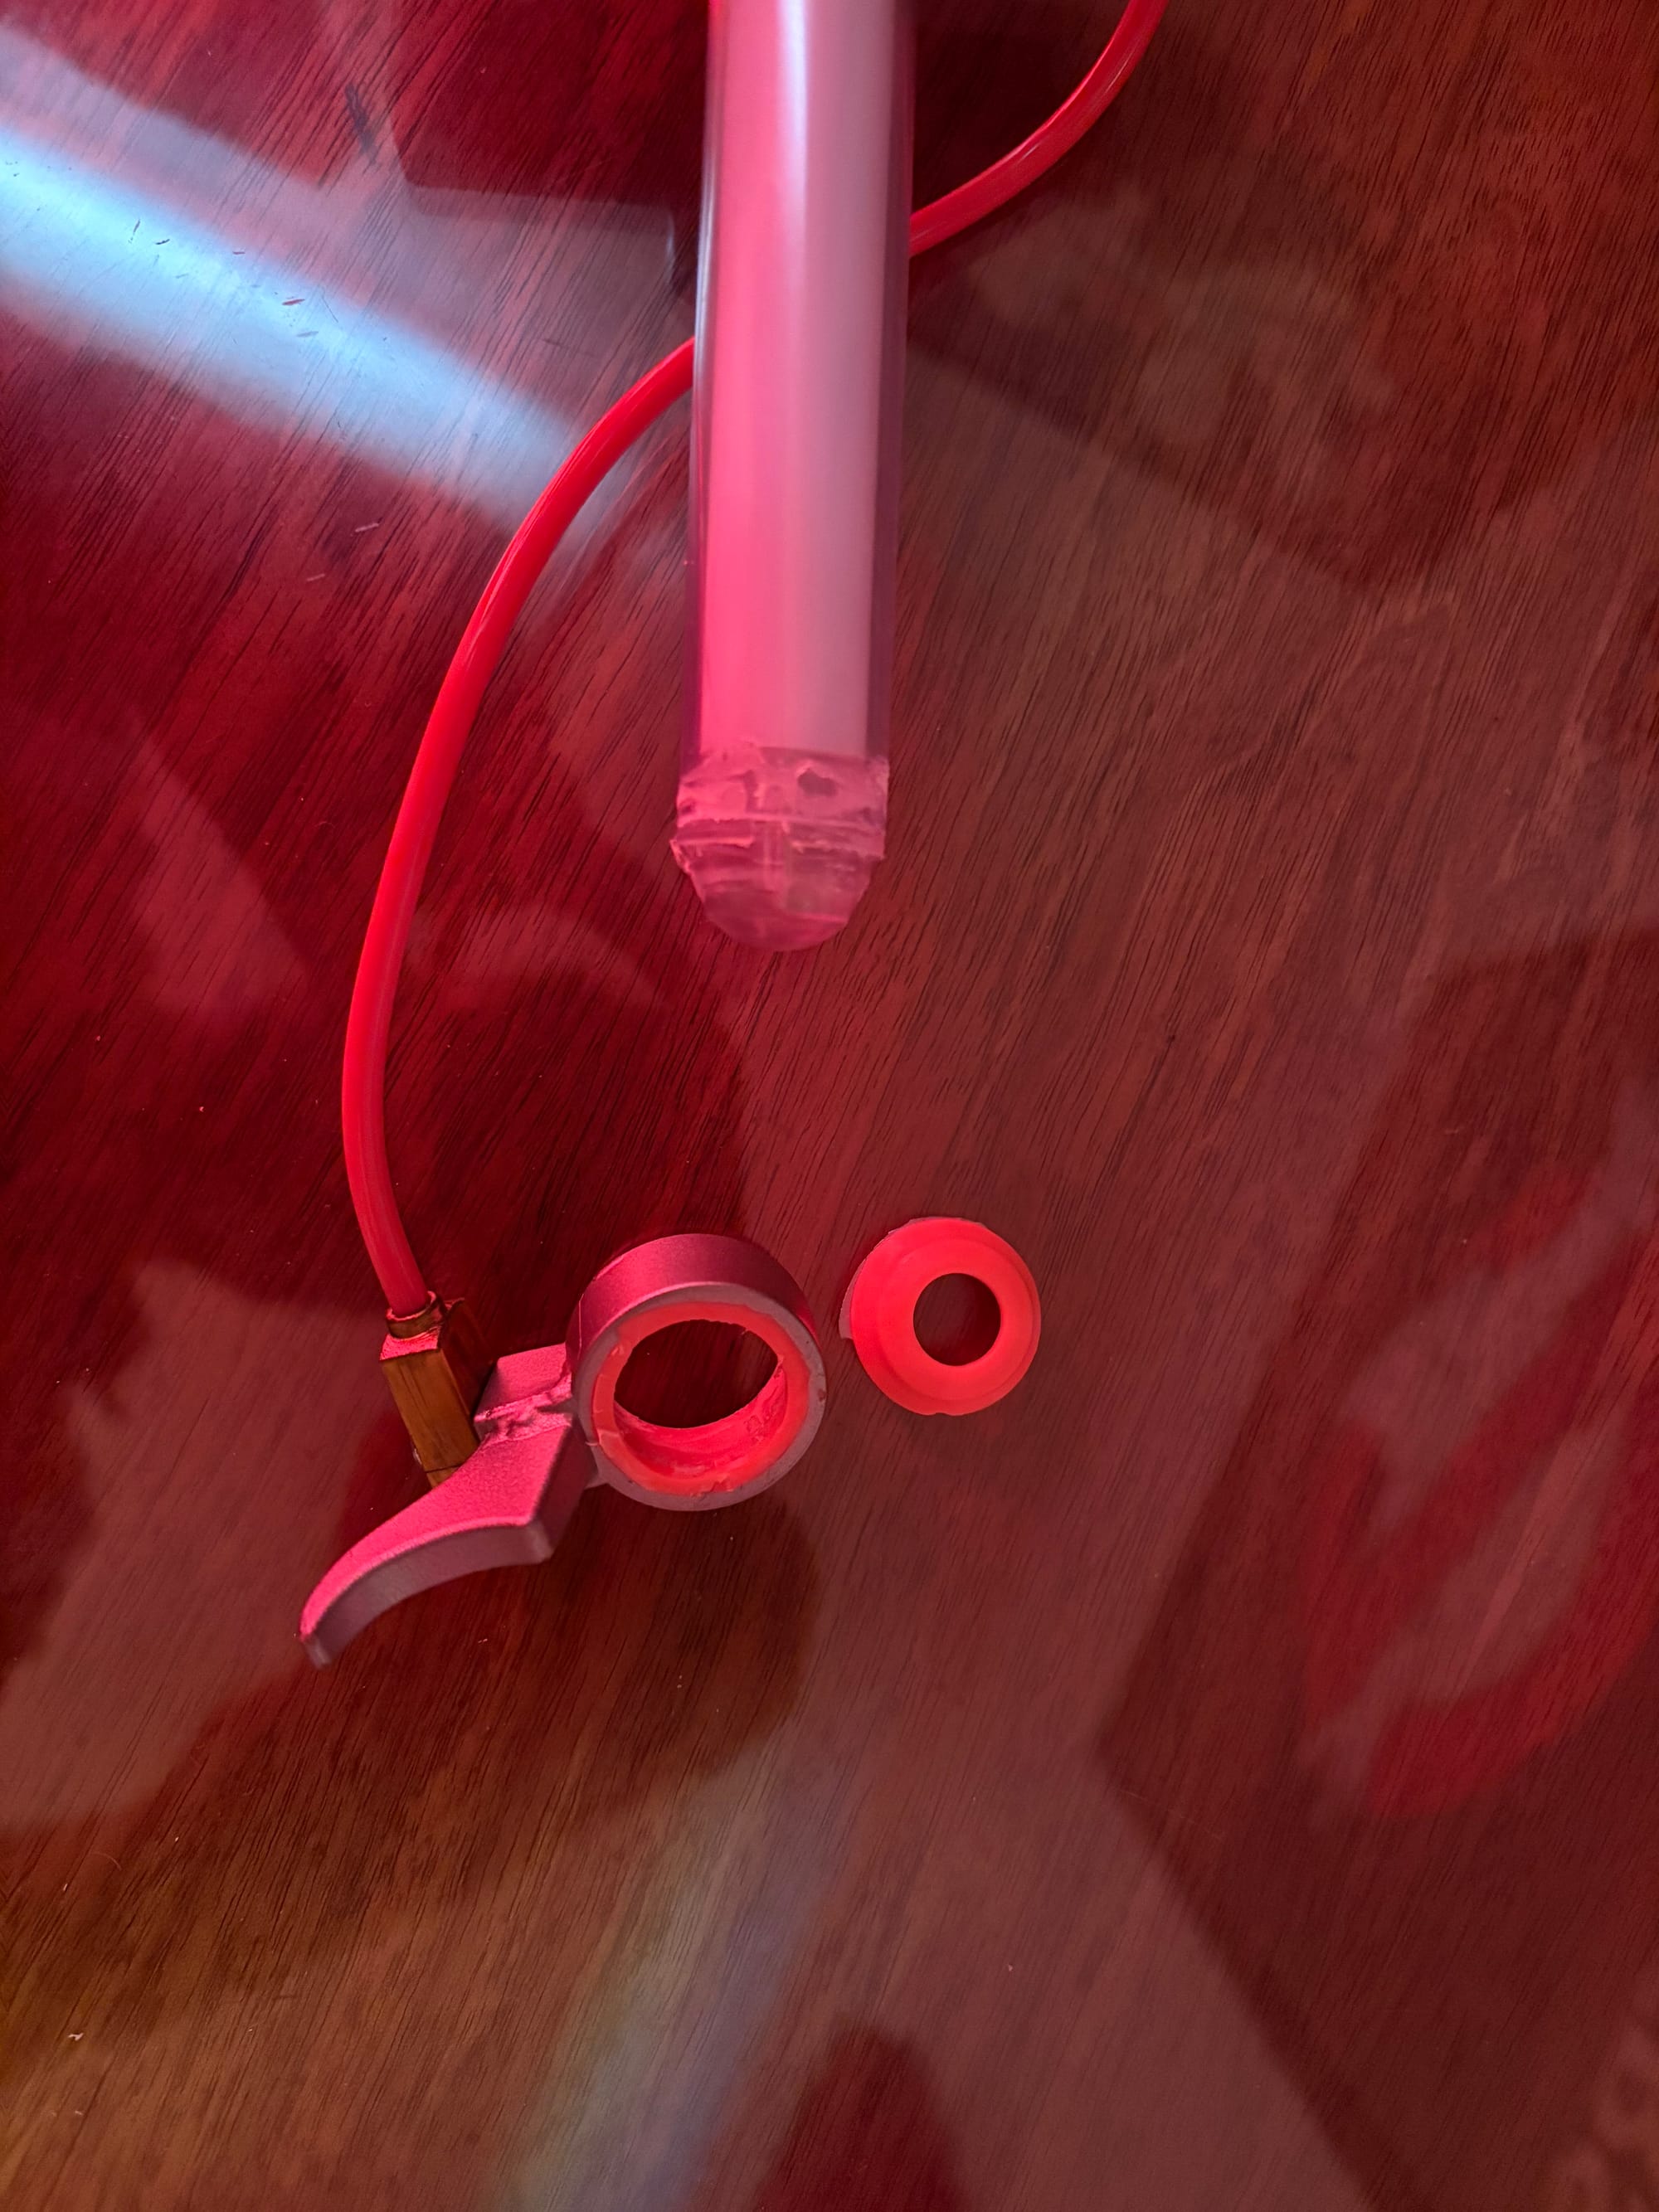
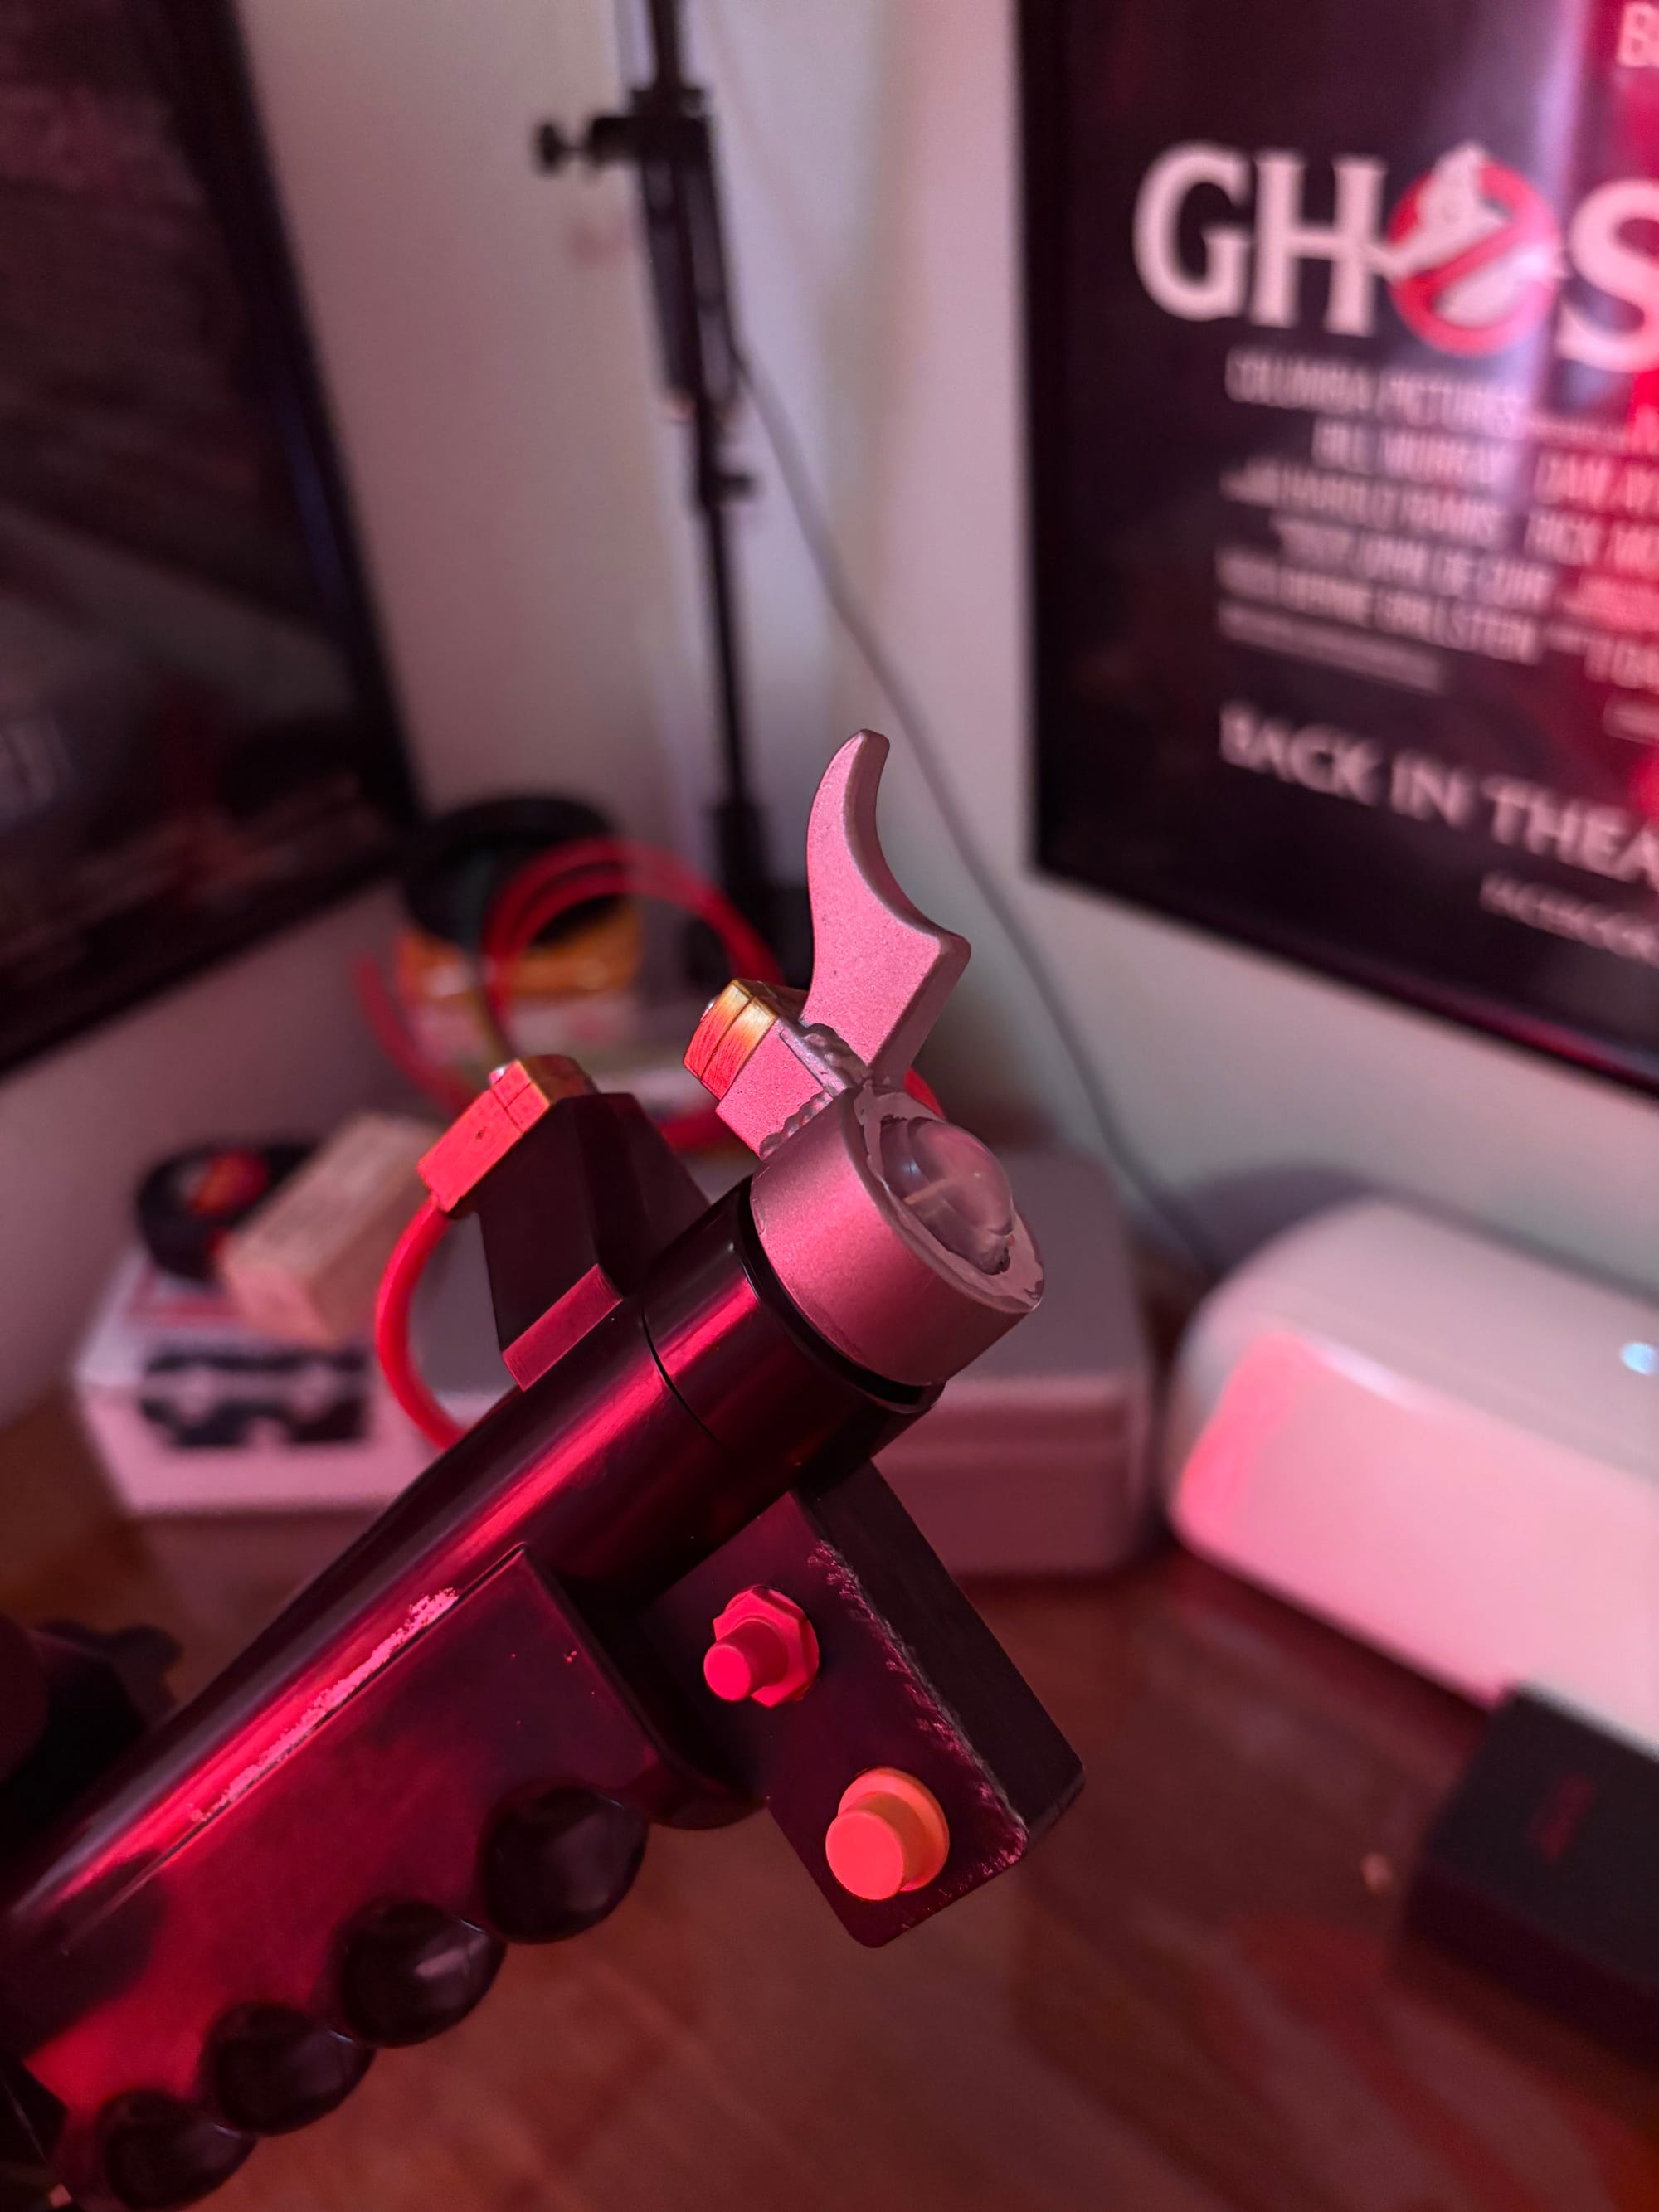
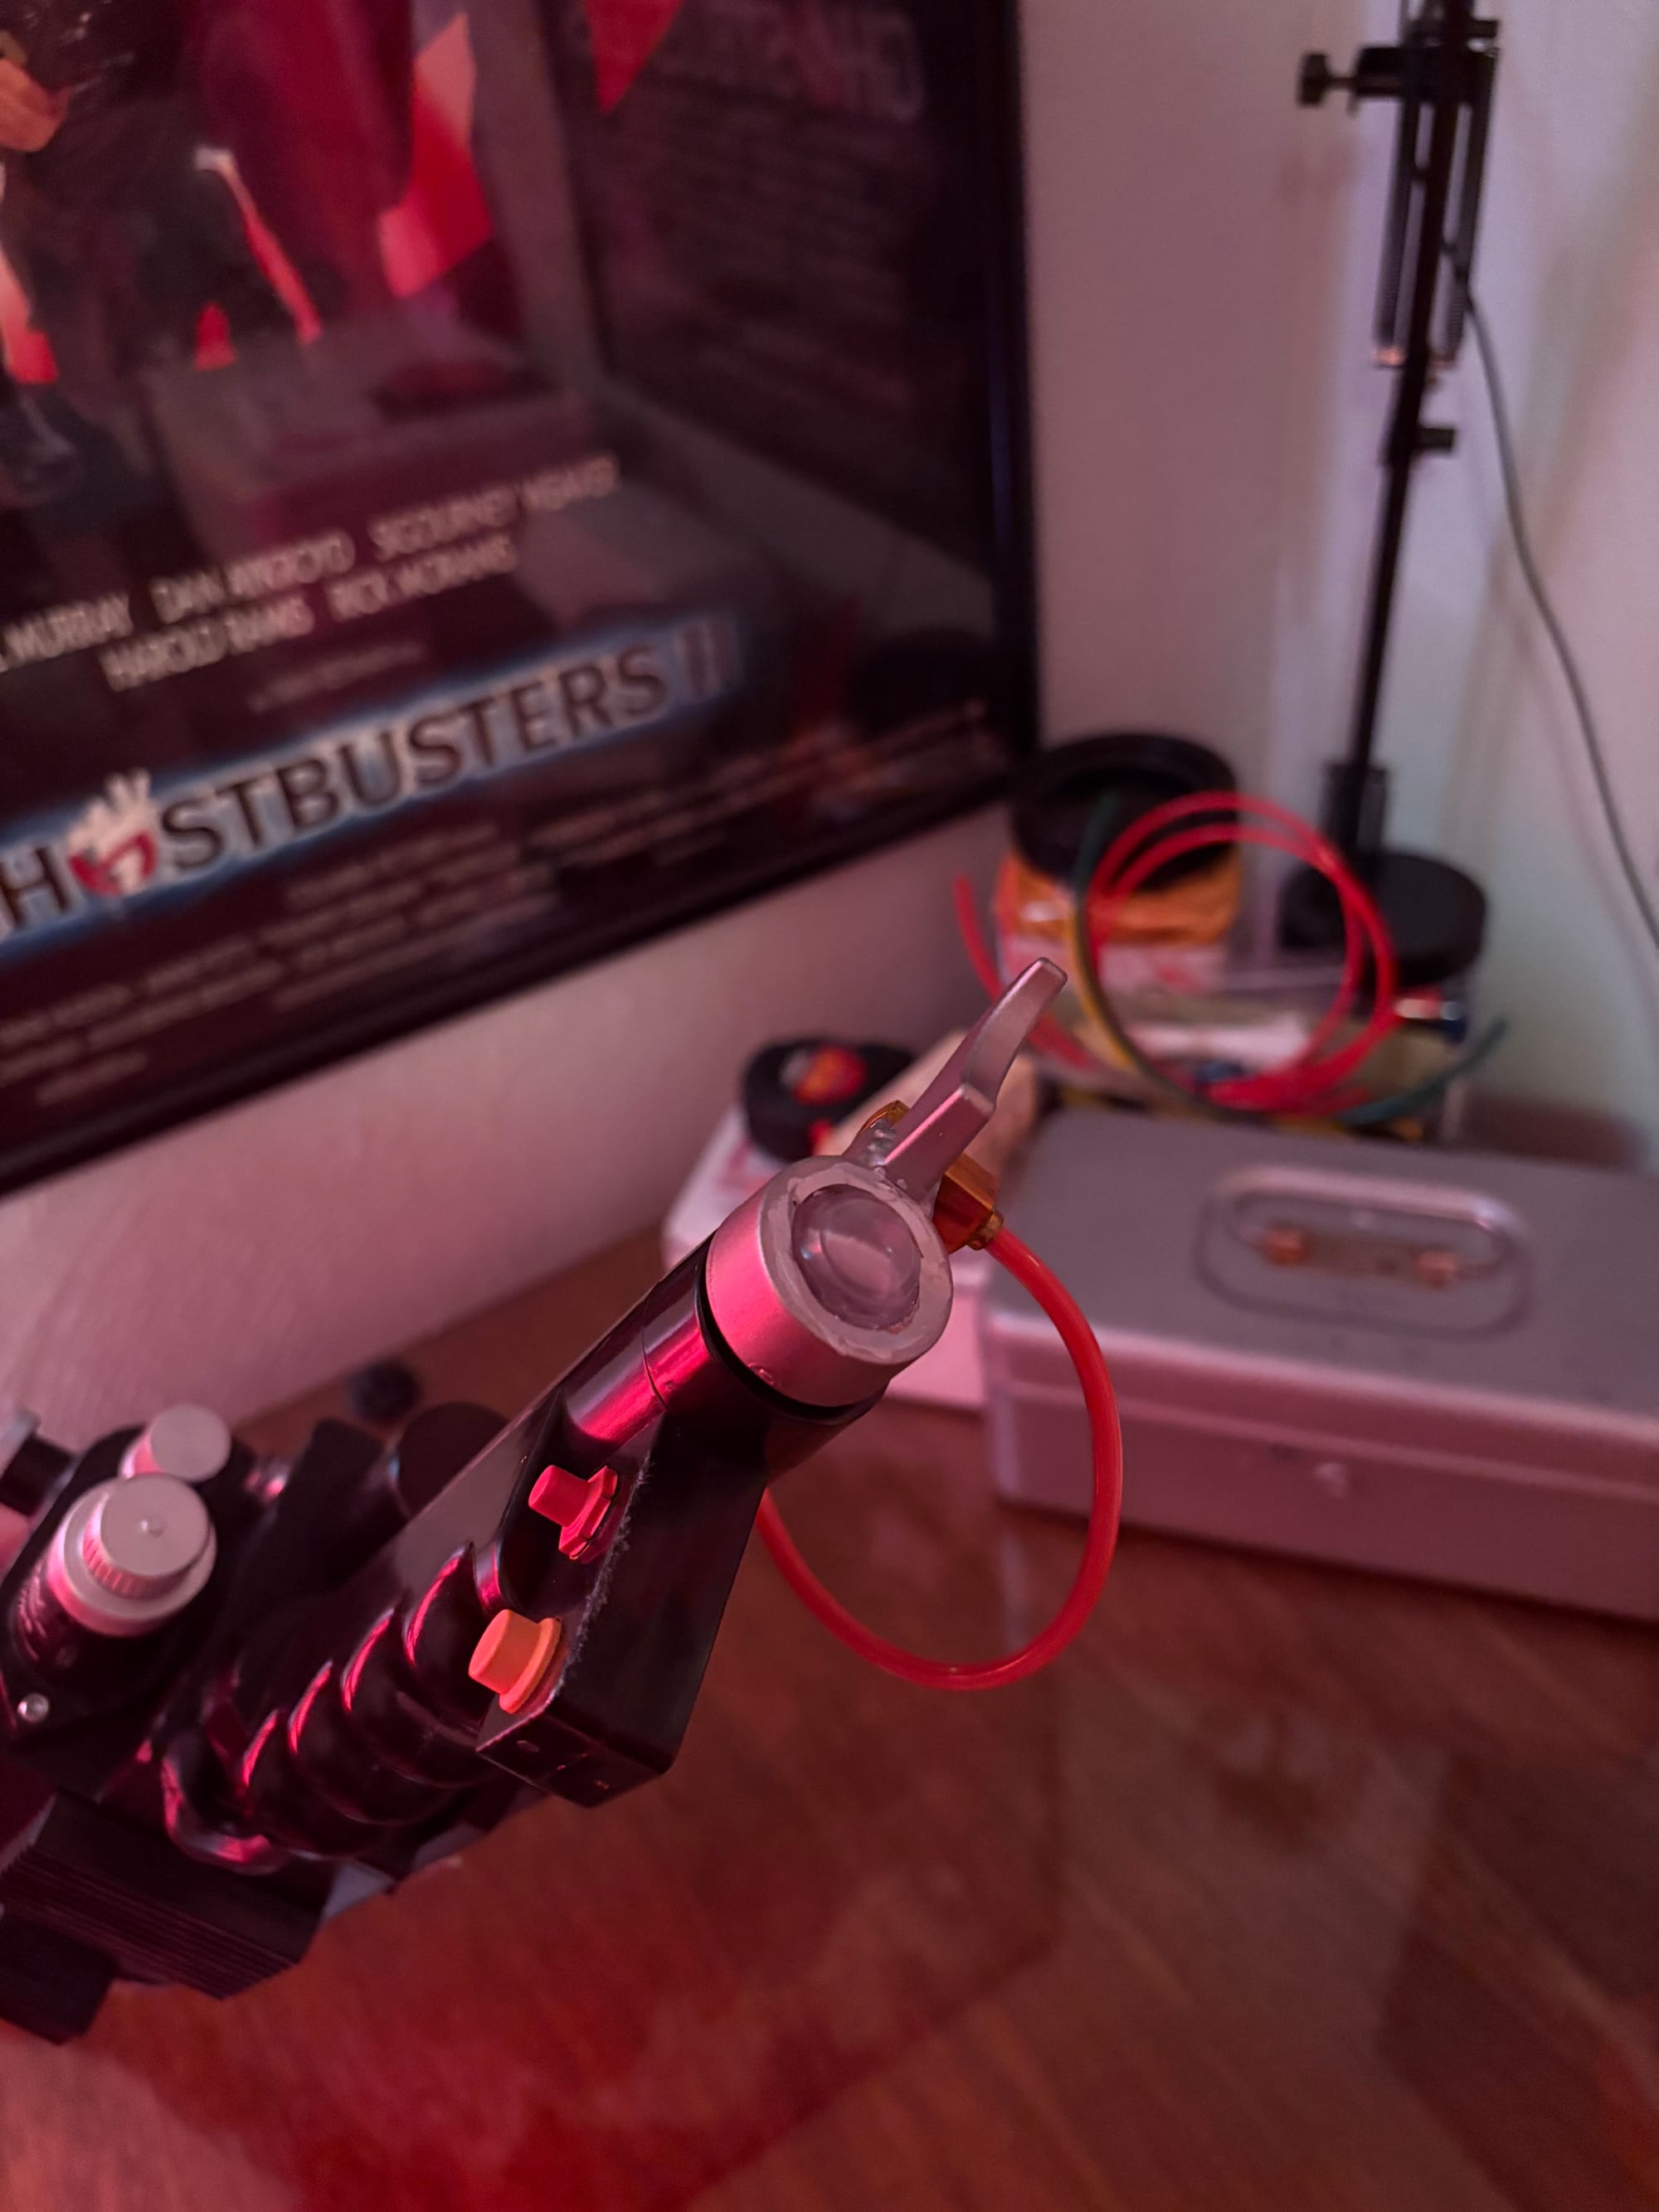
Rough, but it will do for now.
What’s next?
I want to fix the cyclotron lenses and the rings to make them more accurate to the 84/89 packs. Same goes for the bellows/shock mount–I want something more accurate to an ‘89 pack, and that looks less plastic-like. I also want to replace the ribbon cable, clamp, and the V-hook for the thrower. The last bits all require opening the pack and removing things on the inside, so I’ll wait until I decide on everything that requires that and do it all at once when I have the parts.
Wait was that shorter that the first one? Until next time Ghostheads!
Comments ()